
This is how to make a paper puppet with brads, shown step by step on our free Big Bad Wolf. All photos are from one build on our table: printing, cutting, punching the holes and joining the 13 pieces with 9 brads. At the end you have a wolf about 25 cm long whose ears, neck, tail, hips and knees all move.
The wolf in this guide is a free download, and the Three Little Pigs and our other articulated paper dolls are joined with brads the same way.
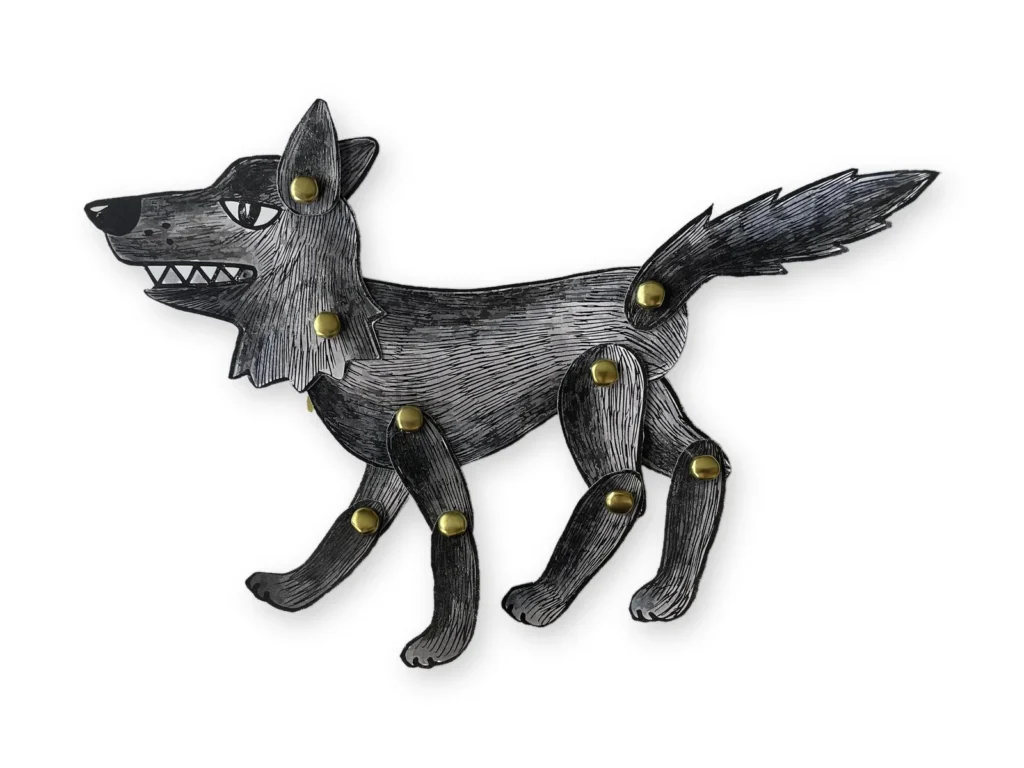
What you need
- The printed wolf. The free download has a coloured version and a line-art version for colouring, in A4 and US Letter.
- White card, about 160 to 250 g/m² (60 to 90 lb cover). Print at 100% (actual size).
- Small, sharp scissors.
- An awl or a small hole punch, see the hole size below.
- 9 brads, also sold as split pins or paper fasteners.
- Markers or pencils, if you print the line-art version.
Step 1: Print and colour
Print the cut sheet at 100% on white card. The free download has two versions: the coloured wolf, hand-painted and ready to cut out, and a line-art version you colour yourself.
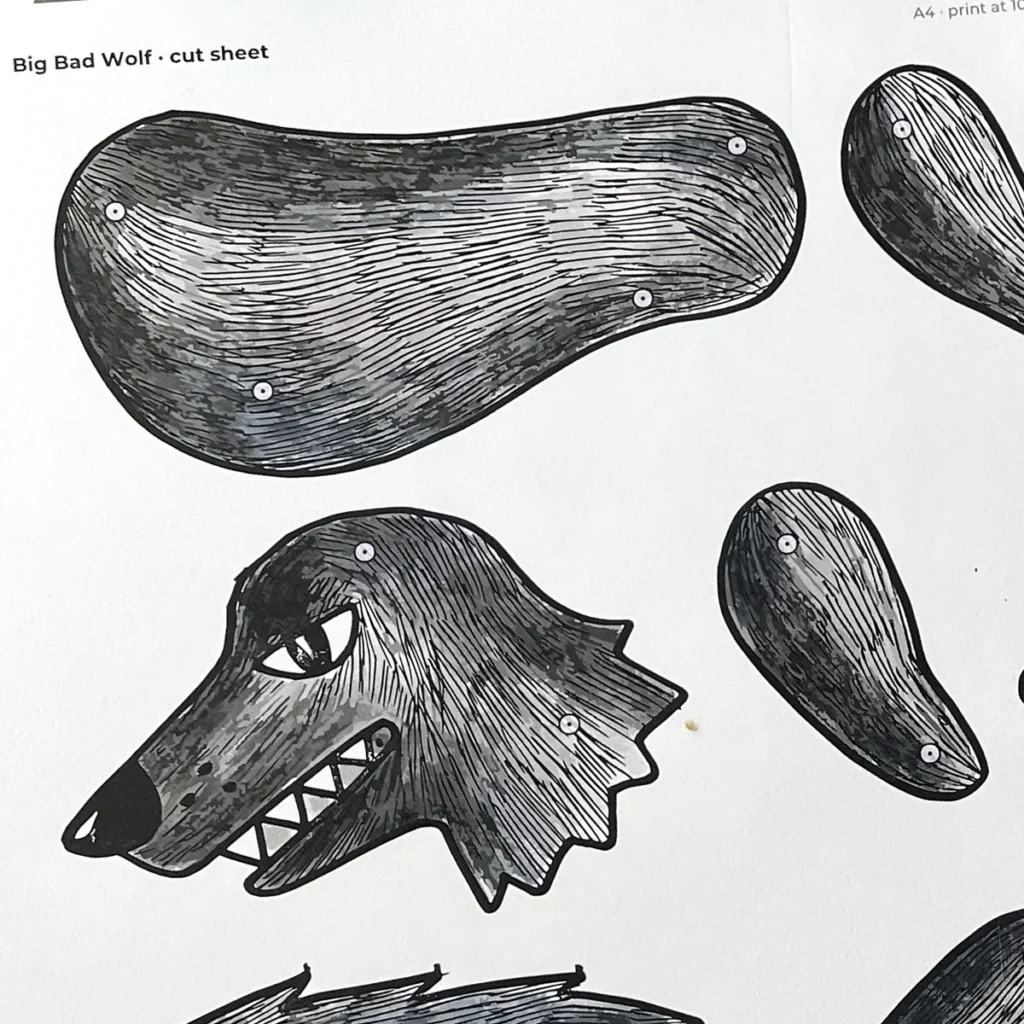
If you chose the line-art version, colour the pieces before you cut them out. It is much easier on a flat sheet than on small loose pieces.
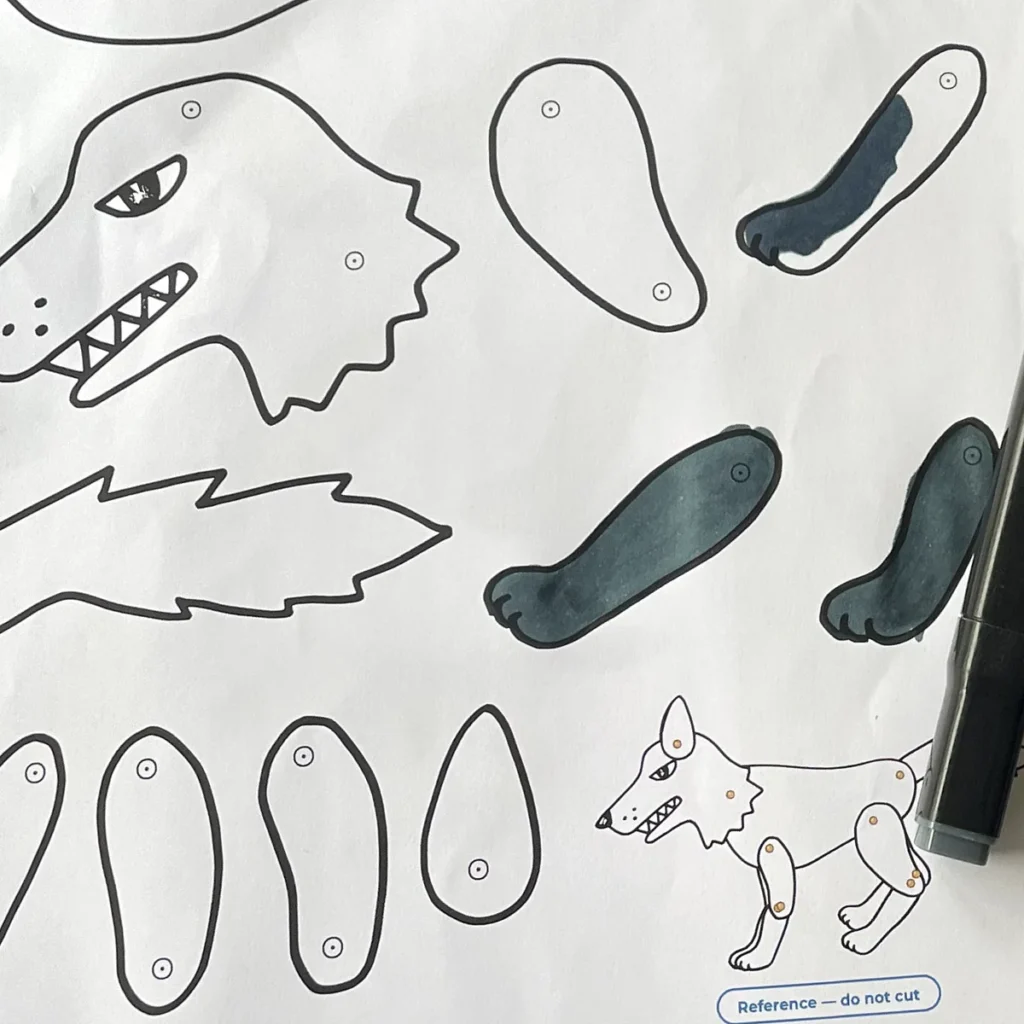
Step 2: Cut out the pieces
Cut along the outer black line. Rough-cut each piece from the sheet first, then trim it properly. The paws, the ear tips and the fur around the neck are the slow parts, so take your time there.
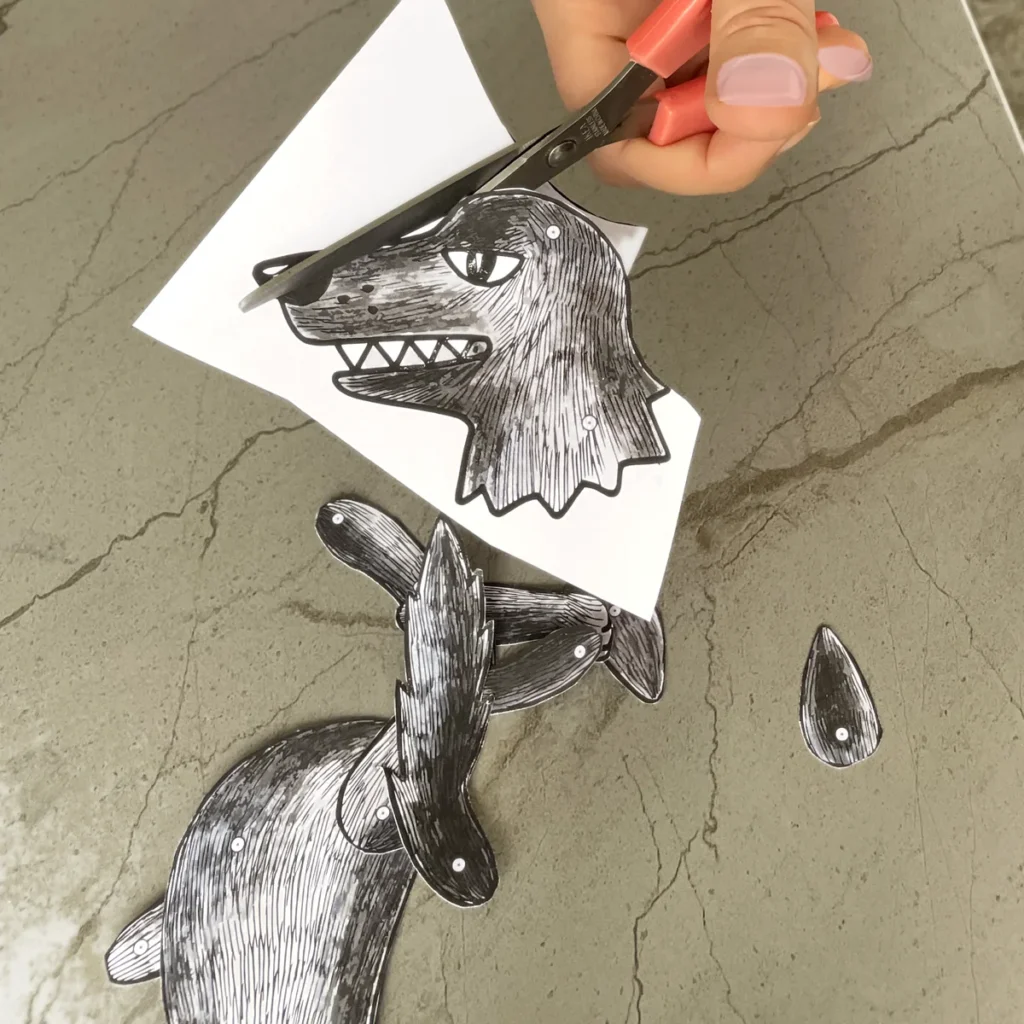
Step 3: Lay the pieces out
Before you make any holes, lay all 13 pieces on the table in the shape of the wolf. You see straight away which leg goes where and which piece sits on top. The assembly guide on page 2 of the PDF shows the order of the layers.
Step 4: Make the holes
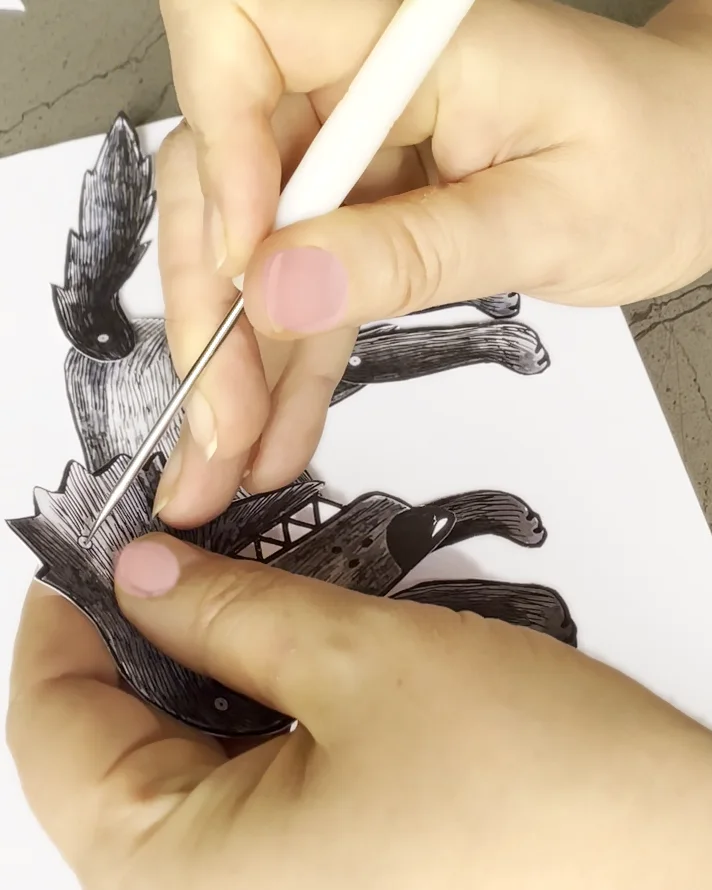
Every joint has a small round mark. Make a hole at each mark, 21 holes in total. We used an awl.
There is no single right hole size: it depends on the tip of your brad. Look at how wide the prongs are where they meet the head. The hole should be just big enough for them to pass through. Try one hole on a scrap of the same card first. If the brad slips through easily and the joint wobbles, the hole is too big.
An awl works, but a punch makes cleaner round holes. Punches sold for leather and rivets come with several hole sizes, so you can pick the one that fits your brads:
- A rotary leather punch has several tubes on one wheel. Check the smallest one: on many models it is 2 mm.
- A Japanese screw punch takes interchangeable bits, sold from 1 mm up.
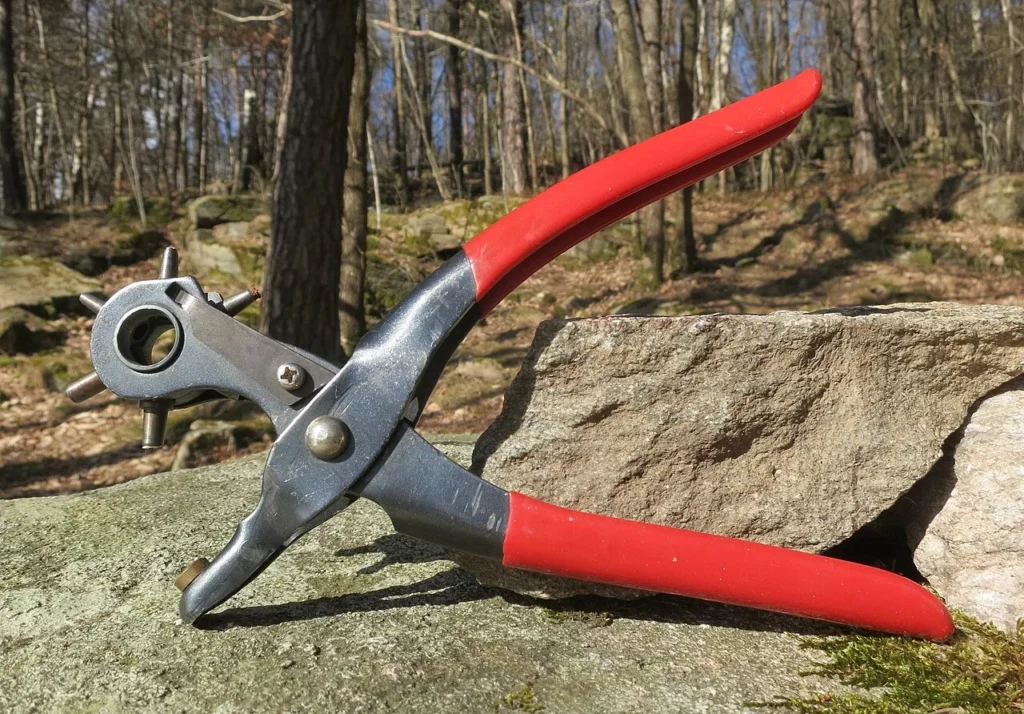
With a rotary punch you slide the card between the wheel and the anvil, turn the wheel to the smallest tube and squeeze. The hole comes out round and clean, and all 21 holes take a couple of minutes.
Step 5: Join the pieces with brads
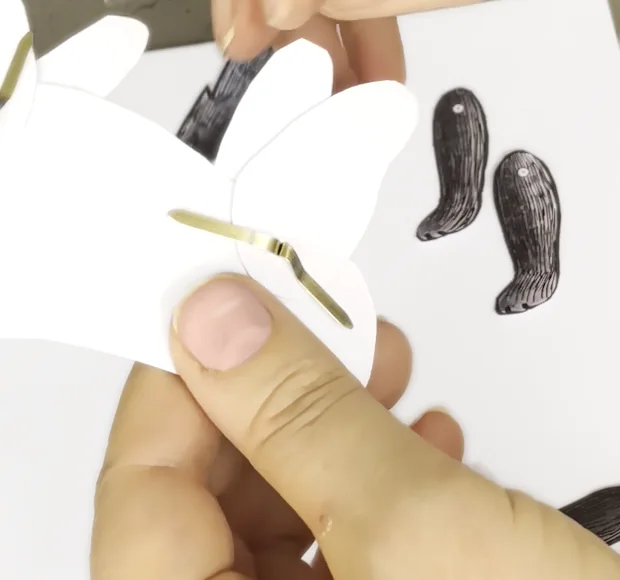
Push each brad through from the front, through all the layers of that joint, then open the prongs on the back. Join the joints in this order: neck, ears, tail, front hips, back hips, then the four knees. Do not press the brads too tight, the joints should still turn.
Open the prongs along the leg, not across it. Then they stay hidden behind the puppet and do not stick out past the edge.
A small trick with scissors helps the brads sit flat. Before you push a brad in, put its prongs between the scissor blades, close to the pivot, and squeeze them right next to the brad head. Then the prongs spread wider on the back and the brad sits flat against the card.
Which brads to use
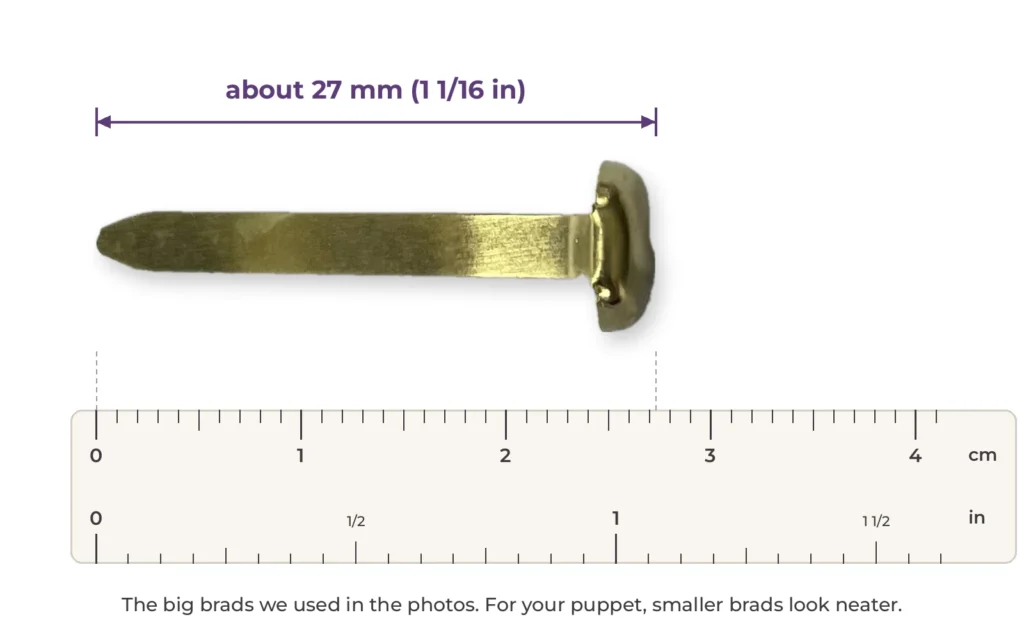
The brads in our photos are big on purpose: the heads are about 8 mm across and the brads are about 27 mm long, so you can see every joint in the photos and in the video. For your puppet, choose smaller brads. They look neater, need smaller holes and are easier to hide on the back.
Making it with children
Children can colour, cut the big pieces and play. Making the holes and pushing in the brads is a job for an adult: awls are sharp and brads are small parts.
Get the wolf
The Big Bad Wolf puppet printable is free with a DiNerija account. Hand-drawn on paper and hand-painted, with a line-art version for colouring. If you want the whole story, the Three Little Pigs puppets are made the same way, so you can make a paper puppet with brads for every character in the story. For other characters and the basics of jointed paper dolls, read How to Make an Articulated Paper Doll.
-
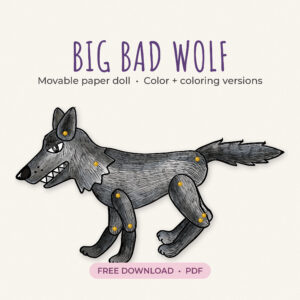
Big Bad Wolf Puppet Printable, Free Articulated Paper Doll (PDF + SVG)
Free Download free -
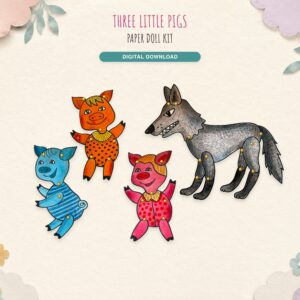
Three Little Pigs Puppets - Printable Articulated Paper Dolls, 3 Pigs and the Big Bad Wolf (PDF + SVG)
1,20 € incl. VAT Buy now -
Cat Paper Doll Set - Two Articulated Cats to Print, Cut and Join with Brads (PDF + SVG)
1,20 € incl. VAT Buy now -
Unicorn Cat Paper Doll and Mermaid Cat Paper Doll - Two Articulated Characters with 15 Moving Joints (PDF + SVG)
1,20 € incl. VAT Buy now
Brads are a stationery item: they were made to hold sheets of paper together, and the same round head and split shank let a paper joint turn. Wikipedia has a short article on the brass fastener.