
A dress for an 11.5 inch doll is sewn with the same steps as a dress for a person. What changes is the scale: a seam allowance of 3 to 4 mm, a dart a centimetre long, a hem you can cover with a fingertip. Most of the mistakes that show up on a first doll dress come from treating those small numbers as if they did not matter. These ten tips are collected from the instructions we ship with our patterns, in one place.
1. Print at 100 percent and check the test marks
Every one of our patterns has a 1 cm line and a 1 inch line printed on the sheet. Print at Actual Size, never Fit to Page, then lay a ruler on both lines before you cut anything. If either is off, the pieces will not match each other and the garment will not fit the doll, however carefully you sew. No printer? Open the PDF, zoom until the 1 cm line on the screen measures exactly 1 cm, lay thin paper over the screen and trace. A print shop will also print at 100 percent if you ask.
2. Cut on the red line, sew on the dashed line
Our pattern pieces include the seam allowance, about 3 to 4 mm. The solid red line is where you cut, the dashed black line is where you stitch. Keep to that distance. Sewing 2 mm further in sounds like nothing, but it takes 4 mm out of every seam, and a bodice has several of them: the dress can come out more than a centimetre smaller around, which is a full size at this scale.
3. Use the fabric the pattern asks for
Fitted dresses are drafted for non-stretch woven fabric. Sew the same pieces in a knit and the garment comes out bigger, because the fabric gives; if you must use stretch, take the top edge in where the closure goes. T-shirts, leggings and the oversized sweater are the opposite: they want jersey, stretch cotton or a polyester knit. For a first knit project, avoid very thin, see-through fabric, it is harder to control. If you like denim, choose a lightweight one, the seams are tiny and heavy denim builds bulk fast.
4. Fold right sides together and mind the grain
Fold the fabric lengthwise with the right sides facing each other and the selvedges together. Symmetrical pieces, a front bodice or a sleeve, are cut on the fold, with the marked fold line on the fabric fold, so both halves come out the same. On a woven fabric the grain line arrow runs vertically along the fabric. On a knit, follow the arrow marked most stretch direction instead, so the garment stretches around the doll and not along her.
5. Transfer every mark before you lift the paper
Darts, notches, fold lines, the centre of a sleeve cap and the placement of the closure are all on the pattern. Mark them on the fabric with tailor's chalk or a fabric marker while the paper is still pinned on. At 1:6 scale there is no way to eyeball a dart later, and a sleeve set in without its centre mark twists.
6. Sew darts from the wide end to the point
Fold the dart with right sides together, matching the lines, and stitch from the wide end towards the point, tapering off the fabric. Do not backstitch at the tip: it puckers. Leave thread tails and tie a knot instead. Press the dart downwards or towards the side seam. Trim the fold only if it is bulky; a narrow dart is simply pressed to one side.
7. Trim and press after every seam
Trim the seam allowance after each seam to reduce bulk, without cutting close to the stitching, and press before you move on. Use a pressing cloth on delicate fabric. Press armhole seams towards the sleeve and side seams towards the back. On the waist seam, a line of topstitching from the right side is optional, but it keeps the seam flat and looks finished. Collars, cuffs and bottom bands are easier to attach if you fold them in half lengthwise and press the fold first.
8. Stop the fraying
Raw edges on a doll dress fray just as fast as on a full-size one, and there is less fabric to lose. Finish hems and armholes with a narrow zigzag, a serger if you have one, or pinking shears if you do not have a machine. Fold and stitch the raw edges of the back opening before the closure goes on. For a hem, fold 0.5 cm to the wrong side, then another 0.5 cm, press and topstitch. When you add ribbon or lace, fold the end of the trim under at the start so it cannot unravel.
9. Keep the closure small and leave a dressing gap
A back opening closes with hook-and-loop tape or small sew-on snaps. The tape does not need to run the full length of the opening: about a third of it, 5 to 6 cm, holds the dress closed and adds less stiffness. Snaps are more discreet and lie flatter, a good choice for a layered or evening dress. On a skirt, sew the centre back seam from the hem up and stop about 1.2 cm below the waist. That short gap is what lets the dress go over the doll's hips.
10. Try it on the doll before the last trim
Put the garment on the doll with all its seams sewn but the seam allowances still full, and close it. Check that the waist seam lies flat, that bodice and skirt darts line up, that the back opening is long enough to dress her without a fight, and that the closure sits flat. Only then trim the remaining allowances and cut the loose threads. A fitting at this stage costs a minute and saves the dress.
Where to start
- Never sewn for a doll: the no-sew set is cut and tied, no needle, and teaches you how the pieces sit on the body.
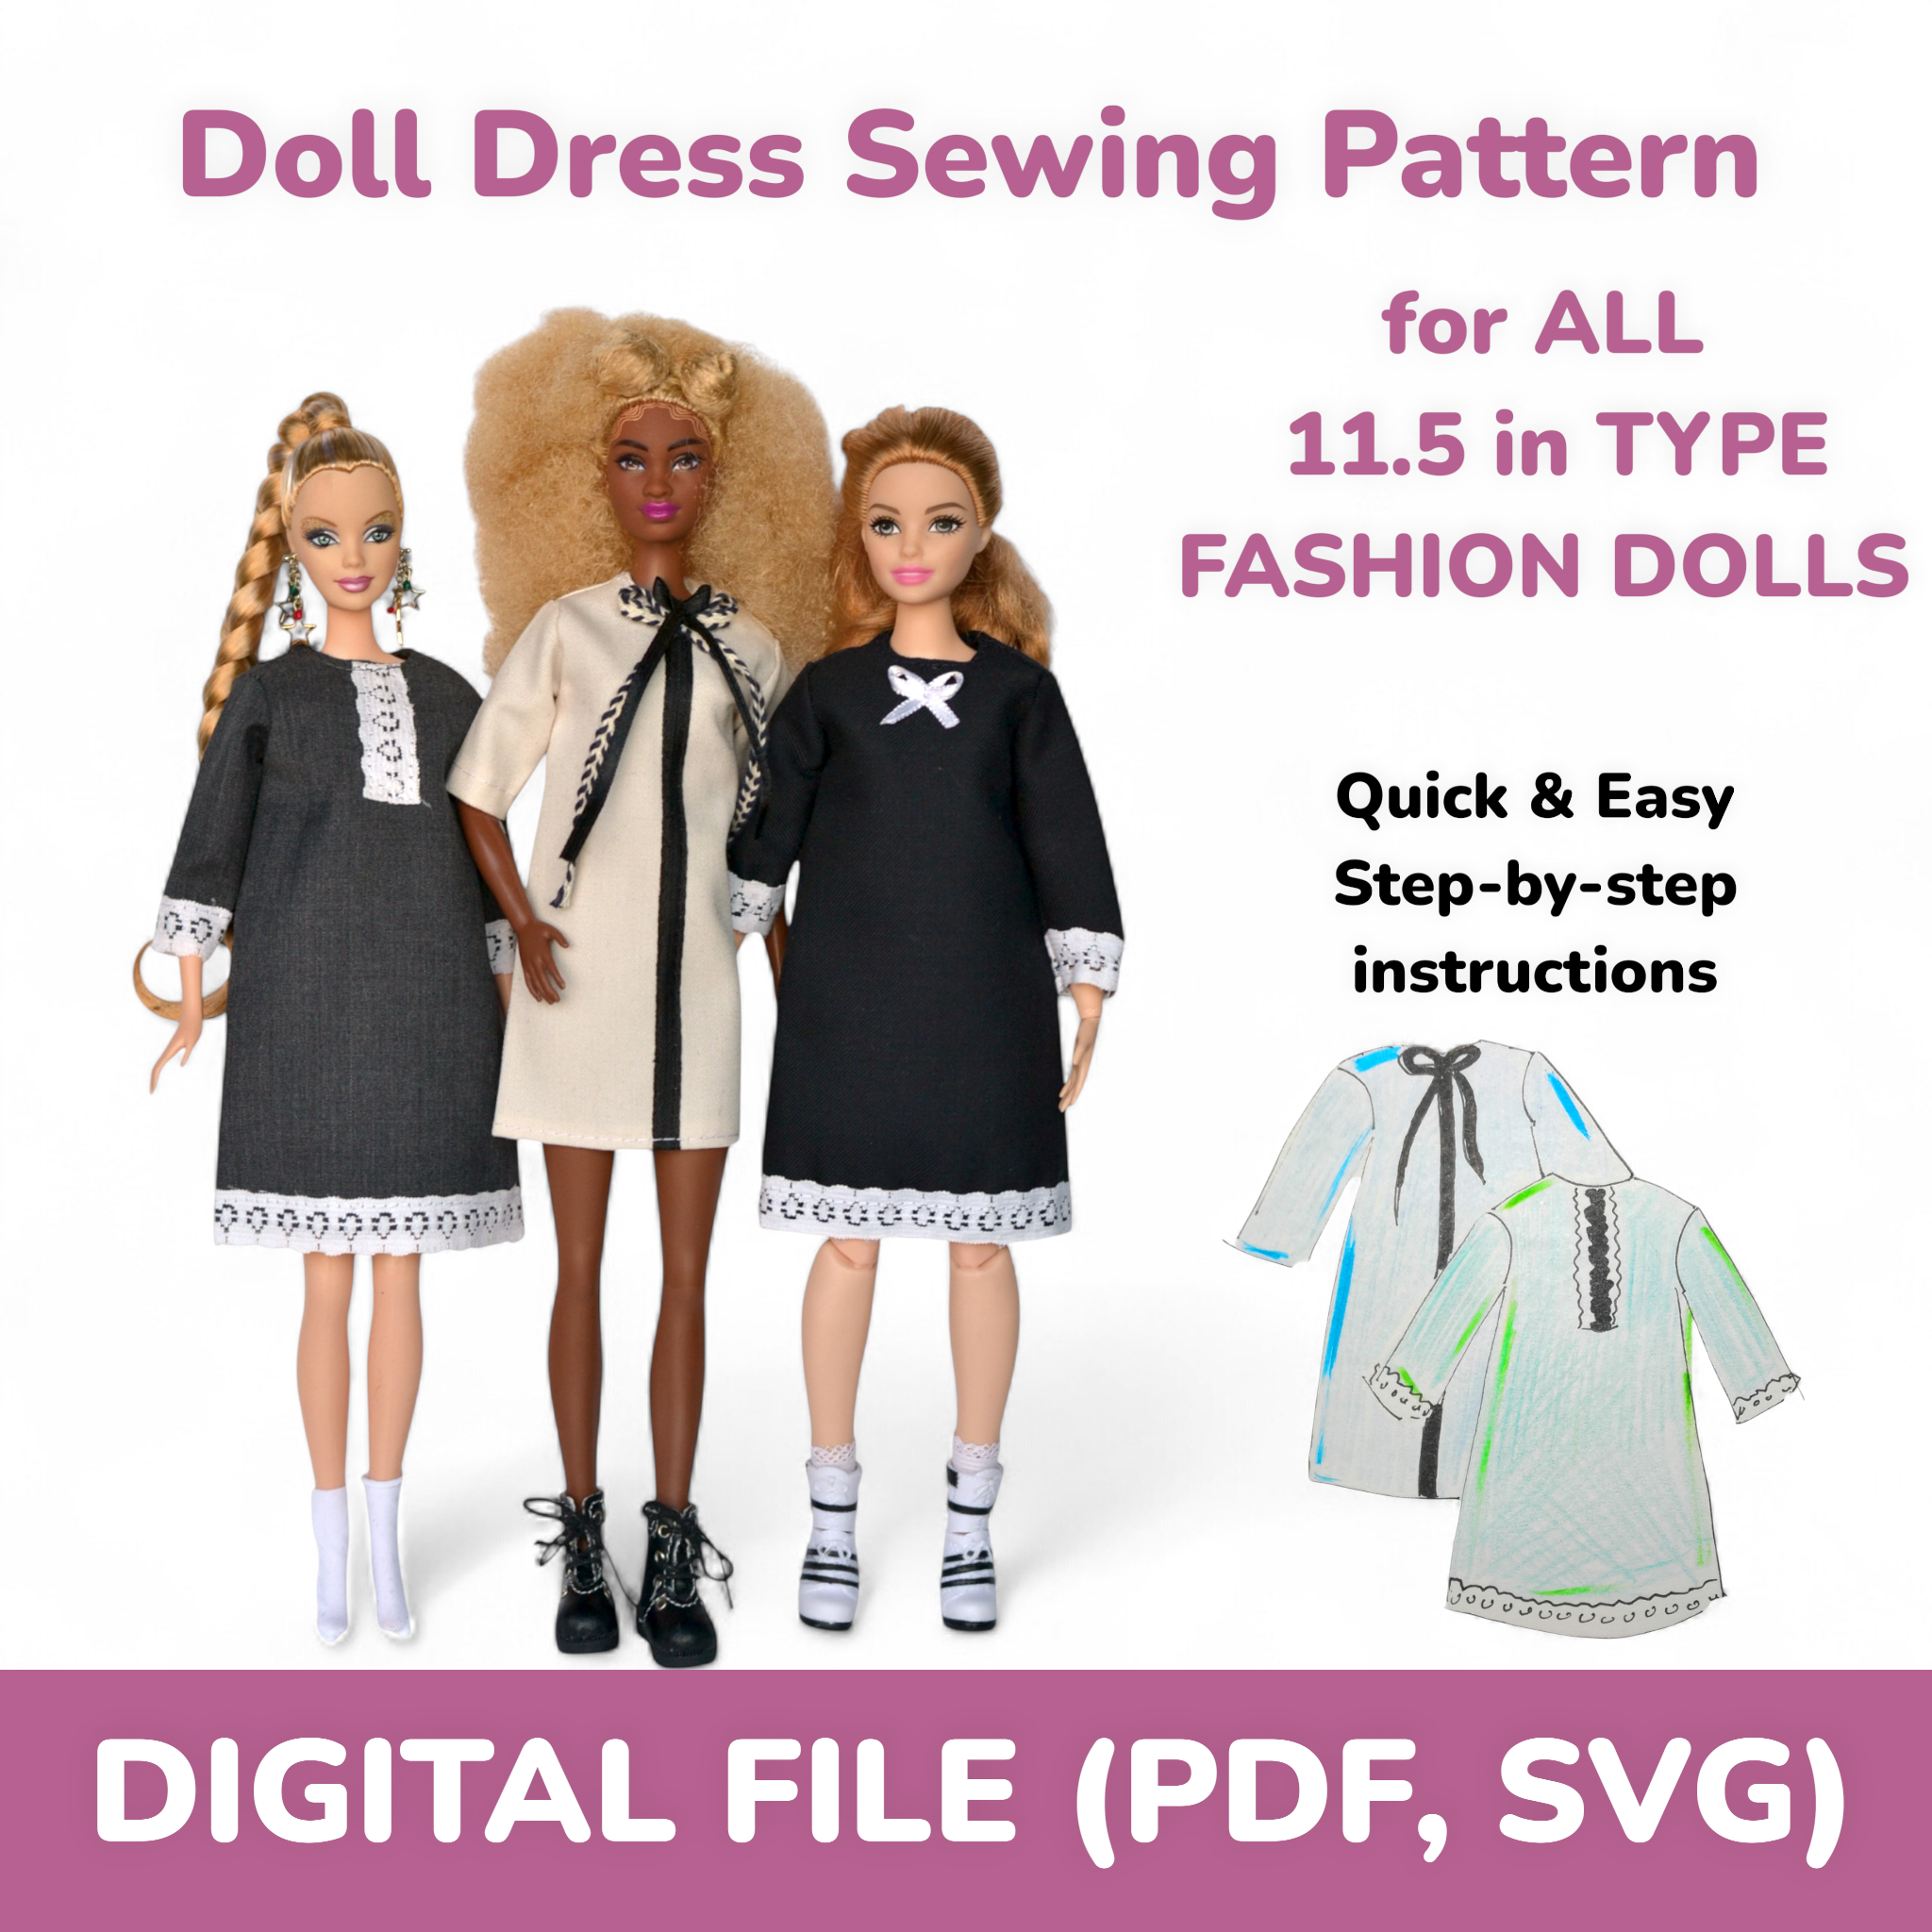
- First real seams: the long sleeve dress is a straight dress with a collar and a back opening, rated beginner, and fits Regular, Curvy and Tall dolls.
- Darts and a gathered skirt: the cocktail and evening dress in Regular or Curvy.
- When darts feel easy: the fitted dress with overskirt is our intermediate pattern, with curved edges and a back closure.
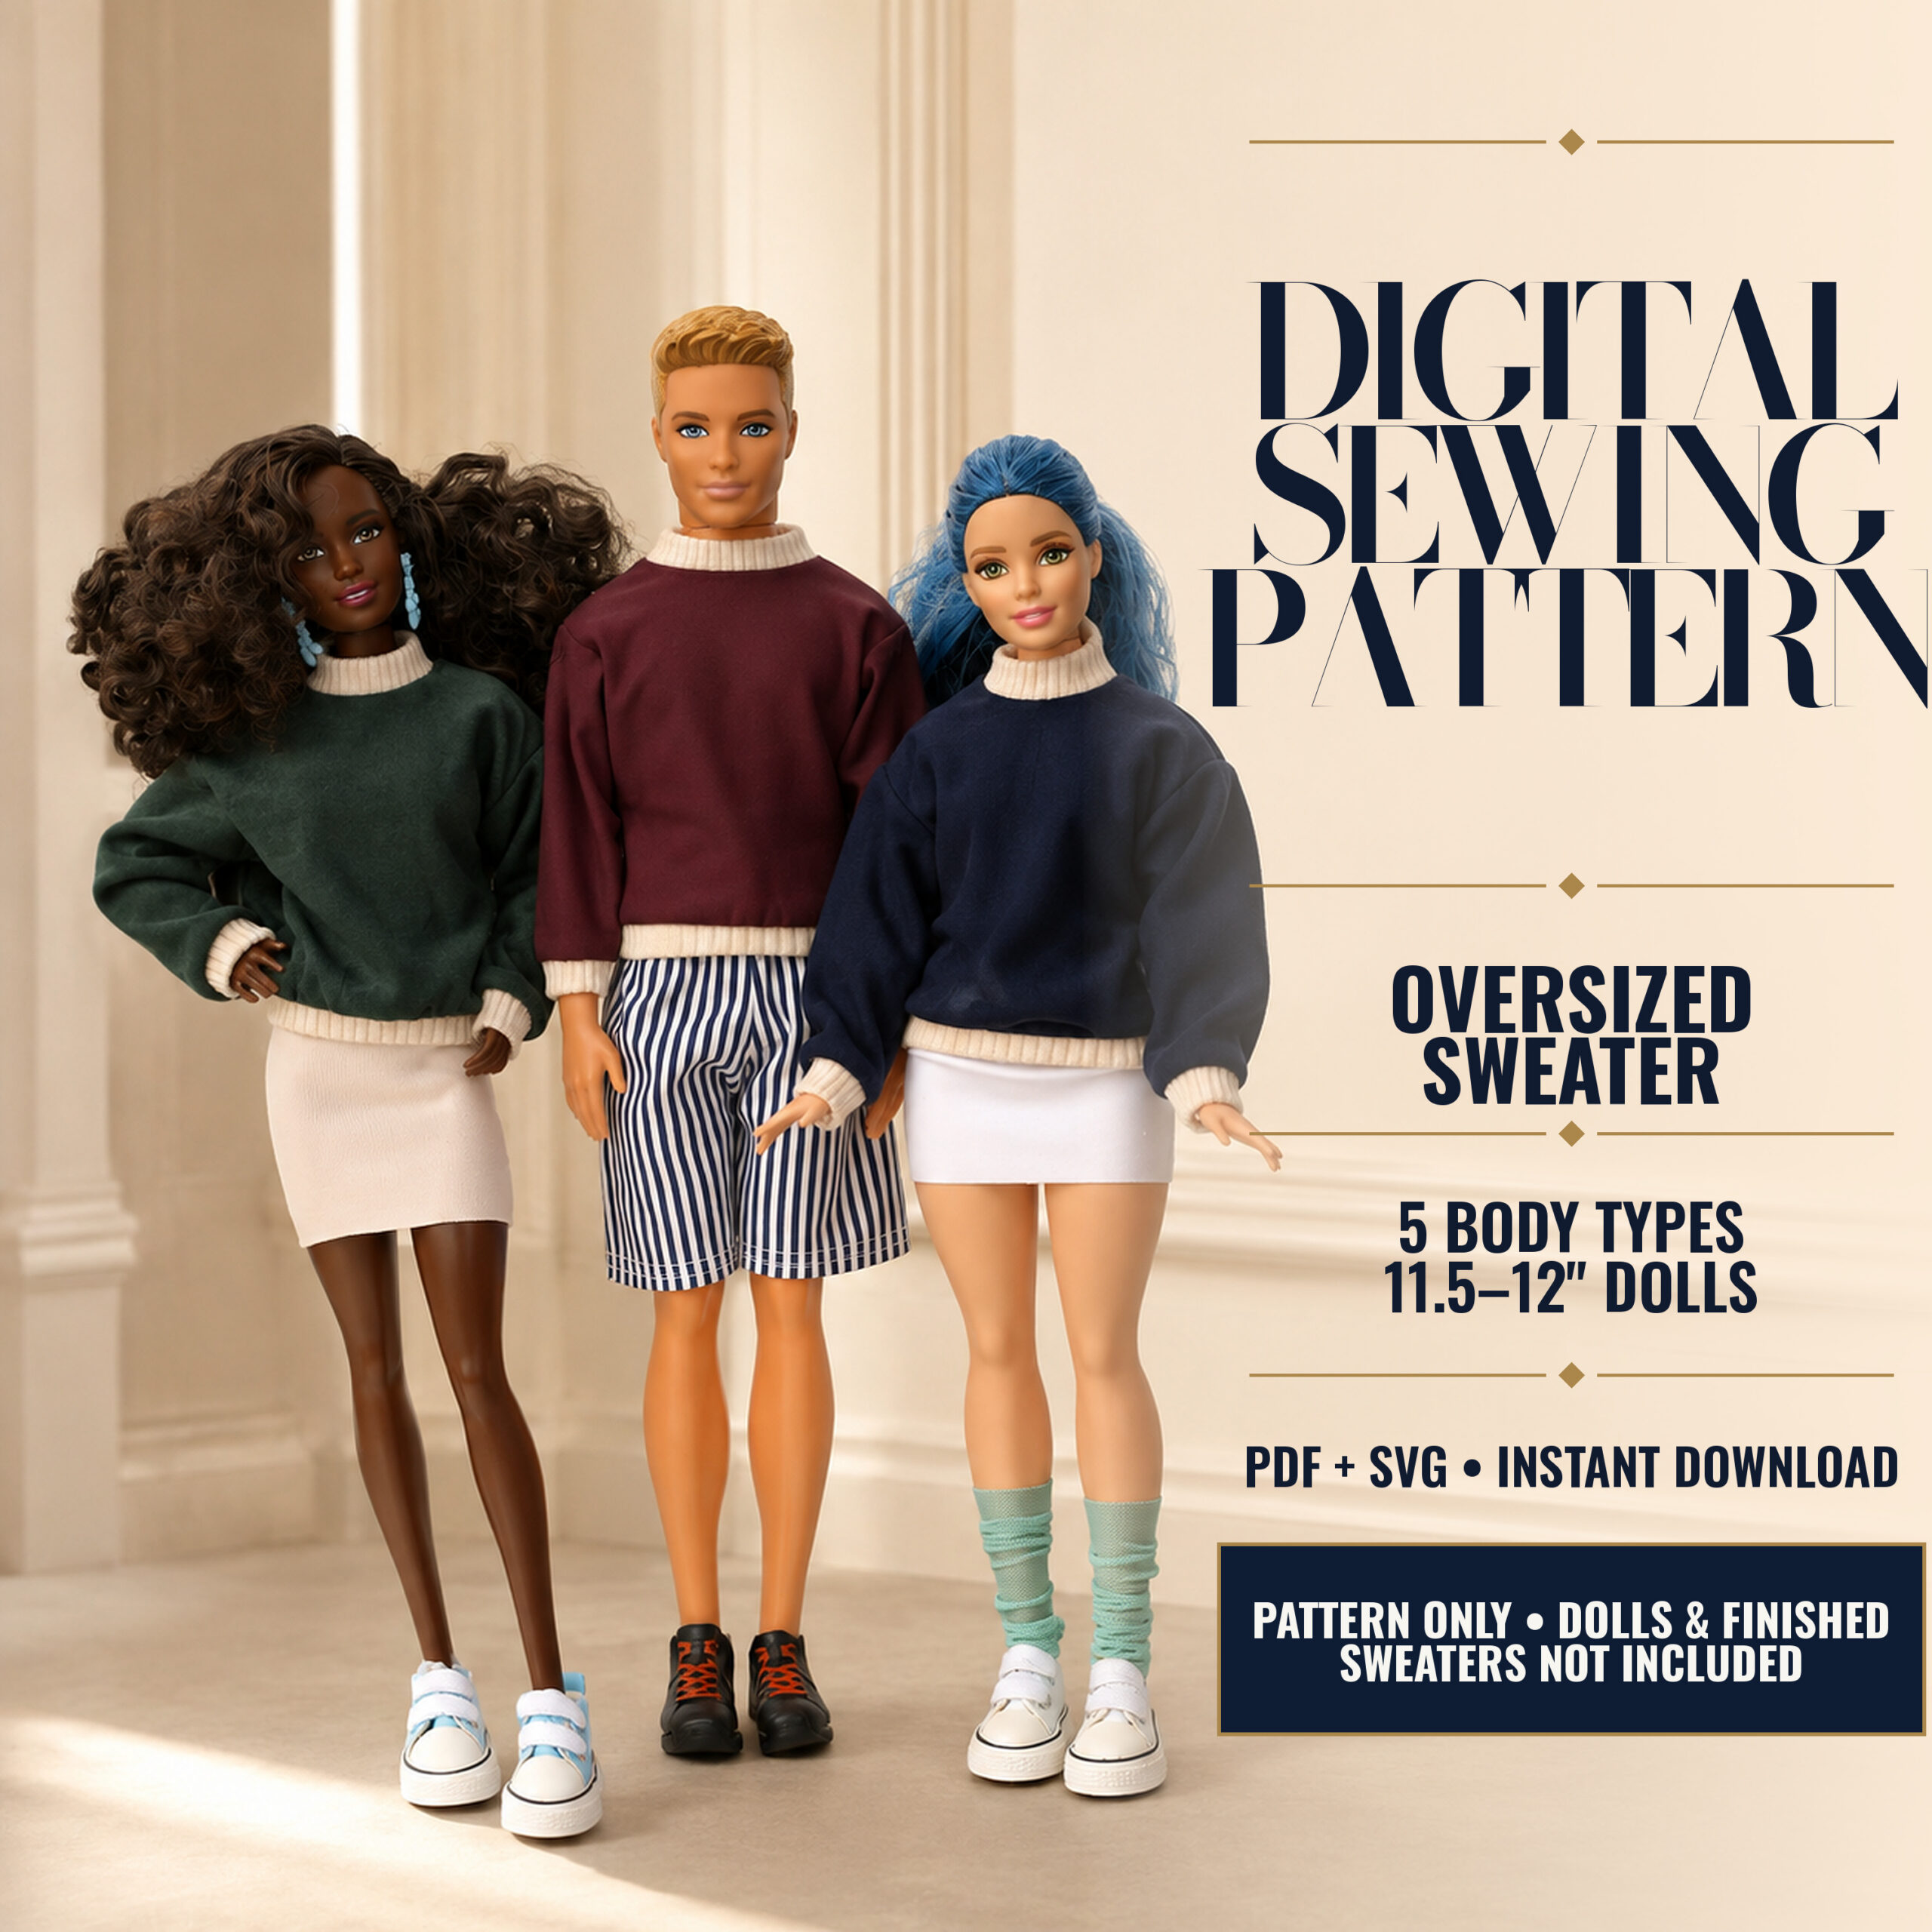
- Knits: the oversized sweater fits most 1:6 scale dolls, female and male, from one pattern.
All of them are in Sewing Patterns, with the body types each one fits listed on the product page. If you are not sure which body type your doll is, the Size Guide shows how to measure her in a minute.