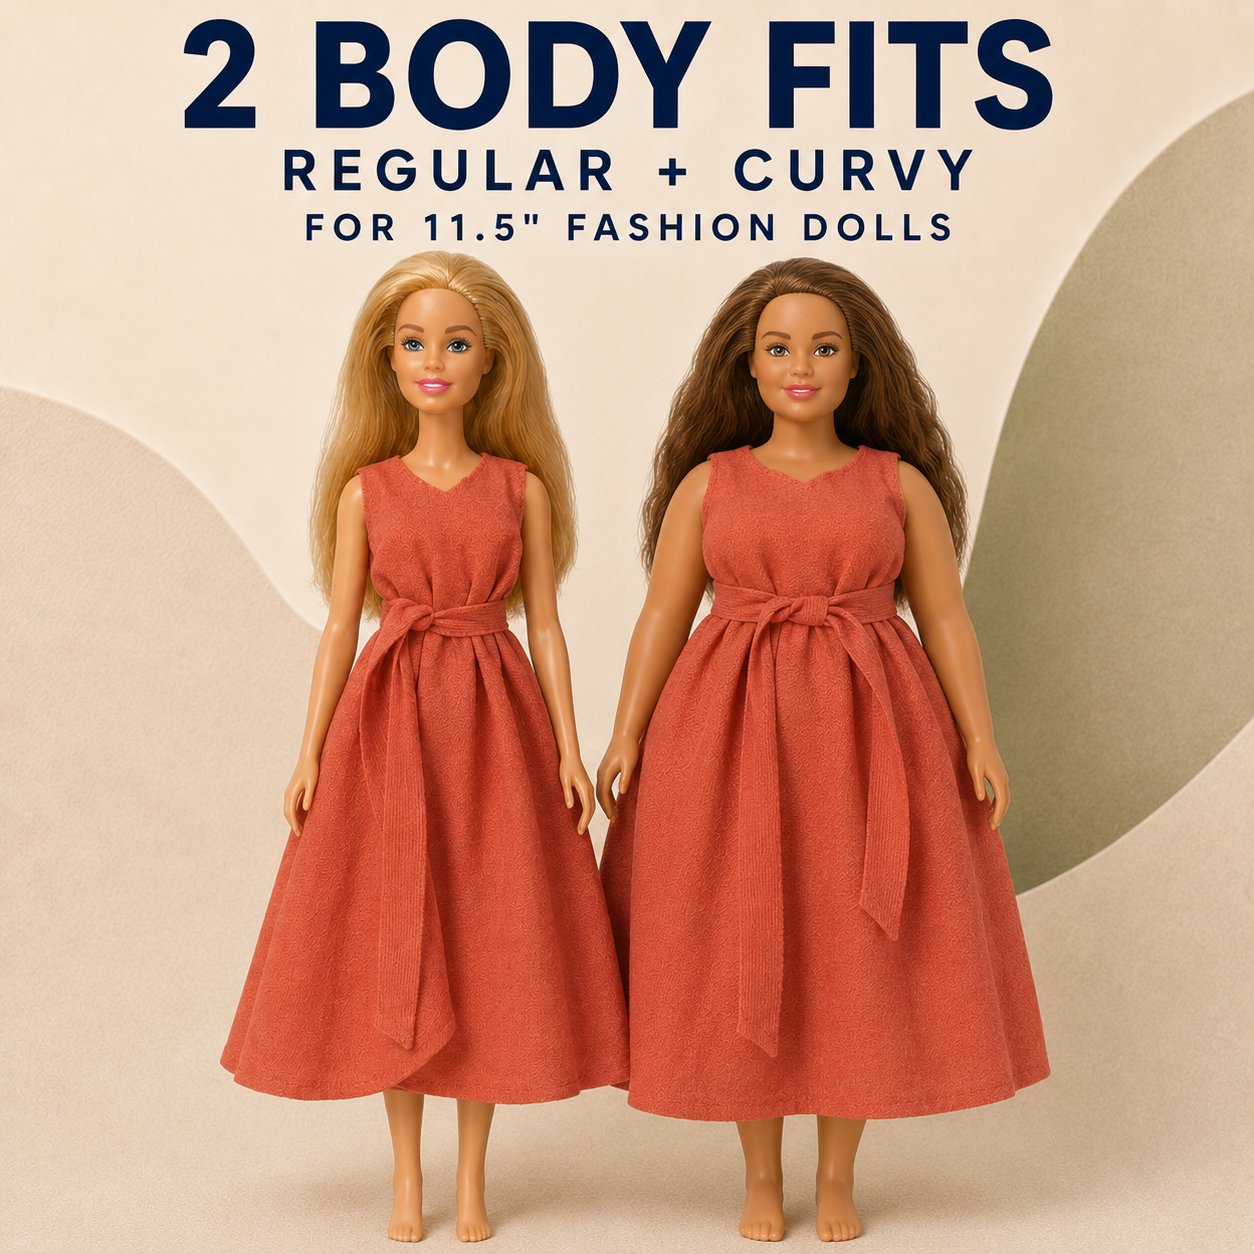
Free shipping on every order, worldwide · Handmade in Vilnius, Lithuania

Category: Sewing

  • Cutting Doll Clothes Patterns with Cricut® or Silhouette®: How to Use Our SVG Files

    Cutting Doll Clothes Patterns with Cricut® or Silhouette®: How to Use Our SVG Files

    Most of our doll sewing patterns come as two files: a PDF to print and cut with scissors, and an SVG for a cutting machine. The SVG is the same drawing as the PDF, saved as vector lines a Cricut® or Silhouette® machine can follow. It can cut the paper pattern pieces for you, which is the quickest win, or cut the fabric itself if your machine has the right blade. This post explains what is inside our SVG files and how to get them onto the mat without surprises. Cricut® and Silhouette® are trademarks of their owners; we are not affiliated with either company, and we have written this from their published help pages and our own files, so always follow your machine's manual.
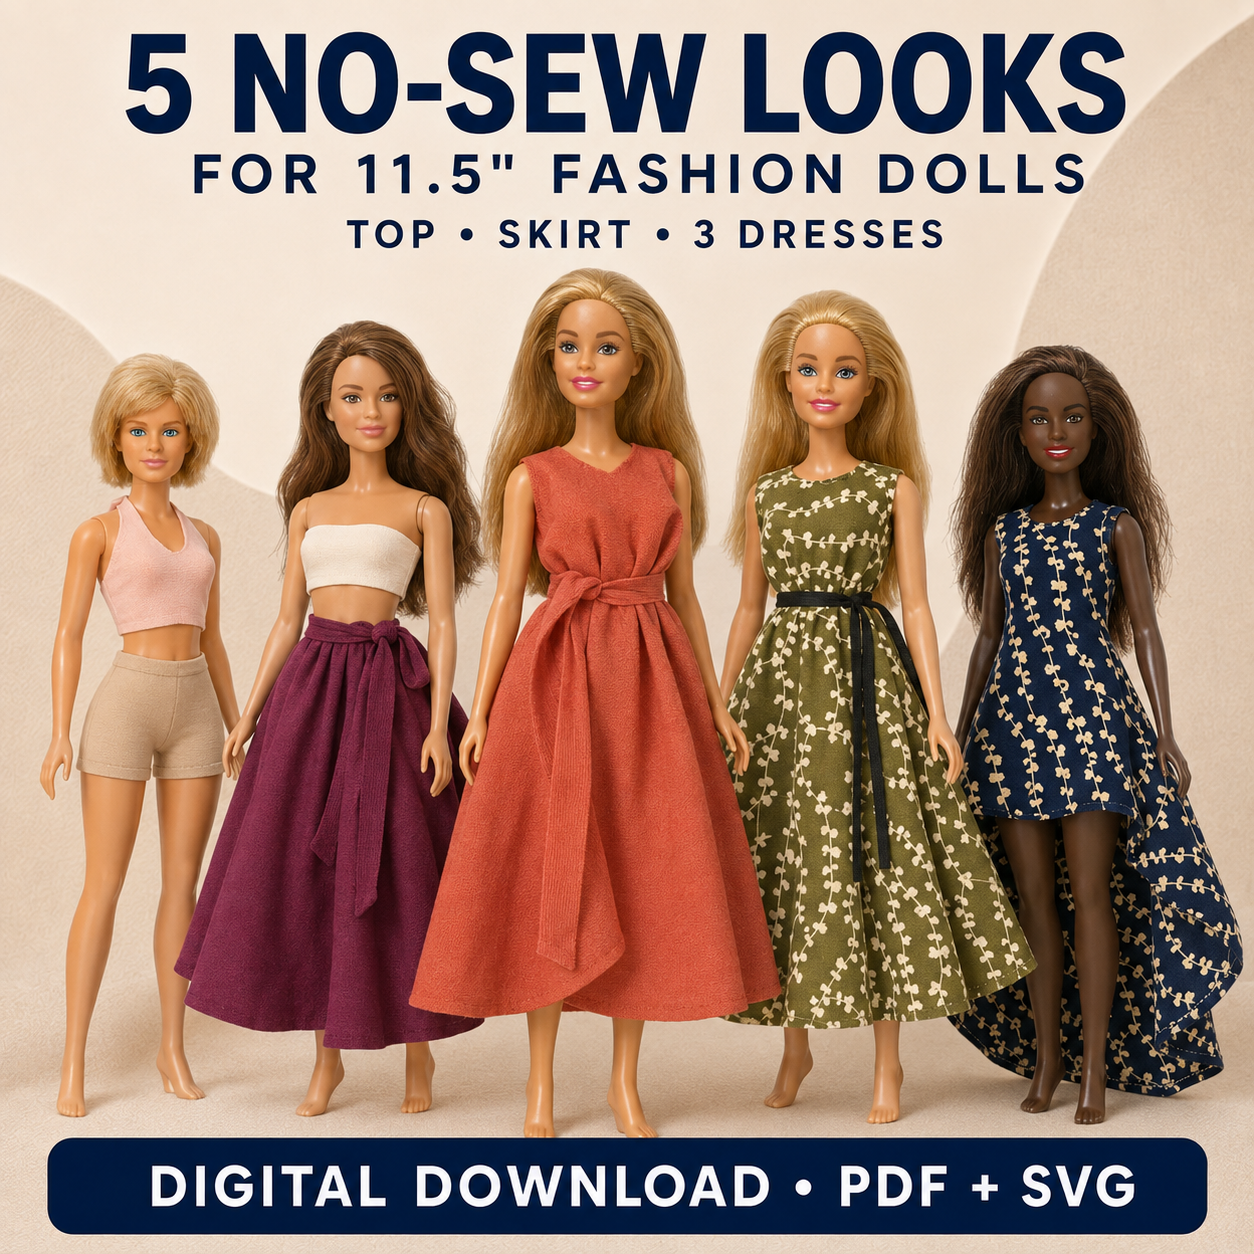
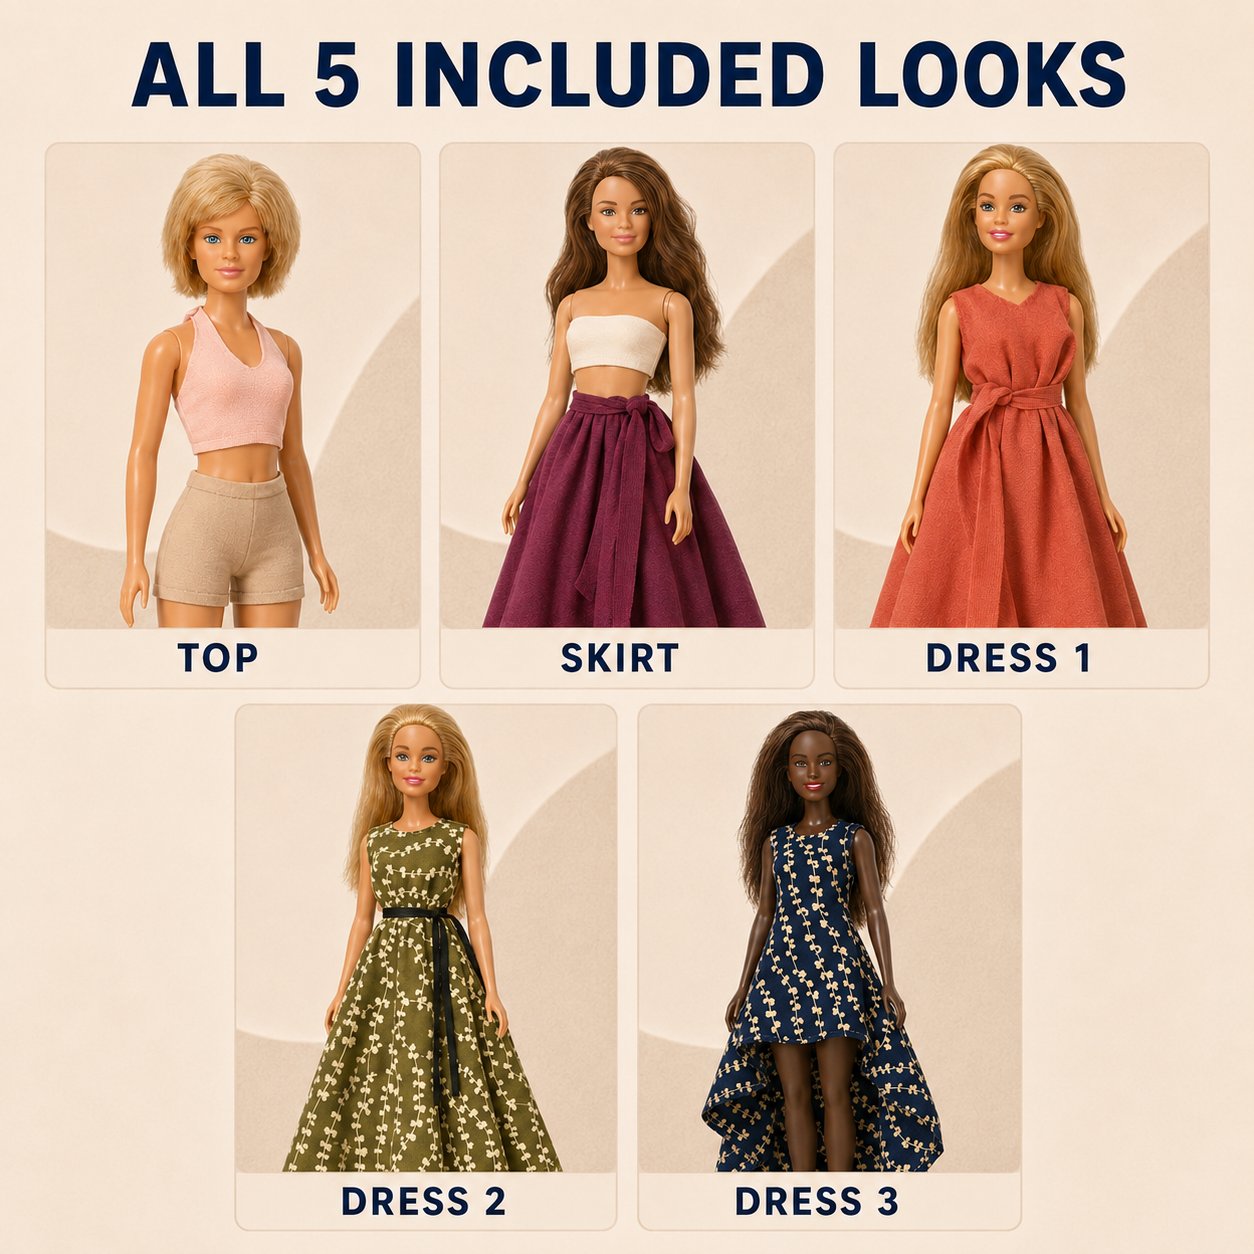
    Five 11.5 inch fashion dolls in handmade no-sew clothes: a tie top, a wrap skirt and three dresses, with the words PDF and SVG
    The no-sew set is the simplest pattern to start with on a cutting machine: a few pieces, no seams.

    What is inside the SVG file

    • A ZIP with one or more SVG files. Where a pattern has Regular and Curvy pieces, they are separate files, so you open only the size you need.
    • Each file is one A4 page drawn at real size, in millimetres. Nothing is scaled; a 1 cm bar in the file is 1 cm on the mat.
    • A layer for each pattern piece (front, back, sleeve, collar and so on), plus a Measures layer with 1 cm and 1 inch bars for checking the size, and a sheet outline.
    • Two kinds of line, the same as on the PDF: a solid red cut line, which already includes the 3 to 4 mm seam allowance, and dashed black lines for the seam, fold and hem. Letters mark which edges sew together, and the closure placement is marked on the back pieces.
    • Text labels: the piece names, the letters and the notes are live text in the file, not outlines.

    The files were drawn in Inkscape, which is free, and they open in any vector program. You do not need a cutting machine to use them: open the SVG, print at 100 percent and you have the paper pattern.

    Two things to do before you upload to Cricut® Design Space

    Remove the text labels. Design Space does not accept editable text in an SVG; Cricut lists it among the items that are not supported and asks for text to be converted into a shape first. Our labels are plain text, so open the file in Inkscape or another vector program, select the text objects and delete them, then save a copy. You still have the PDF for the names and letters. Converting the labels to outlines instead is possible but less useful, because the machine would then cut the letters out of your paper.

    Decide what to do with the dashed lines. A cutting machine cuts every line it is given. If you upload the file as it is, the seam, fold and hem lines are cut too, and your pattern piece falls apart into strips. Either delete the dashed lines in the vector program as well, leaving only the red cut lines, or hide them after upload: in Design Space, ungroup the image, select the layer, open Contour and click the lines you do not want cut. They turn lighter and are skipped. Cricut's own guide to Contour has the steps for desktop and mobile.

    Check the size after import

    Our files state their size in millimetres, so they should arrive at real size, but import scaling is the most common complaint with any SVG, so check before you cut. Keep the Measures layer in the file until this step: select the 1 inch bar and read its width in the size box. It must be 1 inch (2.54 cm). If it is not, select everything together and scale it until the bar is right, then delete the bar. Skip this and every piece can be 25 or 33 percent off, which on a doll bodice means it will not close.

    Cutting paper pattern pieces

    This is what most people use the SVG for, and it works on any machine that cuts paper. Load printer paper or thin card on a light-grip mat, set the material to paper or cardstock and cut. You get clean pieces with every curve exact, which matters more on a 3 mm seam allowance than on a full-size pattern. Pin or weight them on the fabric and cut with scissors as usual, then sew on the seam line 3 to 4 mm in from the edge.

    Cutting fabric directly

    Fabric is where the machines differ, and where the size of doll pieces matters. According to Cricut's blade guide, the Rotary Blade fits only the Maker machines, cuts fabric without any backing and should be used on the FabricGrip mat; Cricut recommends it for shapes 3/4 inch (1.9 cm) or larger. Our narrowest pieces, the collar and band strips, are about 2.2 cm wide, just above that limit; anything smaller, such as straps you add yourself, is better cut by hand. The Bonded-Fabric Blade, which fits Maker and Explore machines, is recommended for more intricate cuts, but on fabric that is bonded or has an iron-on backer. For the Silhouette machines, Silhouette's material guide says fabric is cut either with a stabilizer pressed onto the back or with the Cameo 4 Rotary Blade.

    A backing changes how a tiny piece behaves. A fused backer stiffens a woven fabric, and a stiff 3 mm seam allowance is hard to press and turn; a wash-away stabilizer comes out afterwards. Test one piece before you cut a whole dress. A sensible split is to cut the large pieces, skirts and bodices, by machine and anything below the machine's own size recommendation by hand.
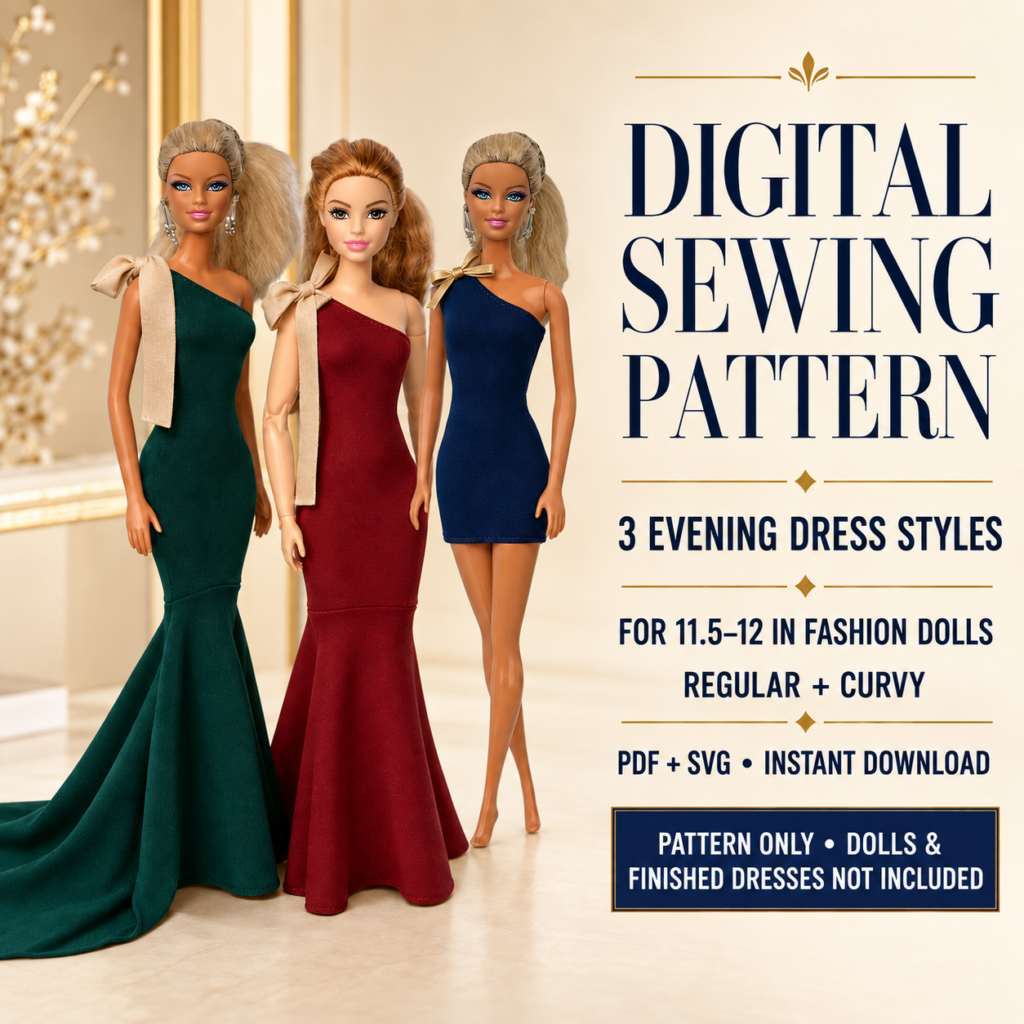
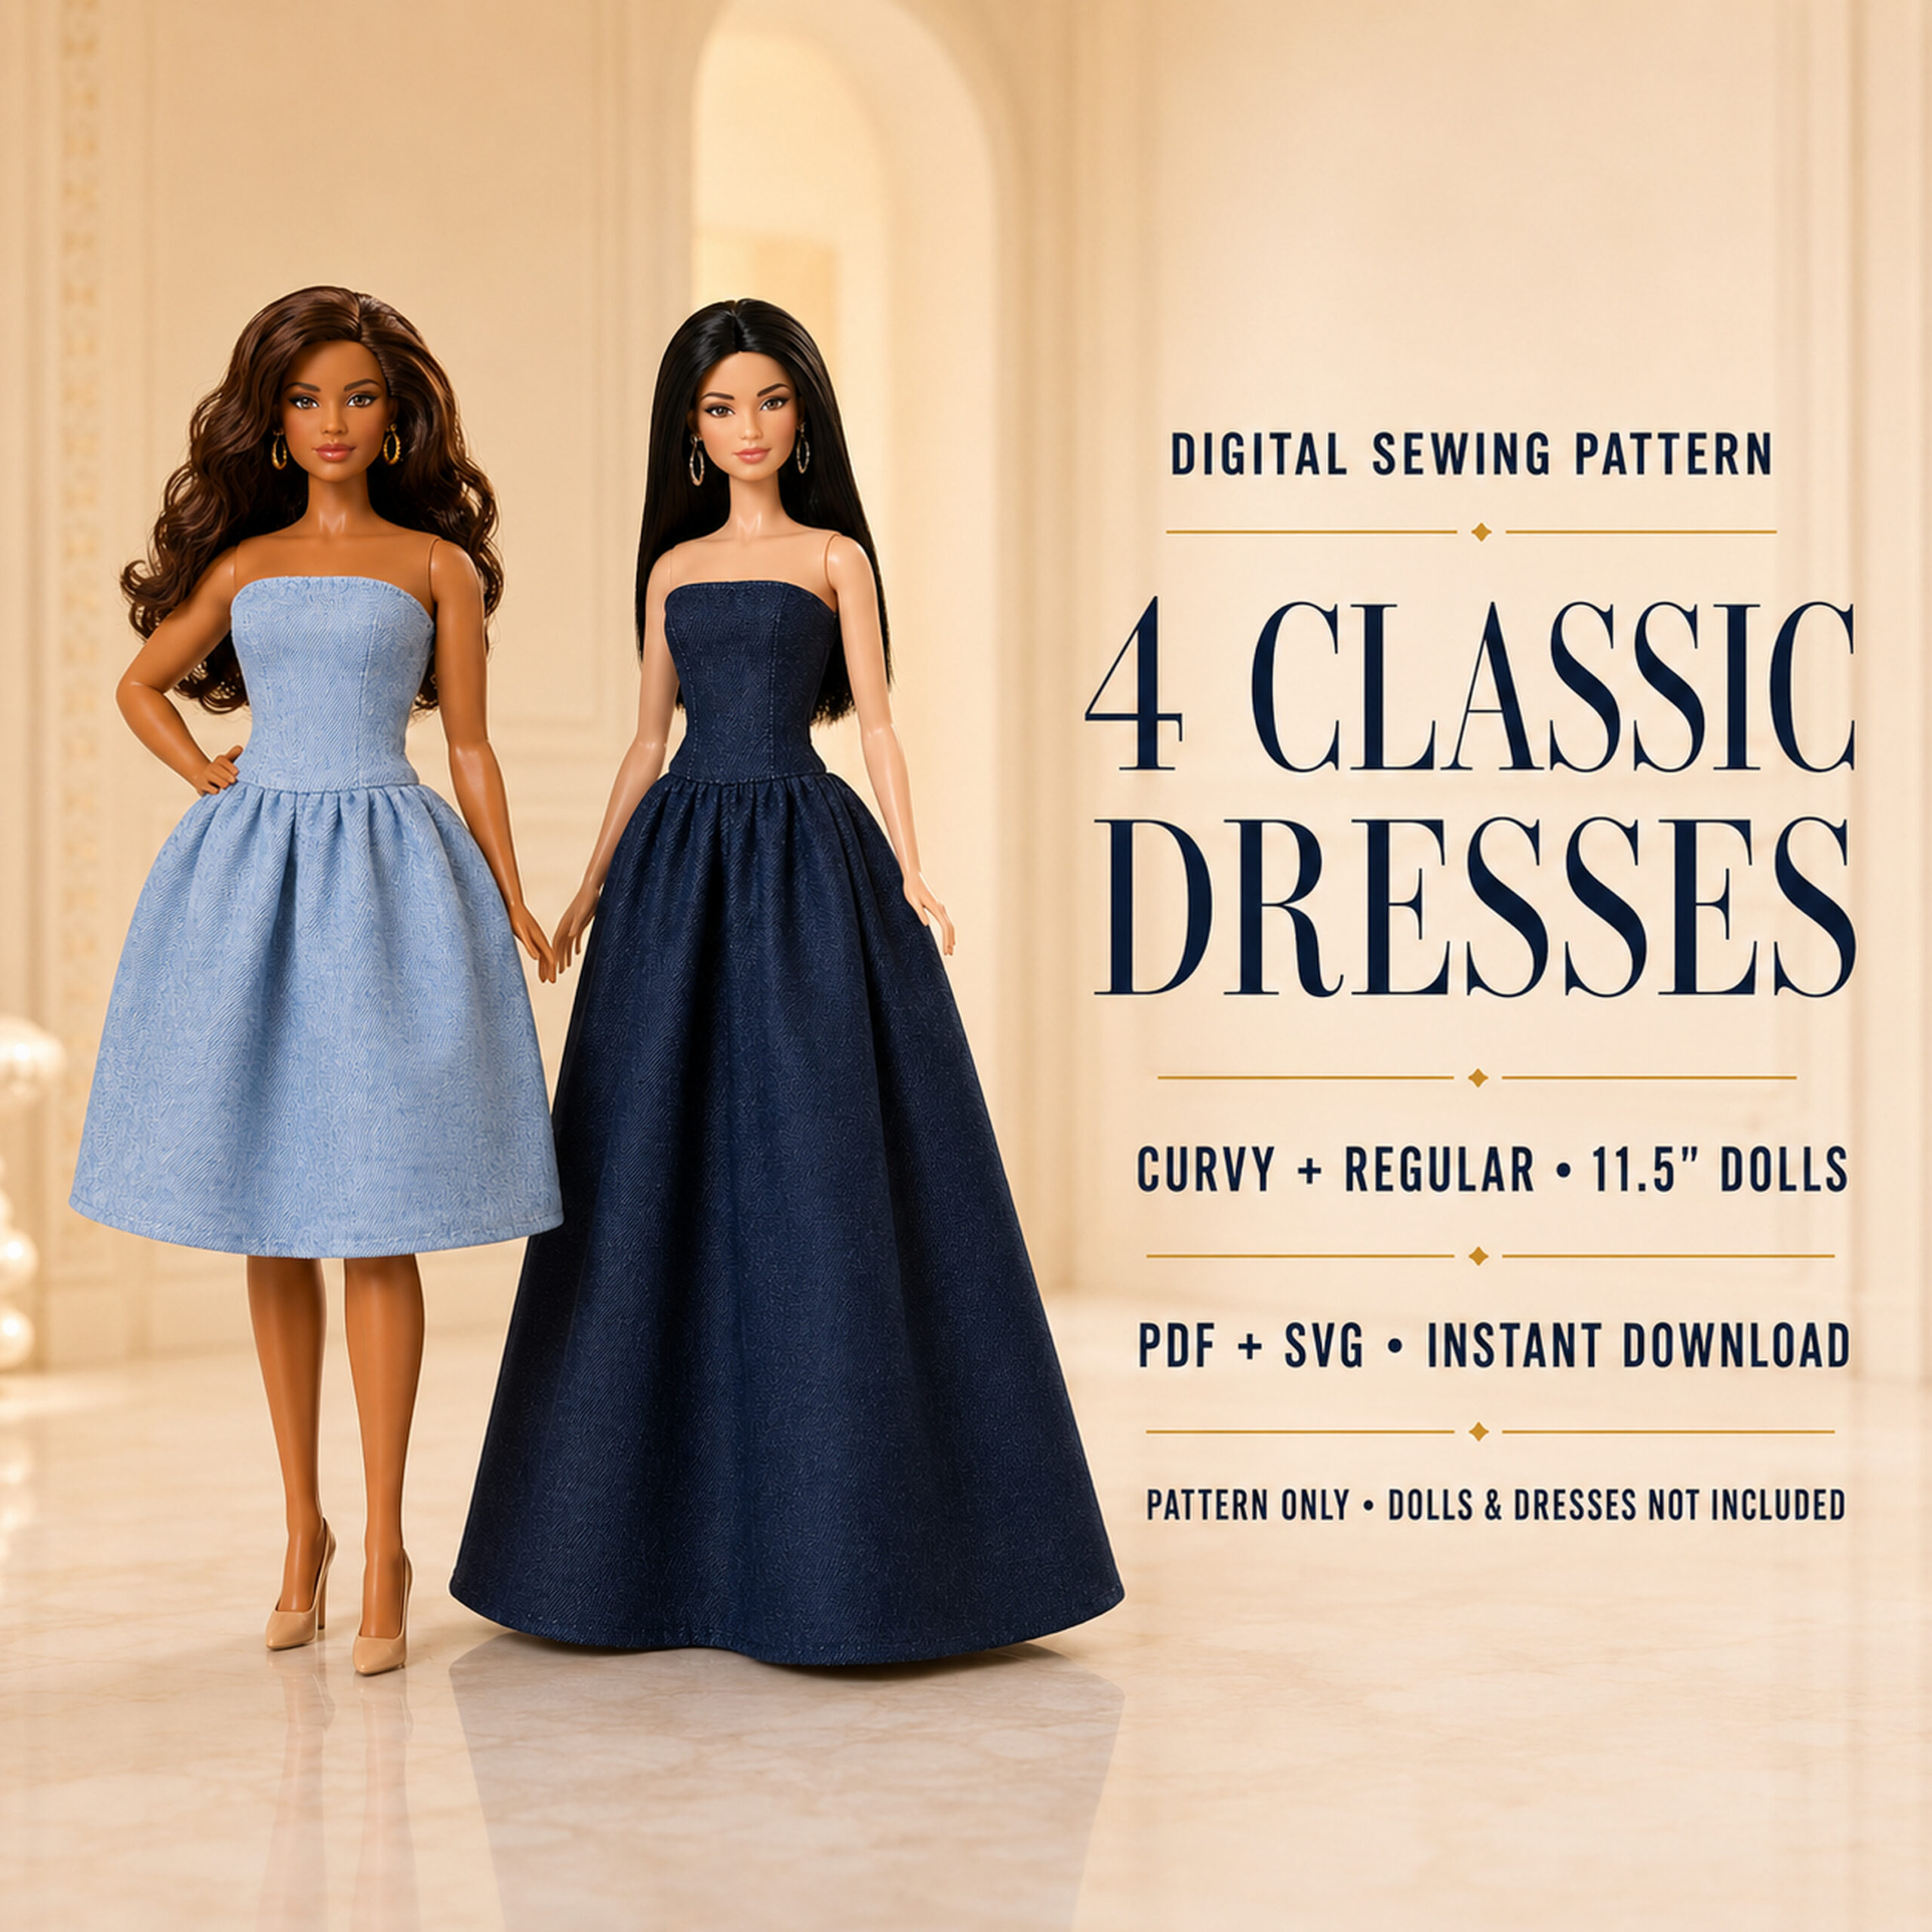
    Digital sewing pattern with 3 evening dress styles: dolls in a green gown with a train, a burgundy gown and a navy cocktail dress
    Long gowns have the largest pieces of any of our patterns, the easiest to cut from fabric by machine.

    Silhouette Studio: which edition opens SVG

    Silhouette Studio Basic Edition does not open SVG files. According to Silhouette's file types page, SVG import needs the Designer Edition, a paid upgrade; the Basic Edition opens its own STUDIO files, DXF and image formats. The Designer Edition can also import our PDF as vector lines, so if you already own it, either file works. The same two points apply as with Cricut: remove or ignore the labels, and tell the software which lines are cut lines.

    Which of our patterns include SVG

    All of our dress, T-shirt and sweater patterns and the no-sew set come as PDF + SVG; the two leggings and top patterns are PDF only. The product title says which. For a first try on the machine we would pick the no-sew set, because the pieces are few and there are no seam lines to worry about, or the male doll T-shirt, whose pieces are a front, a back, a collar and a sleeve. The cocktail and evening dress and the evening gowns come as separate Regular and Curvy files.

    Questions we get

    Do I need the SVG at all?

    No. The PDF prints at 100 percent on A4 or US Letter and is all you need to sew. The SVG is a convenience for people who own a cutting machine or like to work in a vector program.

    Can I resize the pattern for a bigger doll?

    You can scale a vector, but a scaled pattern does not fit a different body: an 18 inch doll is not a 1:6 doll made larger, and the seam allowance would scale too. Our patterns are drafted on the 11.5 inch and 12 inch bodies they list.

    May I sell what I cut and sew from the files?

    You may sell items you sew yourself from the pattern in small quantities, with the credit Pattern by DiNerija. Sharing or reselling the files themselves, including the SVG, is not allowed.

    All patterns are in Sewing Patterns, and each product page lists the files you get and the body types the pattern fits.
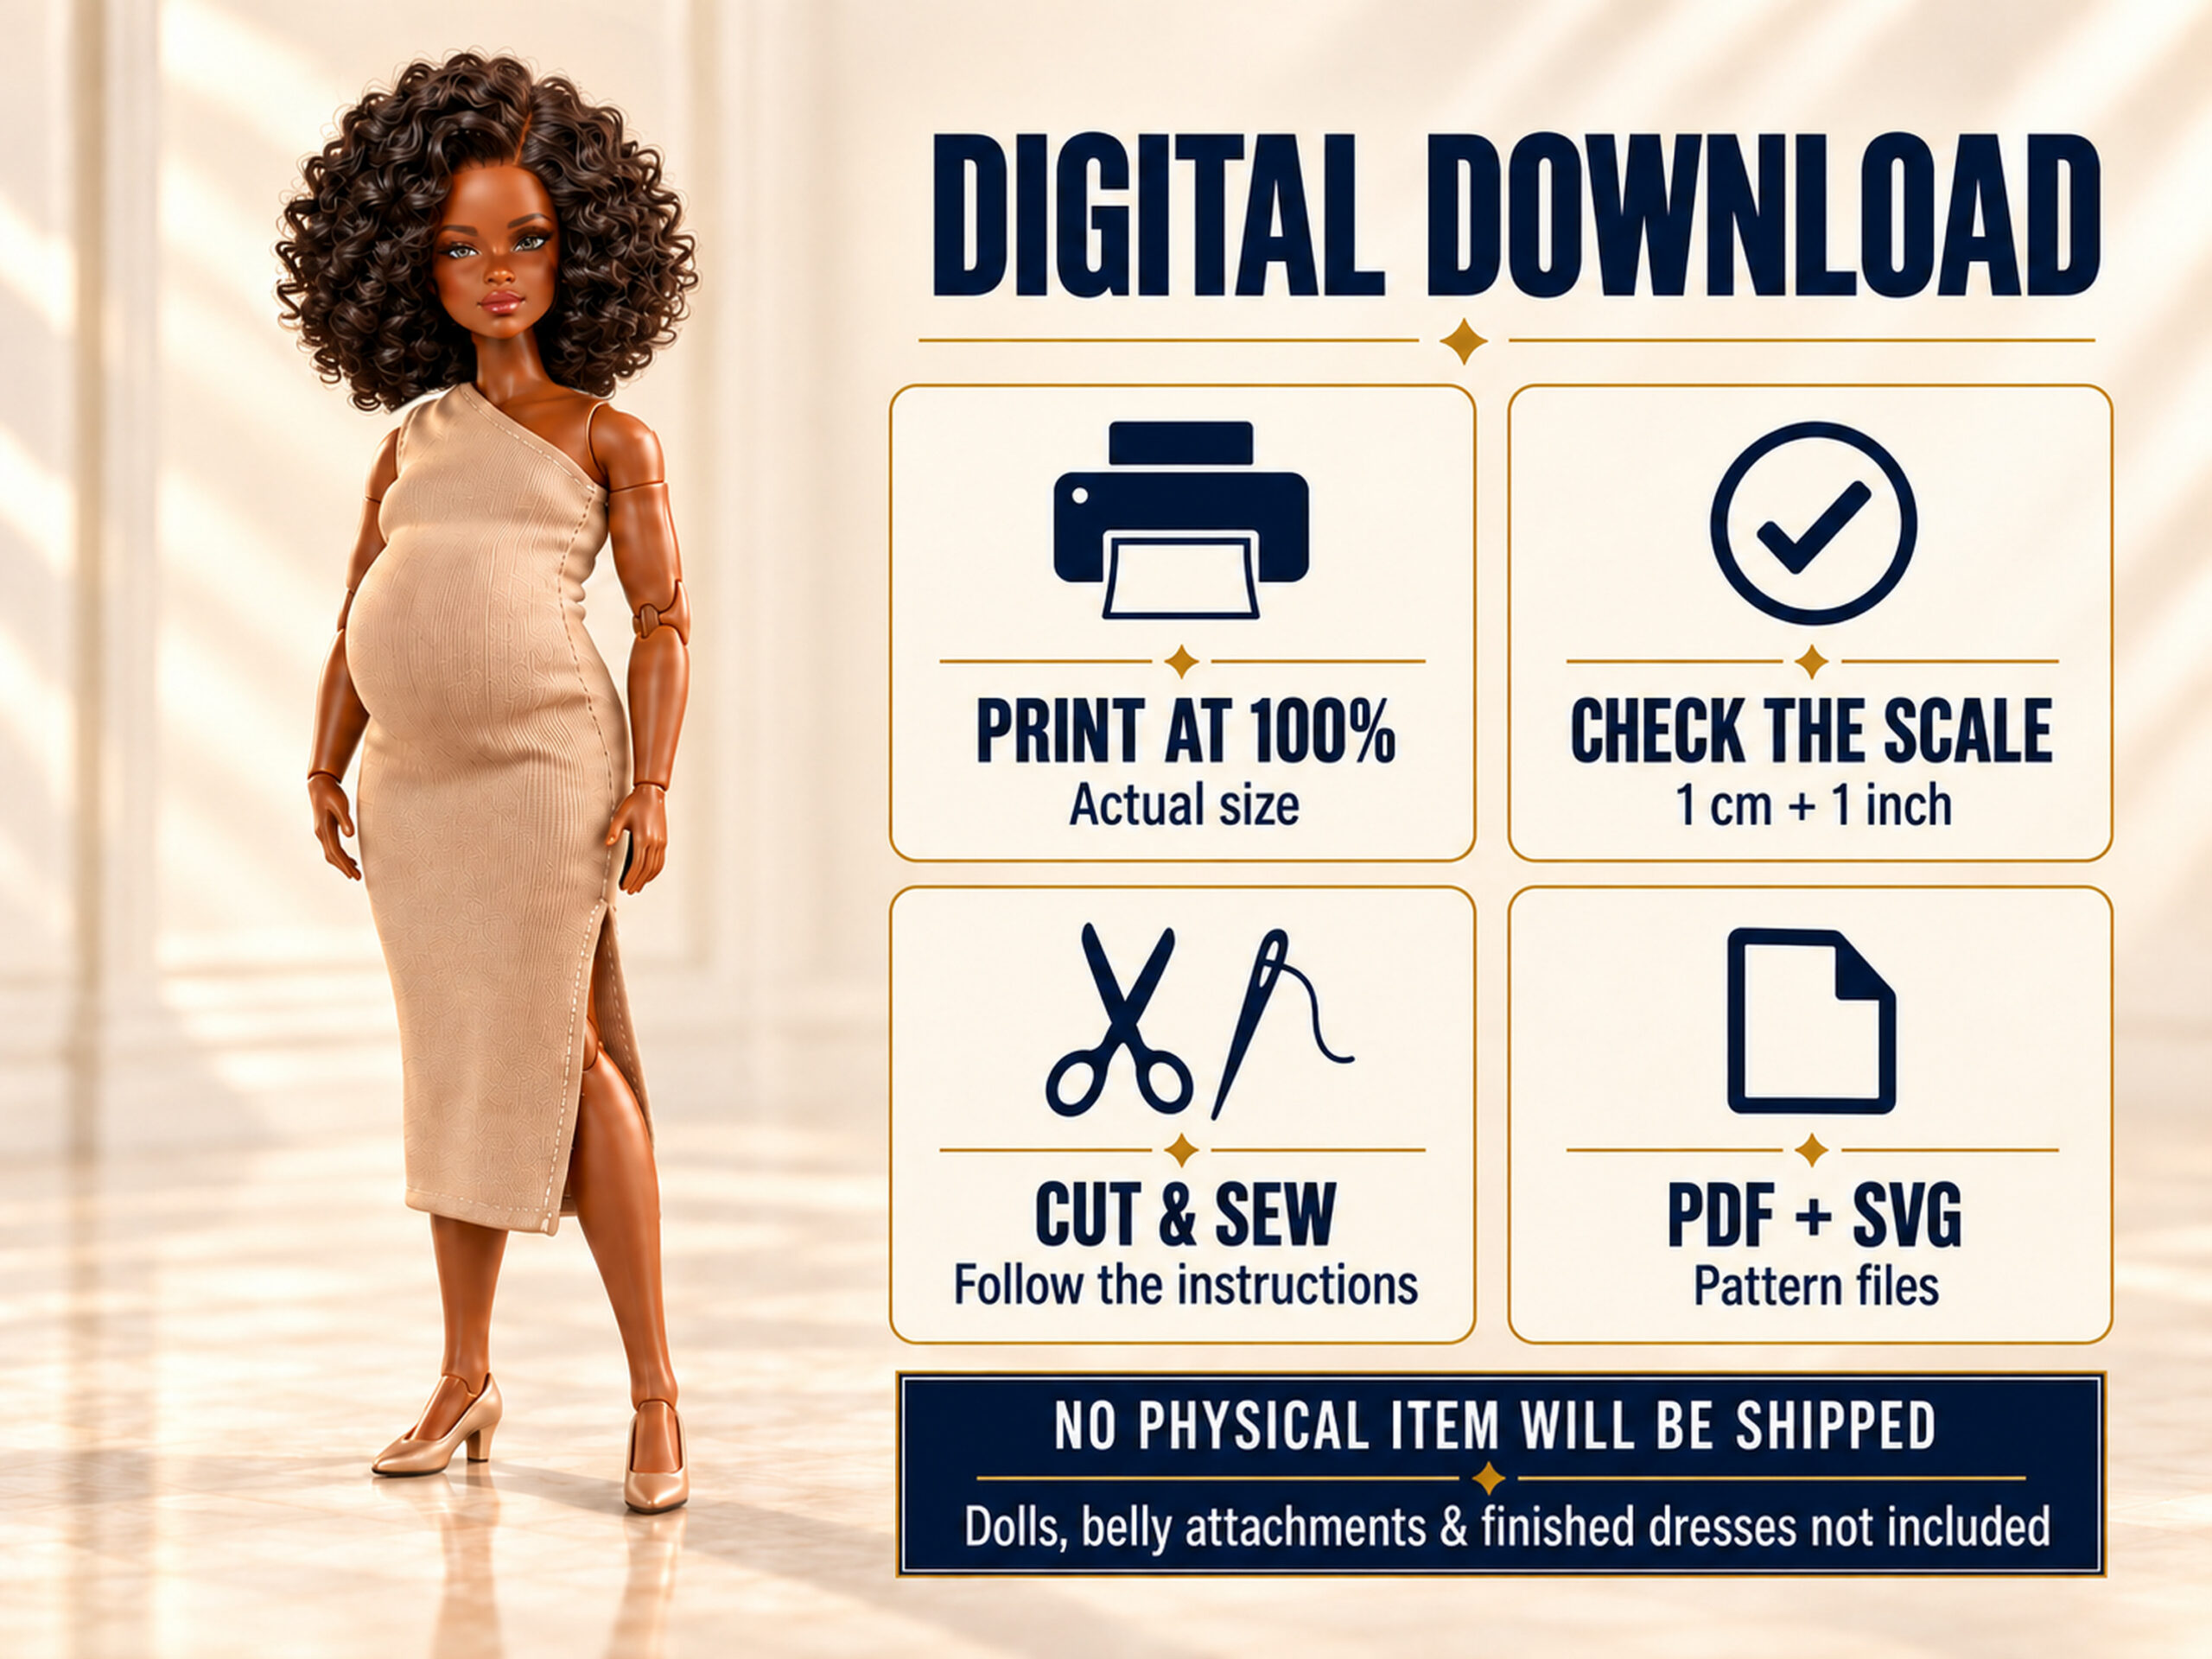
  • How to Print a PDF Doll Sewing Pattern at the Right Size

    How to Print a PDF Doll Sewing Pattern at the Right Size

    With doll clothes, small mistakes add up fast. If your printer shrinks a pattern by 3 percent, you would hardly notice it on a skirt for yourself. On a doll with a 9 cm waist, 3 percent is almost 3 mm, which is the whole seam allowance of a doll pattern. That is the difference between a skirt that closes and one that does not.

    All our PDF patterns for 11.5 inch fashion dolls such as Barbie® are made to print at 100 percent on A4 or US Letter paper. The catch is that many printers and PDF viewers do not print at 100 percent unless you tell them to.

    Two 11.5 inch fashion dolls in handmade black leggings, shorts and tube tops, next to the words Leggings and Top Sewing Pattern
    The leggings and top pattern prints on four pages, at 100 percent.

    Use the right print settings

    If you can, open the pattern in a PDF reader rather than in a web browser. Browser print windows often scale the page without asking. Then, in the print window:

    • Choose "Actual size", "100%" or "No scaling". The wording depends on the program.
    • Turn off "Fit to page", "Shrink oversized pages" and "Fit to printable area".
    • Pick the paper size you have in the printer, A4 or US Letter. Our files print at 100 percent on either.
    • Leave the orientation as it is in the file.
    • Print one sheet first, check it, then print the rest.

    Check the test marks

    Every one of our pattern sheets has a 1 cm line and a 1 inch line printed on it. After printing, lay a ruler on both. If they measure true, the pattern is the right size and you can cut. If either is short or long, the printer scaled the page: go back to the print settings before you print the other sheets. This check takes ten seconds and catches almost every sizing problem before it reaches the fabric.

    Check against the doll

    Hold the printed skirt or bodice piece against your doll. Our patterns include the seam allowance, about 3 to 4 mm, so the piece should be a little bigger than the doll, not the same size. If it is clearly too small or too big even though the test marks are right, check that you printed the sheet for your doll's body type: several patterns have separate Regular and Curvy pieces, and the Size Guide explains how to tell the bodies apart.

    No printer?

    Open the PDF on a screen, zoom in until the 1 cm line on the screen measures exactly 1 cm with a ruler, lay thin paper over the screen and trace the pieces. A print shop will also print the file for you; ask for 100 percent, no scaling. Patterns that come with SVG files can be opened in a vector program such as Inkscape, which is free, and printed from there at 100 percent as well.

    Paper or card?

    Plain printer paper is fine for one or two outfits. If you plan to sew the same piece many times, trace it onto thin card. It lasts longer and is easier to draw around on fabric. Do not cut the pattern pieces apart on the printed sheet until you have checked the test marks; once the sheet is cut, the marks are easy to lose.

    Digital sewing pattern with 3 evening dress styles: dolls in a green gown with a train, a burgundy gown and a navy cocktail dress
    The evening gowns pattern comes as separate sheets for Regular and Curvy dolls.

    A4 or US Letter

    The two paper sizes are close but not the same: A4 is a little narrower and longer than US Letter. Our pattern sheets print at 100 percent on either, so you do not need to convert anything. What matters is that the paper size chosen in the print window matches the paper in the tray; if the two differ, some printer drivers quietly scale the page to make it fit, and the test marks come out short. Set the size, print one sheet, measure, then print the rest.

    The two-minute checklist

    1. PDF reader, not a browser.
    2. Actual size or 100 percent; Fit to page off.
    3. Paper size in the window = paper in the tray.
    4. Print one sheet, measure the 1 cm and 1 inch marks.
    5. Pick the sheet for your doll's body type, then print the rest.

    Questions we get

    Can I scale the pattern up for a bigger doll?

    Scaling changes every measurement at once, including the seam allowance, and a bigger doll is not a 1:6 doll made larger. Our patterns are drafted for the 11.5 inch and 12 inch bodies listed on each product page.

    The print is right, but the piece does not fit my doll.

    Check the body type first. A Regular bodice will not close on a Curvy doll, and a Curvy skirt slides down on a Regular one. The product page says which bodies the pattern was fitted on.

    The file will not open.

    The download link is on your order page and in your confirmation email. If the file does not open or something looks wrong, write to us at mbdinerija@gmail.com with your order number and we will help.

    You can find all our patterns under Sewing Patterns. Each pattern says which body types it was fitted on; if you are not sure which body your doll has, the Size Guide explains how to tell.

  • Sewing Tiny Doll Clothes: 10 Tips for Clean Seams at 1:6 Scale

    Sewing Tiny Doll Clothes: 10 Tips for Clean Seams at 1:6 Scale

    A dress for an 11.5 inch doll is sewn with the same steps as a dress for a person. What changes is the scale: a seam allowance of 3 to 4 mm, a dart a centimetre long, a hem you can cover with a fingertip. Most of the mistakes that show up on a first doll dress come from treating those small numbers as if they did not matter. These ten tips are collected from the instructions we ship with our patterns, in one place.

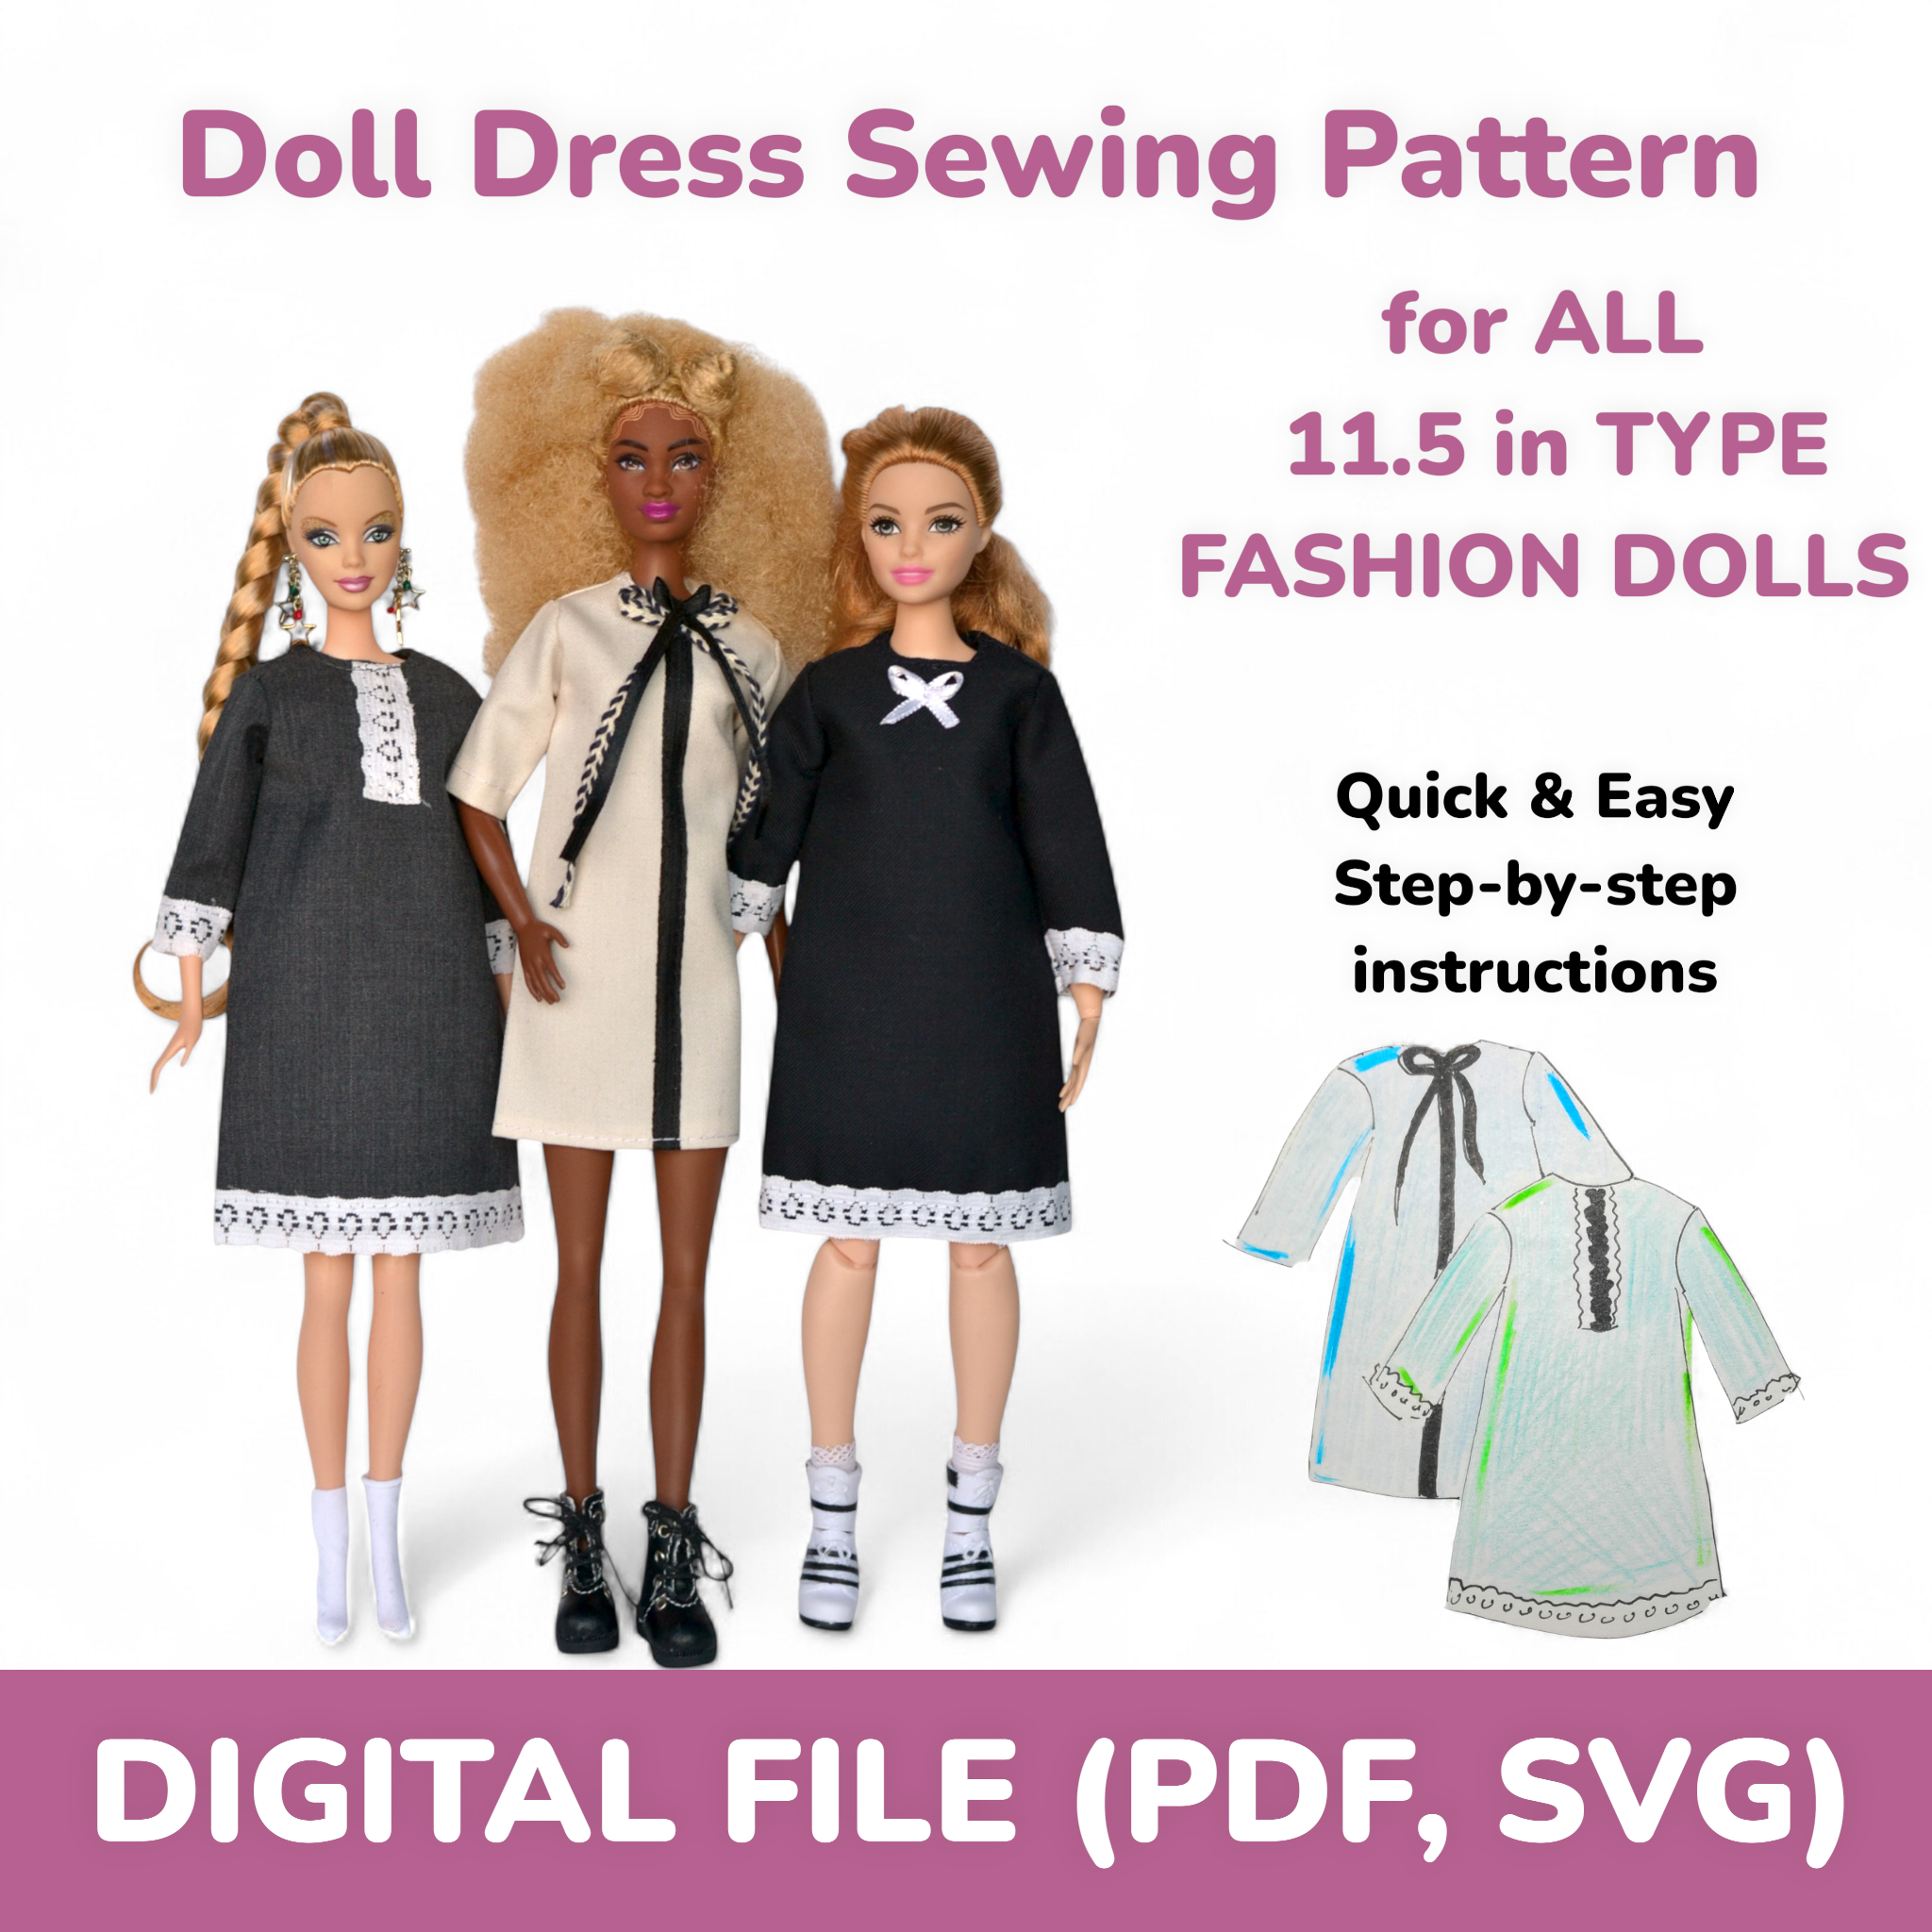
    Three 11.5 inch fashion dolls in handmade long sleeve dresses with collars: dark with lace trim, cream with a black ribbon, dark with a bow and lace
    The same straight dress three times, with lace at the cuffs and hem or a ribbon at the neck.

    1. Print at 100 percent and check the test marks

    Every one of our patterns has a 1 cm line and a 1 inch line printed on the sheet. Print at Actual Size, never Fit to Page, then lay a ruler on both lines before you cut anything. If either is off, the pieces will not match each other and the garment will not fit the doll, however carefully you sew. No printer? Open the PDF, zoom until the 1 cm line on the screen measures exactly 1 cm, lay thin paper over the screen and trace. A print shop will also print at 100 percent if you ask.

    2. Cut on the red line, sew on the dashed line

    Our pattern pieces include the seam allowance, about 3 to 4 mm. The solid red line is where you cut, the dashed black line is where you stitch. Keep to that distance. Sewing 2 mm further in sounds like nothing, but it takes 4 mm out of every seam, and a bodice has several of them: the dress can come out more than a centimetre smaller around, which is a full size at this scale.

    3. Use the fabric the pattern asks for

    Fitted dresses are drafted for non-stretch woven fabric. Sew the same pieces in a knit and the garment comes out bigger, because the fabric gives; if you must use stretch, take the top edge in where the closure goes. T-shirts, leggings and the oversized sweater are the opposite: they want jersey, stretch cotton or a polyester knit. For a first knit project, avoid very thin, see-through fabric, it is harder to control. If you like denim, choose a lightweight one, the seams are tiny and heavy denim builds bulk fast.

    4. Fold right sides together and mind the grain

    Fold the fabric lengthwise with the right sides facing each other and the selvedges together. Symmetrical pieces, a front bodice or a sleeve, are cut on the fold, with the marked fold line on the fabric fold, so both halves come out the same. On a woven fabric the grain line arrow runs vertically along the fabric. On a knit, follow the arrow marked most stretch direction instead, so the garment stretches around the doll and not along her.

    5. Transfer every mark before you lift the paper

    Darts, notches, fold lines, the centre of a sleeve cap and the placement of the closure are all on the pattern. Mark them on the fabric with tailor's chalk or a fabric marker while the paper is still pinned on. At 1:6 scale there is no way to eyeball a dart later, and a sleeve set in without its centre mark twists.

    6. Sew darts from the wide end to the point

    Fold the dart with right sides together, matching the lines, and stitch from the wide end towards the point, tapering off the fabric. Do not backstitch at the tip: it puckers. Leave thread tails and tie a knot instead. Press the dart downwards or towards the side seam. Trim the fold only if it is bulky; a narrow dart is simply pressed to one side.

    7. Trim and press after every seam

    Trim the seam allowance after each seam to reduce bulk, without cutting close to the stitching, and press before you move on. Use a pressing cloth on delicate fabric. Press armhole seams towards the sleeve and side seams towards the back. On the waist seam, a line of topstitching from the right side is optional, but it keeps the seam flat and looks finished. Collars, cuffs and bottom bands are easier to attach if you fold them in half lengthwise and press the fold first.

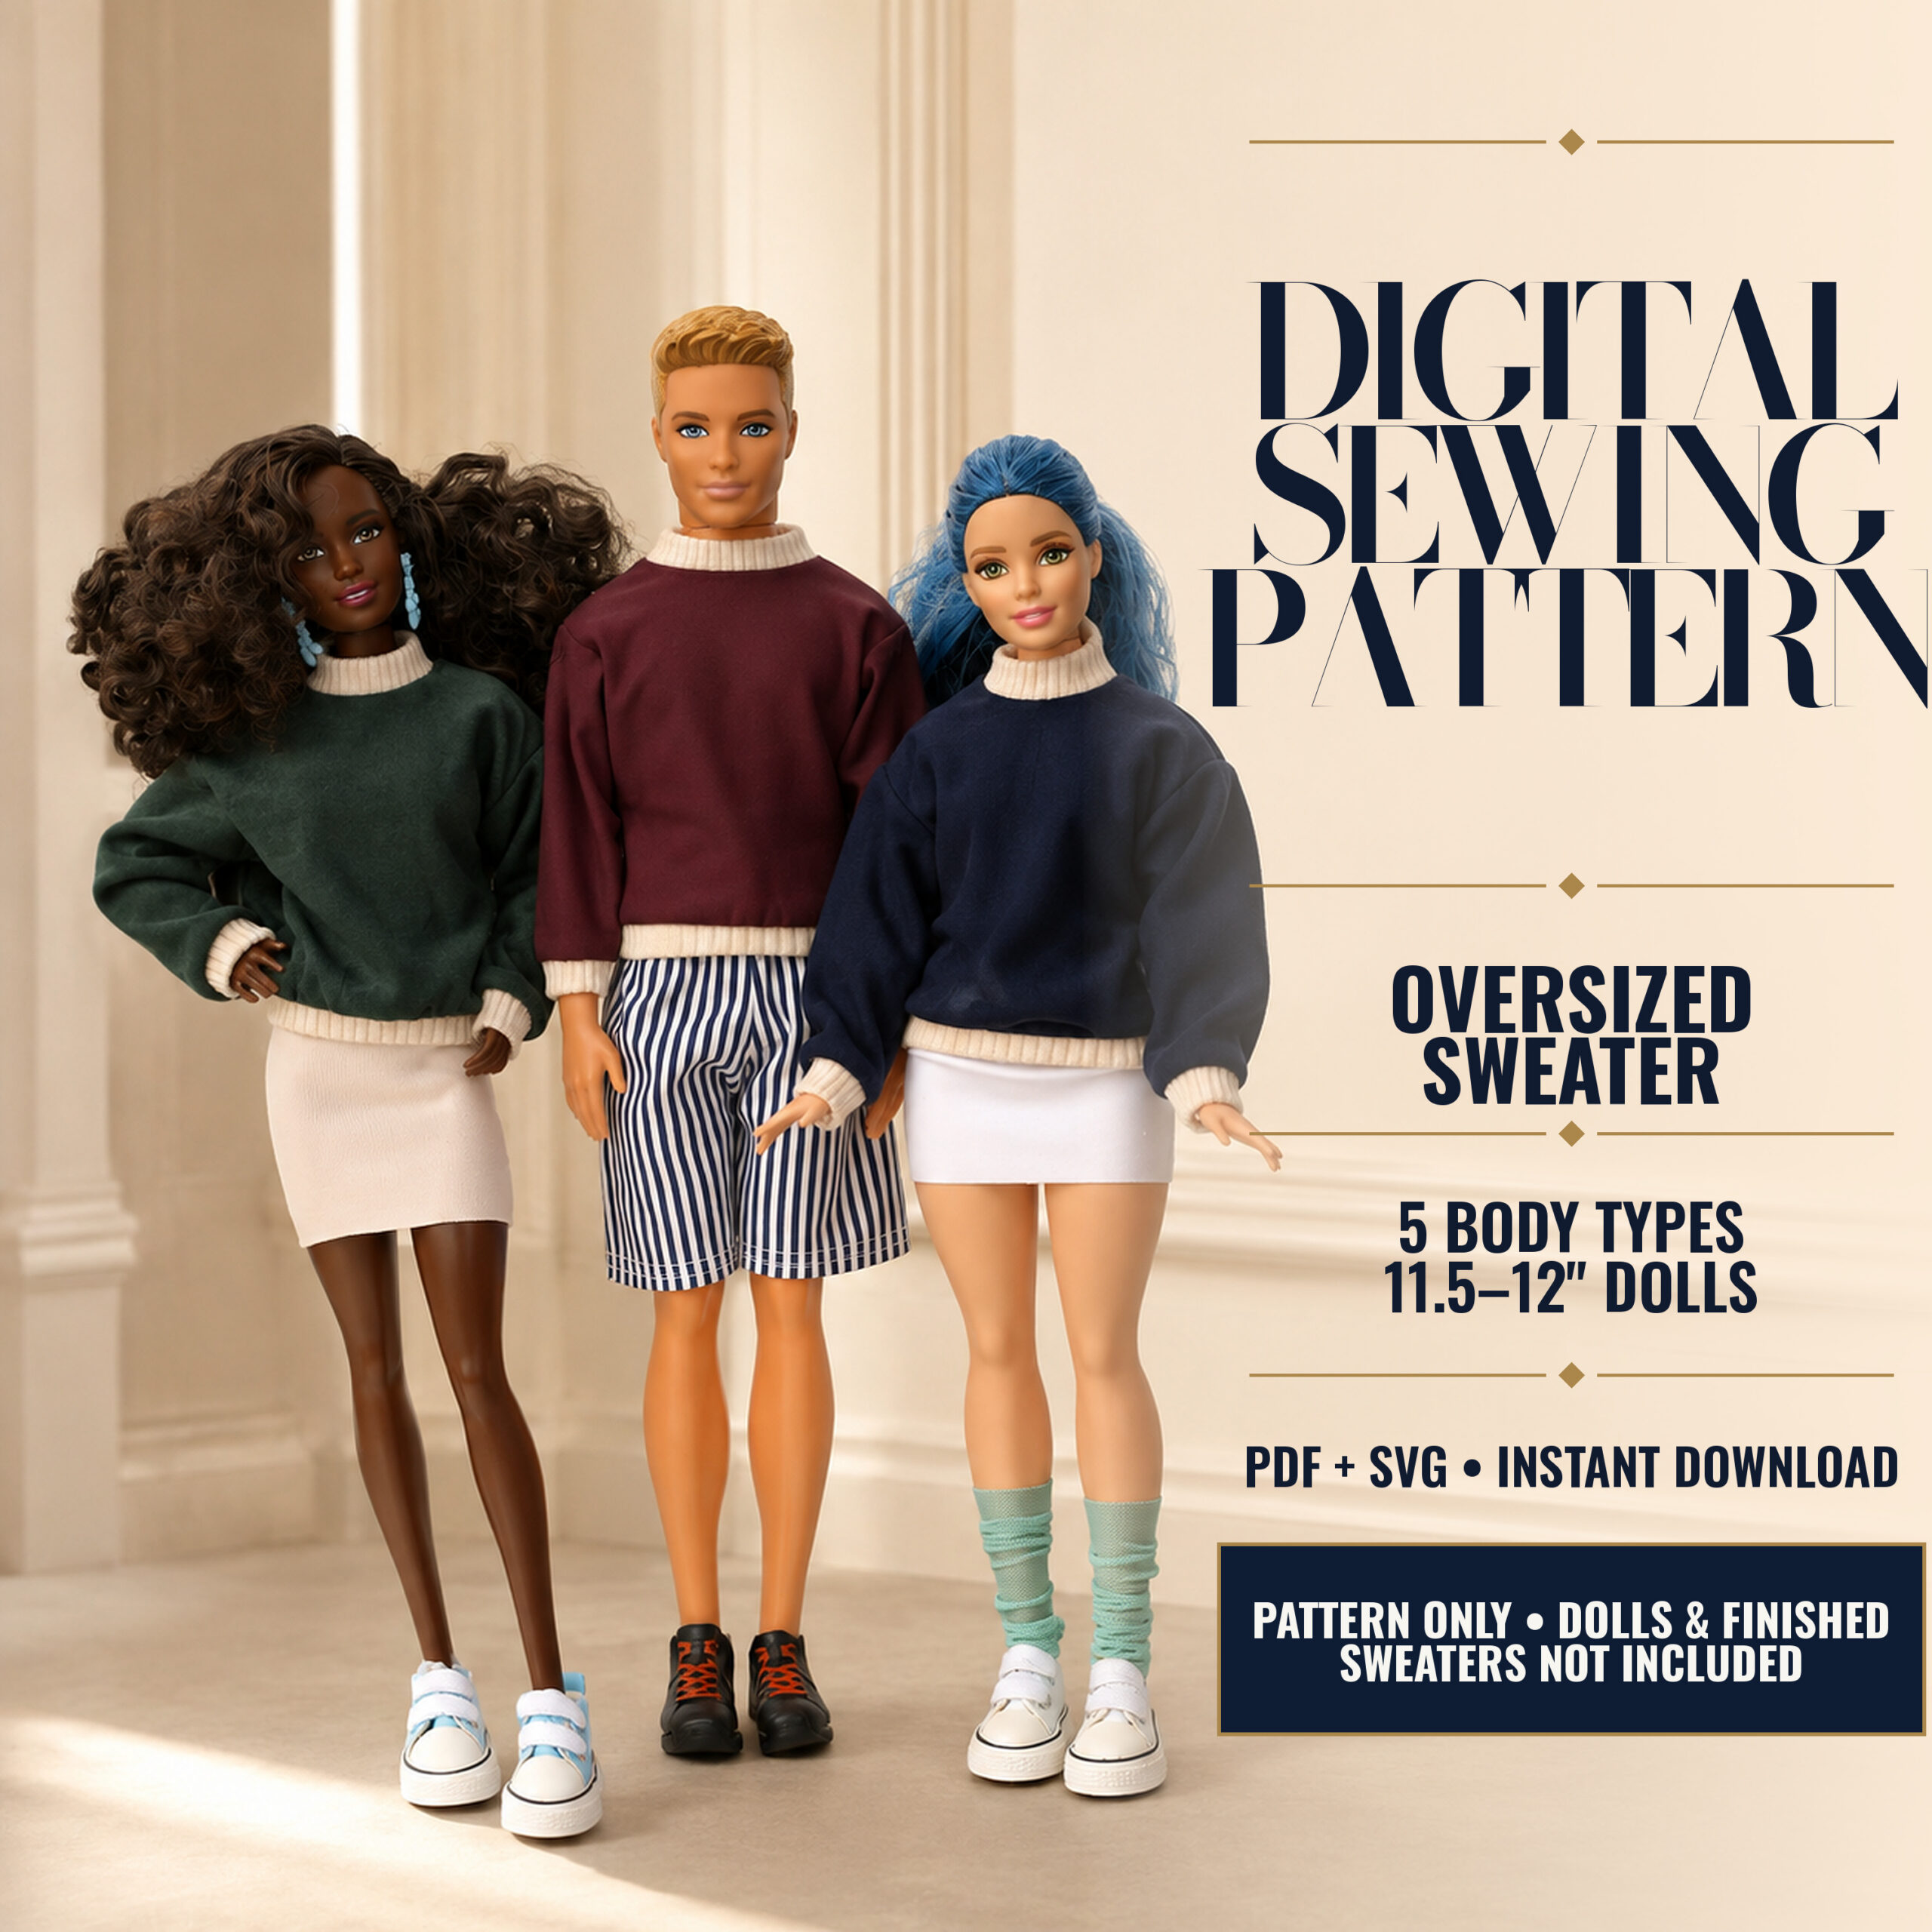
    Three 1:6 scale fashion dolls, one male, in handmade oversized knit sweaters with contrast collars and cuffs
    The oversized sweater: dropped shoulders, a collar, cuffs and a bottom band, all folded and pressed before they are sewn on.

    8. Stop the fraying

    Raw edges on a doll dress fray just as fast as on a full-size one, and there is less fabric to lose. Finish hems and armholes with a narrow zigzag, a serger if you have one, or pinking shears if you do not have a machine. Fold and stitch the raw edges of the back opening before the closure goes on. For a hem, fold 0.5 cm to the wrong side, then another 0.5 cm, press and topstitch. When you add ribbon or lace, fold the end of the trim under at the start so it cannot unravel.

    9. Keep the closure small and leave a dressing gap

    A back opening closes with hook-and-loop tape or small sew-on snaps. The tape does not need to run the full length of the opening: about a third of it, 5 to 6 cm, holds the dress closed and adds less stiffness. Snaps are more discreet and lie flatter, a good choice for a layered or evening dress. On a skirt, sew the centre back seam from the hem up and stop about 1.2 cm below the waist. That short gap is what lets the dress go over the doll's hips.

    10. Try it on the doll before the last trim

    Put the garment on the doll with all its seams sewn but the seam allowances still full, and close it. Check that the waist seam lies flat, that bodice and skirt darts line up, that the back opening is long enough to dress her without a fight, and that the closure sits flat. Only then trim the remaining allowances and cut the loose threads. A fitting at this stage costs a minute and saves the dress.

    Where to start

    • Never sewn for a doll: the no-sew set is cut and tied, no needle, and teaches you how the pieces sit on the body.
    • First real seams: the long sleeve dress is a straight dress with a collar and a back opening, rated beginner, and fits Regular, Curvy and Tall dolls.
    • Darts and a gathered skirt: the cocktail and evening dress in Regular or Curvy.
    • When darts feel easy: the fitted dress with overskirt is our intermediate pattern, with curved edges and a back closure.
    • Knits: the oversized sweater fits most 1:6 scale dolls, female and male, from one pattern.

    All of them are in Sewing Patterns, with the body types each one fits listed on the product page. If you are not sure which body type your doll is, the Size Guide shows how to measure her in a minute.

  • Sewing Patterns for Barbie® Clothes: A Beginner's Guide to Fit, Fabric and Seams

    Sewing Patterns for Barbie® Clothes: A Beginner's Guide to Fit, Fabric and Seams

    Sewing for a doll is sewing in miniature. The waist you are fitting is about nine centimetres around, a seam allowance is three or four millimetres, and a sleeve is the size of your thumb. None of that is hard, but it is different, and most of the trouble beginners run into comes from treating a doll pattern like a scaled-down version of a human one. This guide covers what we tell people who sew our patterns for the first time: which pattern to start with, how to pick the right fit for your doll, what the lines on the pattern mean, which fabric to use and how to sew seams that small.

    Our patterns are made for 11.5 inch fashion dolls such as Barbie®, drafted by hand on graph paper and sewn up on the real doll before they are digitised. Everything below applies to them; most of it applies to any doll pattern.

    Two 11.5 inch fashion dolls in denim dresses sewn from the cocktail and evening dress pattern
    The cocktail and evening dress pattern comes with separate pieces for Regular and Curvy dolls.

    Start with the right body, not the right dress

    Fashion dolls come on different bodies, and the difference is bigger than it looks. Mattel sells Barbie® Fashionistas on four of them, Regular (the original), Curvy, Petite and Tall, and a Curvy waist is more than a centimetre wider than a Regular one. A dress cut for one will not close on the other.

    Every one of our patterns says which bodies it was fitted on, and they are not all the same:

    If you are not sure which body your doll has, the Size Guide has photos, measurements and a table of which Barbie® line is which size. Check it before you buy, not after you cut.

    Print at 100% and measure the test marks

    Every pattern sheet has a 1 cm and a 1 inch mark on it. After printing, put a ruler on them. If they measure true, the pattern is the right size. If they do not, the printer scaled the page: open the PDF in a PDF reader, not a browser, and choose "Actual size" or "100%" in the print window, with "Fit to page" turned off. On a human pattern a 3% error is invisible; on a doll bodice it is the difference between a dress that closes and one that does not. The files are made for both A4 and US Letter.

    Read the lines before you cut

    Our PDF + SVG patterns include the seam allowance, about 3 to 4 mm, and each product page says so. The pieces show two lines: a dashed seam line, where you sew, and an outer cut line, where you cut. Do not add anything. Beginners sometimes add a "safe" extra 5 mm as they would on a blouse, and the dress comes out a size too big.

    Fold lines mean the piece is cut on folded fabric and opens into one symmetrical part. Small marks on the seam lines show where pieces meet; they matter more at this scale than at full size, because a millimetre off at the shoulder shows at the hem.

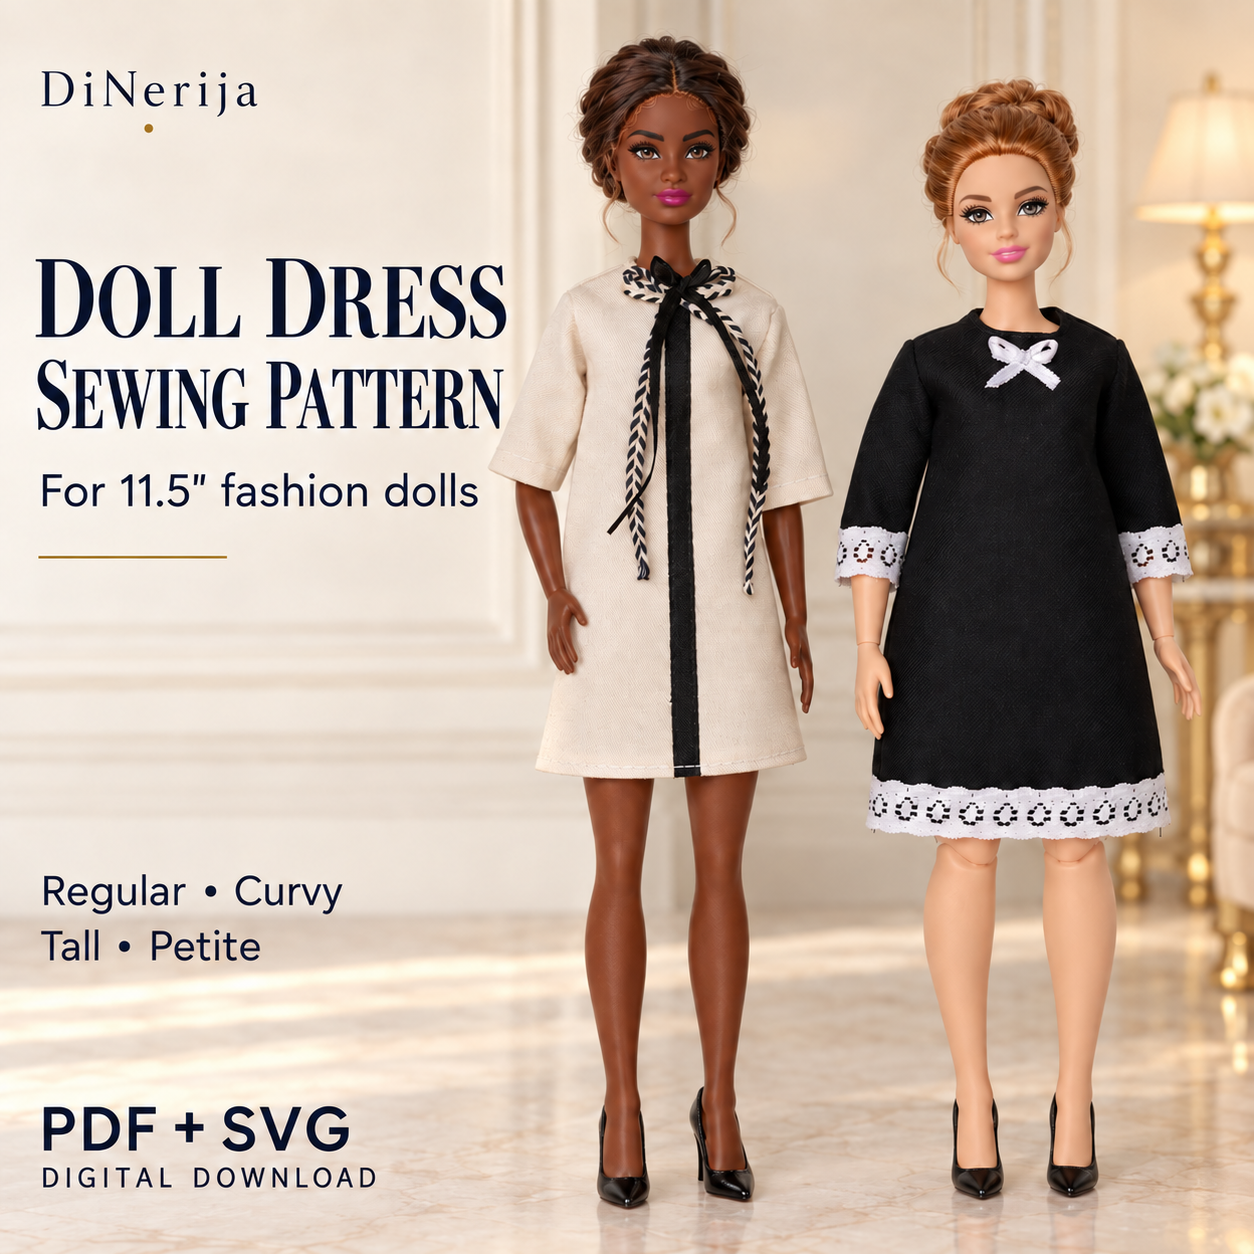
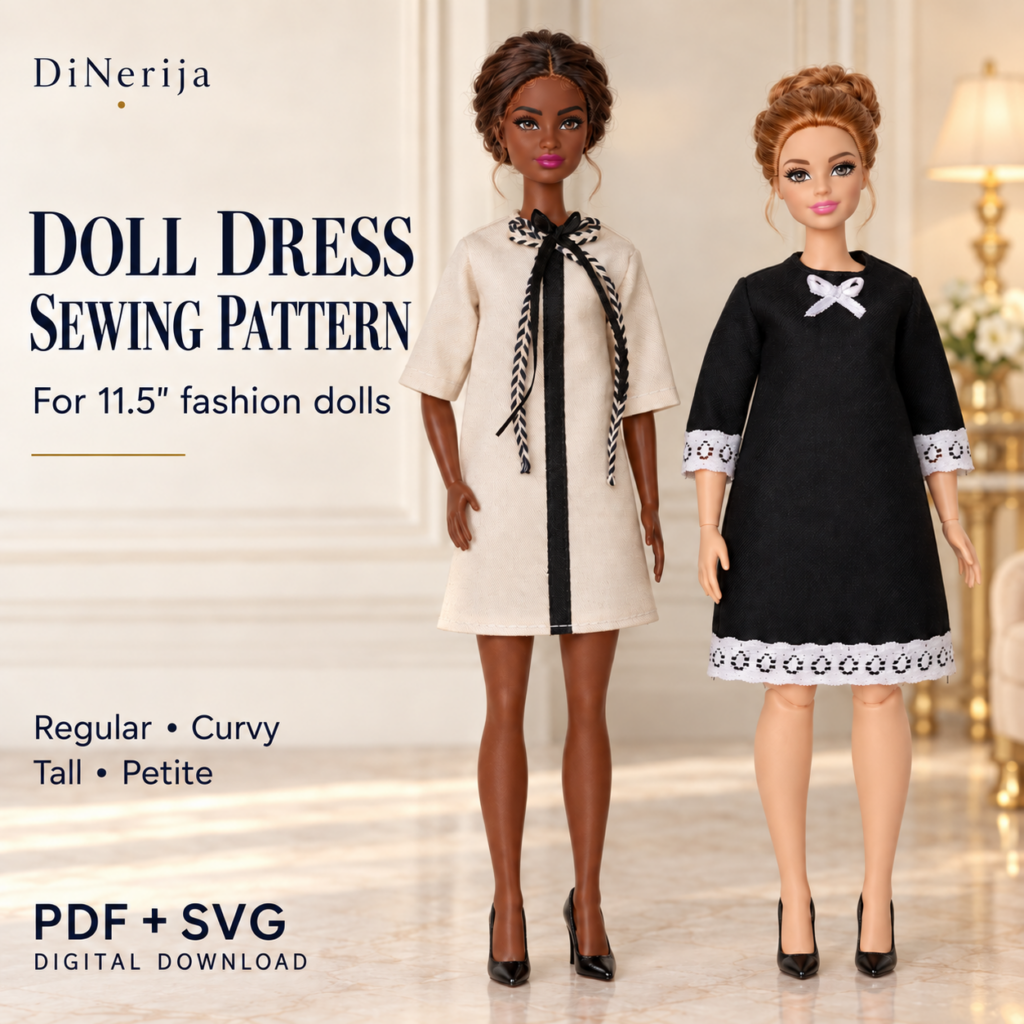
    Two 11.5 inch fashion dolls in dresses from the long sleeve doll dress sewing pattern: a cream dress with a black ribbon placket and bow, and a black dress with white lace trim on a Curvy doll; PDF + SVG digital download
    The long sleeve dress: one set of pieces fits Regular, Curvy and Tall dolls.

    Choose the fabric the pattern asks for

    This is the single most common reason a doll garment disappoints. Each of our product pages names the fabric type the pattern was designed for, and swapping it changes the fit.

    • Non-stretch woven fabric for the structured pieces: the cocktail and evening dresses, the long sleeve dress, the fitted dress. Think light cotton, lawn, fine poplin, thin linen. A woven keeps the shape of a bodice and a gathered skirt.
    • Stretchy knit for the pieces that have to slip on: leggings and tube tops, the T-shirts (spandex or stretch cotton) and the oversized sweater (jersey, stretch cotton or a polyester knit). A knit gives the stretch that lets a garment with almost no seam allowance go over the doll's hips.
    • Thin, not thick. Fabric does not scale down. Quilting cotton is fine; denim, fleece and heavy jersey make seams that stand up like cardboard. For a first sweater, avoid very thin see-through knits too; they are harder to handle.
    • Small prints. A print that looks fine on a cushion looks like wallpaper on a doll. Tiny florals, pin dots and narrow stripes read as fabric at 1:6 scale.
    Three 1:6 scale fashion dolls in oversized sweaters with contrast collars and cuffs
    The oversized sweater is roomy enough to fit all four female bodies and 12 inch male dolls.

    Cutting pieces the size of a stamp

    • Trace the pattern onto the wrong side of the fabric with a sharp pencil or chalk pencil, then cut on the line. Pinning paper to such small pieces distorts them.
    • Use small, sharp scissors. Embroidery scissors or a small fabric pair are easier to steer around a neckline than dressmaking shears.
    • Hold pieces together with small clips or fine pins placed inside the seam allowance. Ordinary pins leave holes in fine fabric.
    • If you have a cutting machine, our patterns come with SVG files for exactly this reason: the small pieces come out identical every time.

    Sewing a 3 mm seam

    A sewing machine helps but is not required; every one of our patterns can be sewn by hand with a small backstitch. On a machine, shorten the stitch to about 2 mm so a seam that is only a few centimetres long has enough stitches to hold, and sew slowly. Use the edge of the presser foot as a guide for the allowance.

    Press after every seam, with the iron tip. On a garment this small, pressing does half the work of fitting: a pressed dart lies flat, an unpressed one makes a bump. Finishing seam edges is usually not needed; the allowance is too narrow to fray much and it sits inside the garment.

    Closures are small hook-and-loop tape or snaps at a back opening. Our patterns are drafted for these, so the back edges have room for them. Sew the closure on before you sew the last seam that closes the back, while the piece still lies flat.

    Two 11.5 inch fashion dolls wearing knit leggings and tube tops sewn from the leggings and top pattern
    Leggings and a tube top in stretchy knit: the quickest first project, about 15 to 20 minutes a piece.

    Which pattern to sew first

    • Never sewn for a doll: the no-sew set needs scissors only, and leggings and top is five knit pieces at 15 to 20 minutes each.
    • Comfortable with straight seams: the long sleeve dress or the oversized sweater, both beginner level with step-by-step photo instructions; the dress also comes with a short version for people who do not need them.
    • Want a challenge: the fitted dress with overskirt has darts, curved edges and a back closure. It is marked intermediate for a reason, and it is the one that teaches the most.
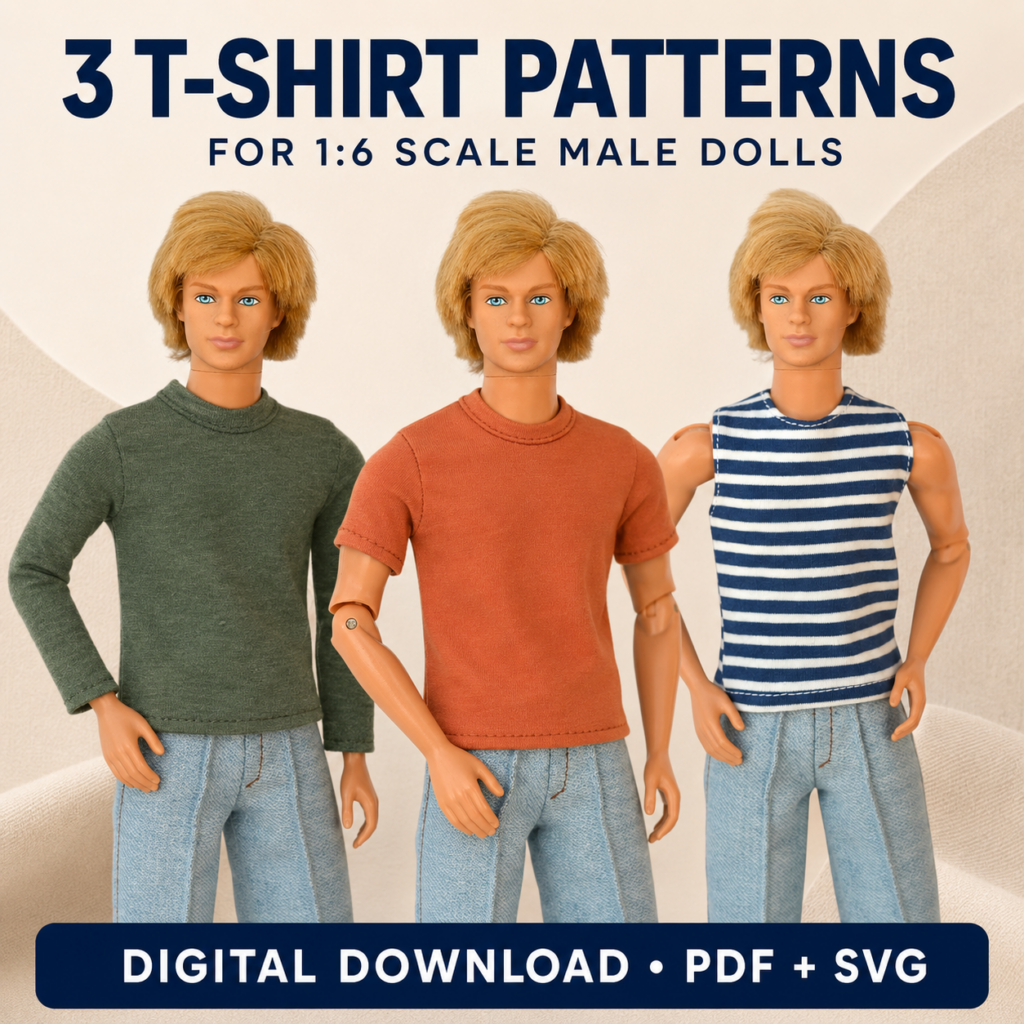
    Three 1:6 scale male fashion dolls in T-shirts from the male doll T-shirt sewing pattern: long sleeve in green, short sleeve in rust and sleeveless in navy stripes; digital download, PDF + SVG
    Three T-shirt styles for 12 inch male dolls, a good use for leftover jersey.

    Questions we get

    Do I need a sewing machine?

    No. The seams are short, and a small backstitch by hand is strong enough. A machine is faster once you are used to feeding tiny pieces through it.

    Is the seam allowance included?

    On our PDF + SVG patterns, yes, about 3 to 4 mm, with the seam line and the cut line both marked. Do not add more. Each product page states what the pattern includes.

    Can I sell what I sew from your patterns?

    Yes, in small quantities, with a credit to "Pattern by DiNerija". Sharing or reselling the pattern files themselves is not allowed. The full licence is on each product page.

    Which dolls do the patterns fit?

    11.5 inch fashion dolls such as Barbie®, with the body types listed on each pattern, and 12 inch male dolls such as Ken® for the sweater and the T-shirts. Dolls are not included; the names are used only to show fit.

    All patterns are in Sewing Patterns. Each download includes step-by-step photo instructions, the pattern sheets for A4 and US Letter, and SVG files for cutting machines.

  • Sewing Clothes for Ken® and Other 1:6 Male Dolls: What's Different from Barbie® Patterns

    Sewing Clothes for Ken® and Other 1:6 Male Dolls: What's Different from Barbie® Patterns

    Patterns for male fashion dolls are rare. Most doll sewing is aimed at the 11.5 inch female body, and a Ken® doll usually ends up in the same two or three outfits he came with. If you want to change that, here is what is different about sewing for him, what fits which male body, and where to start.

    Our male patterns were drafted and test-fitted on the original Ken® body, the 12 inch (1:6 scale) male fashion doll. Dolls are not included with any pattern; the names are used only to show fit.

    Three 1:6 scale male fashion dolls in T-shirts from the male doll T-shirt sewing pattern: long sleeve in green, short sleeve in rust and sleeveless in navy stripes; digital download, PDF + SVG
    Three T-shirt styles from one pattern: sleeveless, short sleeve and long sleeve.

    How the male body changes the pattern

    A female doll pattern is built around the bust and the waist: darts, a fitted bodice, a skirt that has to clear the hips. A male doll has none of that. He is about half an inch taller, his shoulders are wider, his torso is straight, and his head is larger than the neck opening of a fitted T-shirt. So the pattern work moves to different places:

    • Shoulders and chest decide the fit, not the waist. A T-shirt that is right across the shoulders can hang straight down and still look correct.
    • No darts, no gathering. Male tops are flat pieces with a front, a back and sleeves. That makes them one of the simplest things to sew for any doll.
    • The neck opening. The head will not go through a neckline cut to the neck size, so a male top needs stretch, a closure, or both. Our T-shirts are cut for stretchy fabric and close with small hook-and-loop tape or snaps.
    • Sleeves. A sleeve for a doll is a few centimetres long, and the armhole is tiny. It is easier to sew the sleeve in while the T-shirt is still flat, then close the side and sleeve seam in one go.

    Which male bodies fit

    Mattel has sold Ken® on several bodies over the years, and they are not all the same width. Our T-shirt pattern was fitted on the original body. The broad and the slim bodies have not been tested; if your doll has one of those, sew the sleeveless style first in a cheap knit and check the chest before you cut the others. The oversized sweater is roomy by design and fits 12 inch male dolls as well as the four female bodies, so it is the safer choice for a doll you are not sure about.

    If you have a doll from another maker, measure around the chest under the arms and across the back between the shoulder joints, and compare with the test piece. The Size Guide explains how we measure dolls with a strip of paper instead of a tape.

    Fabric: stretch, and thin

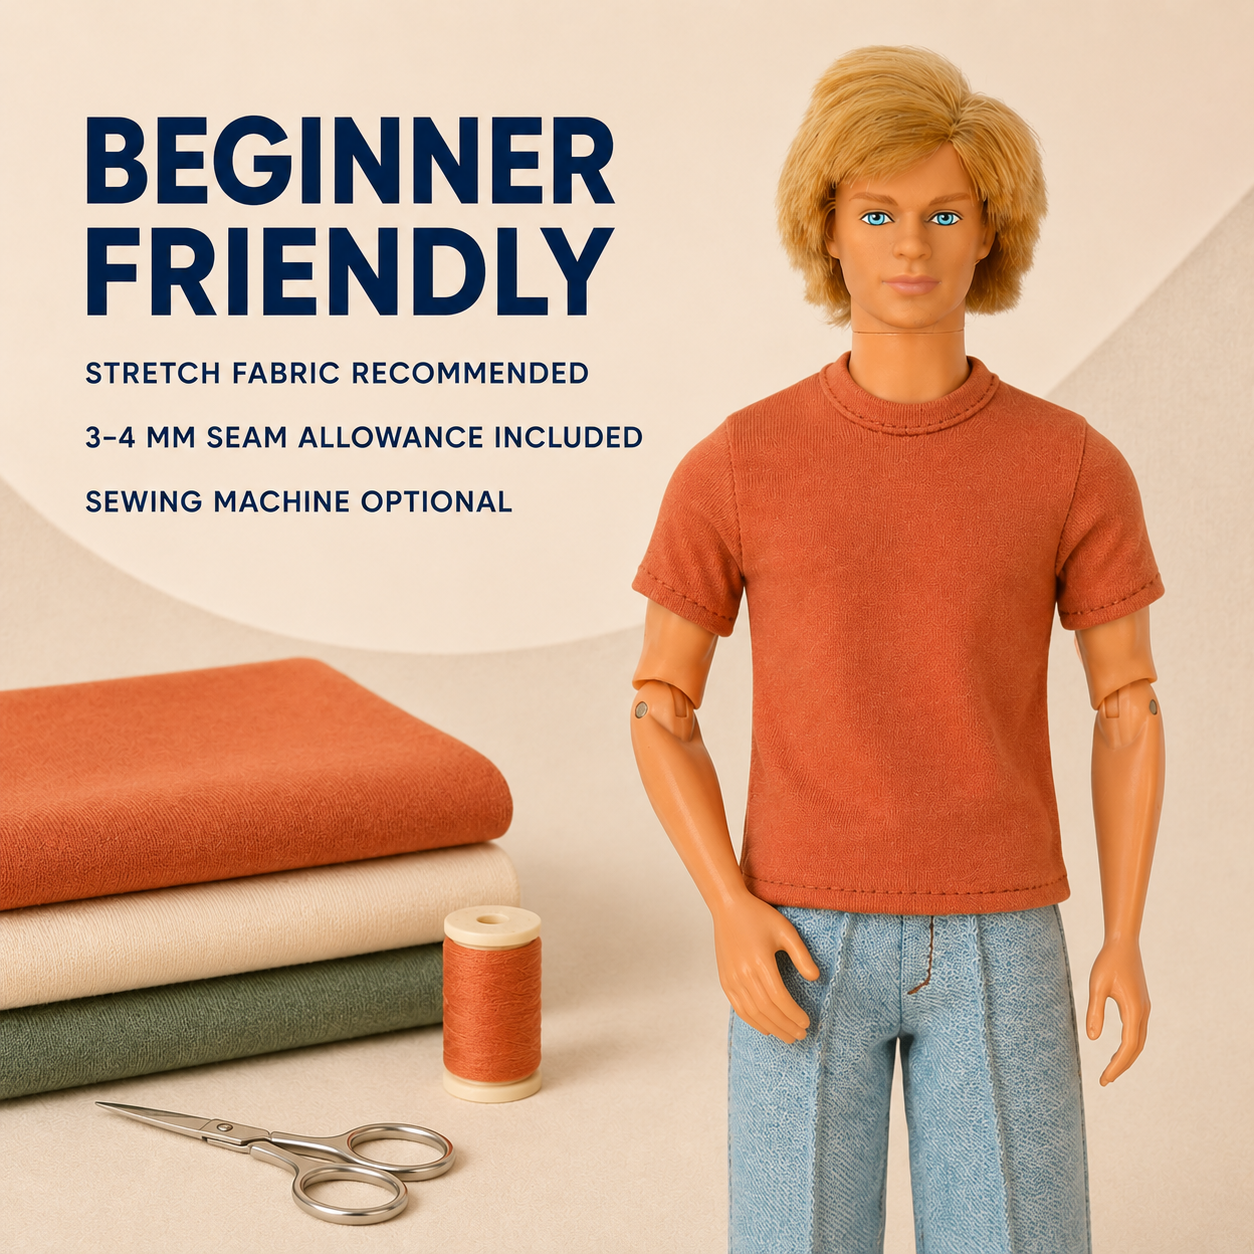
    The T-shirt pattern asks for stretchy fabric, spandex or stretch cotton. Leftover jersey from a worn-out human T-shirt is ideal: it is thin, it has the right amount of stretch, and the knit is fine enough to look like fabric rather than towelling at 1:6 scale. The sweater takes a slightly stretchy knit too, jersey, stretch cotton or a polyester knit, with a contrast colour for the collar, cuffs and band. Skip very thin, see-through knits for a first project; they are harder to handle than they look.

    Prints and stripes need to be small. A narrow stripe reads as a striped T-shirt; a wide one reads as a flag.

    Three 1:6 scale fashion dolls, one male, in oversized sweaters with contrast collars and cuffs
    The oversized sweater fits male and female 1:6 scale dolls, so one pattern dresses the whole shelf.

    Sewing it

    • Print at 100% and measure the 1 cm and 1 inch marks on the sheet before you cut anything. A print scaled by a few percent is the most common reason a doll garment does not fit.
    • The seam allowance, about 3 to 4 mm, is already in the pattern. Sew on the dashed seam line, cut on the outer line, and do not add more.
    • Use a short stitch, about 2 mm, and a stretch or narrow zigzag stitch on knits if your machine has one. A plain straight stitch works too if you do not stretch the fabric as you sew. By hand, a small backstitch is fine.
    • Hems on a knit can stay raw; knits do not fray. If you want a finished look, turn the hem once and stitch it with the fabric relaxed.
    • Sew the closure, small hook-and-loop tape or snaps, before you close the last seam, while the piece still lies flat.

    Three T-shirts, more looks

    The T-shirt set gives you a sleeveless, a short-sleeved and a long-sleeved version from one download. Sew the long sleeve in a stripe and you have a sailor top; sew the sleeveless in white and it is an undershirt; add the oversized sweater over any of them and the doll has a winter outfit. With one knit remnant you can dress him for a week.

    Questions we get

    Do your Barbie® patterns fit Ken®?

    The female dress and top patterns do not; the bodies are too different. The oversized sweater does, and the T-shirt pattern is made for him.

    Which Ken® body do the patterns fit?

    The original 12 inch body. The broad and slim bodies have not been tested; make a quick test piece first.

    Do I need a sewing machine?

    No. The seams are short and a small backstitch by hand is strong enough. A machine with a stretch stitch is quicker on knits.

    Can I sell the T-shirts I sew?

    Yes, in small quantities, with a credit to "Pattern by DiNerija". The pattern files themselves may not be shared or resold.

    Both patterns are in Sewing Patterns: Male Doll T-Shirt Sewing Pattern, 3 Styles (PDF + SVG) and Oversized Doll Sweater Sewing Pattern - Regular, Curvy, Petite, Tall and 12 in Male Dolls (PDF + SVG).

  • How to Make No-Sew Clothes for Barbie® and Other 11.5 Inch Dolls: Top, Skirt and 3 Dresses

    How to Make No-Sew Clothes for Barbie® and Other 11.5 Inch Dolls: Top, Skirt and 3 Dresses

    Not everyone who wants a new wardrobe for a doll owns a sewing machine, and not everyone wants to thread a needle for a skirt that is nine centimetres around. This pattern set was made for exactly that. The five pieces in it, a top, a skirt and three dresses, are cut from fabric and tied onto the doll. No stitching, no glue, no fusible tape. If you can cut along a line and tie a knot, you can make all five.

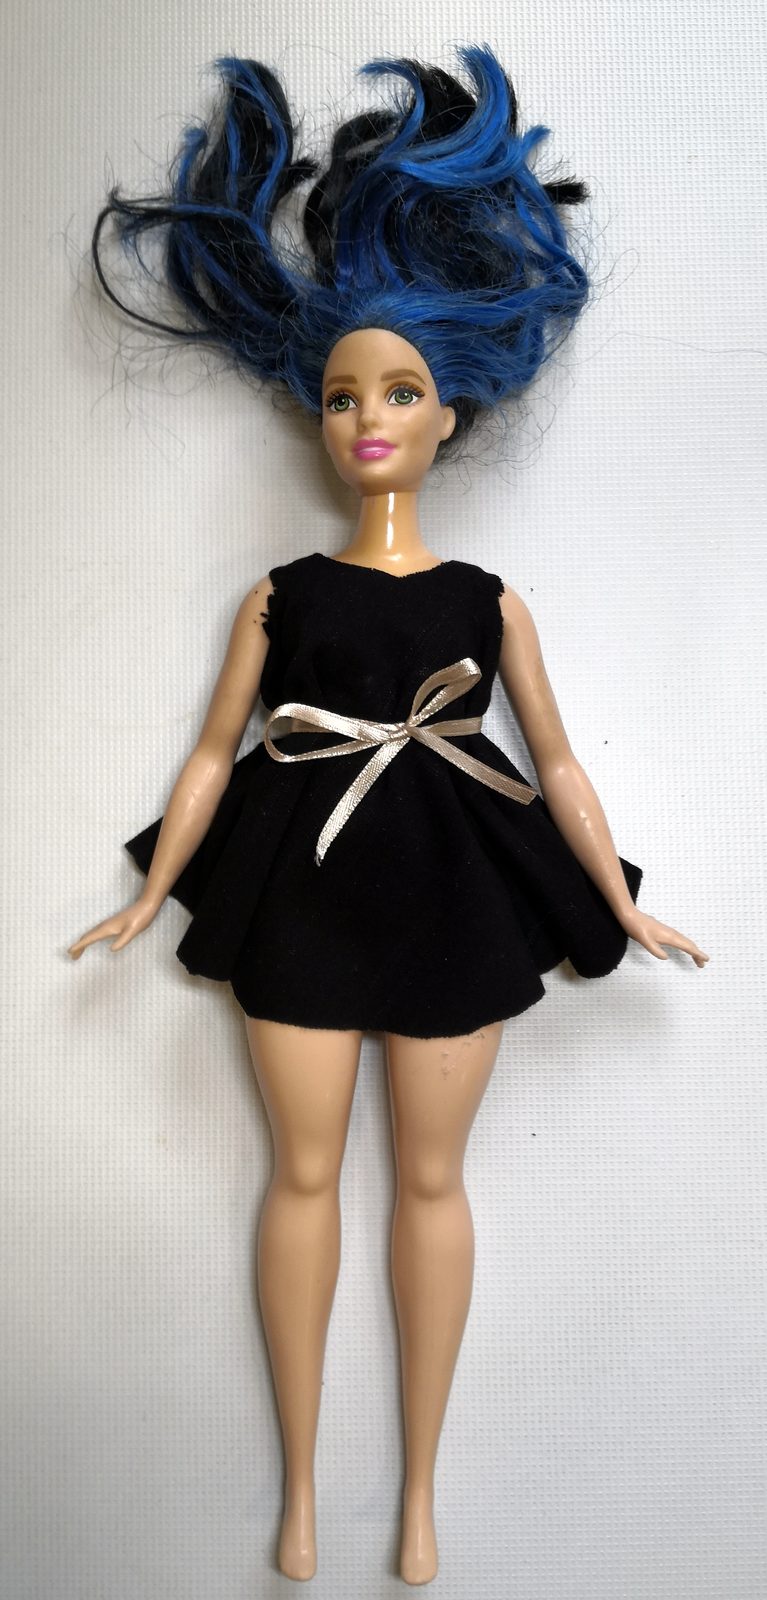
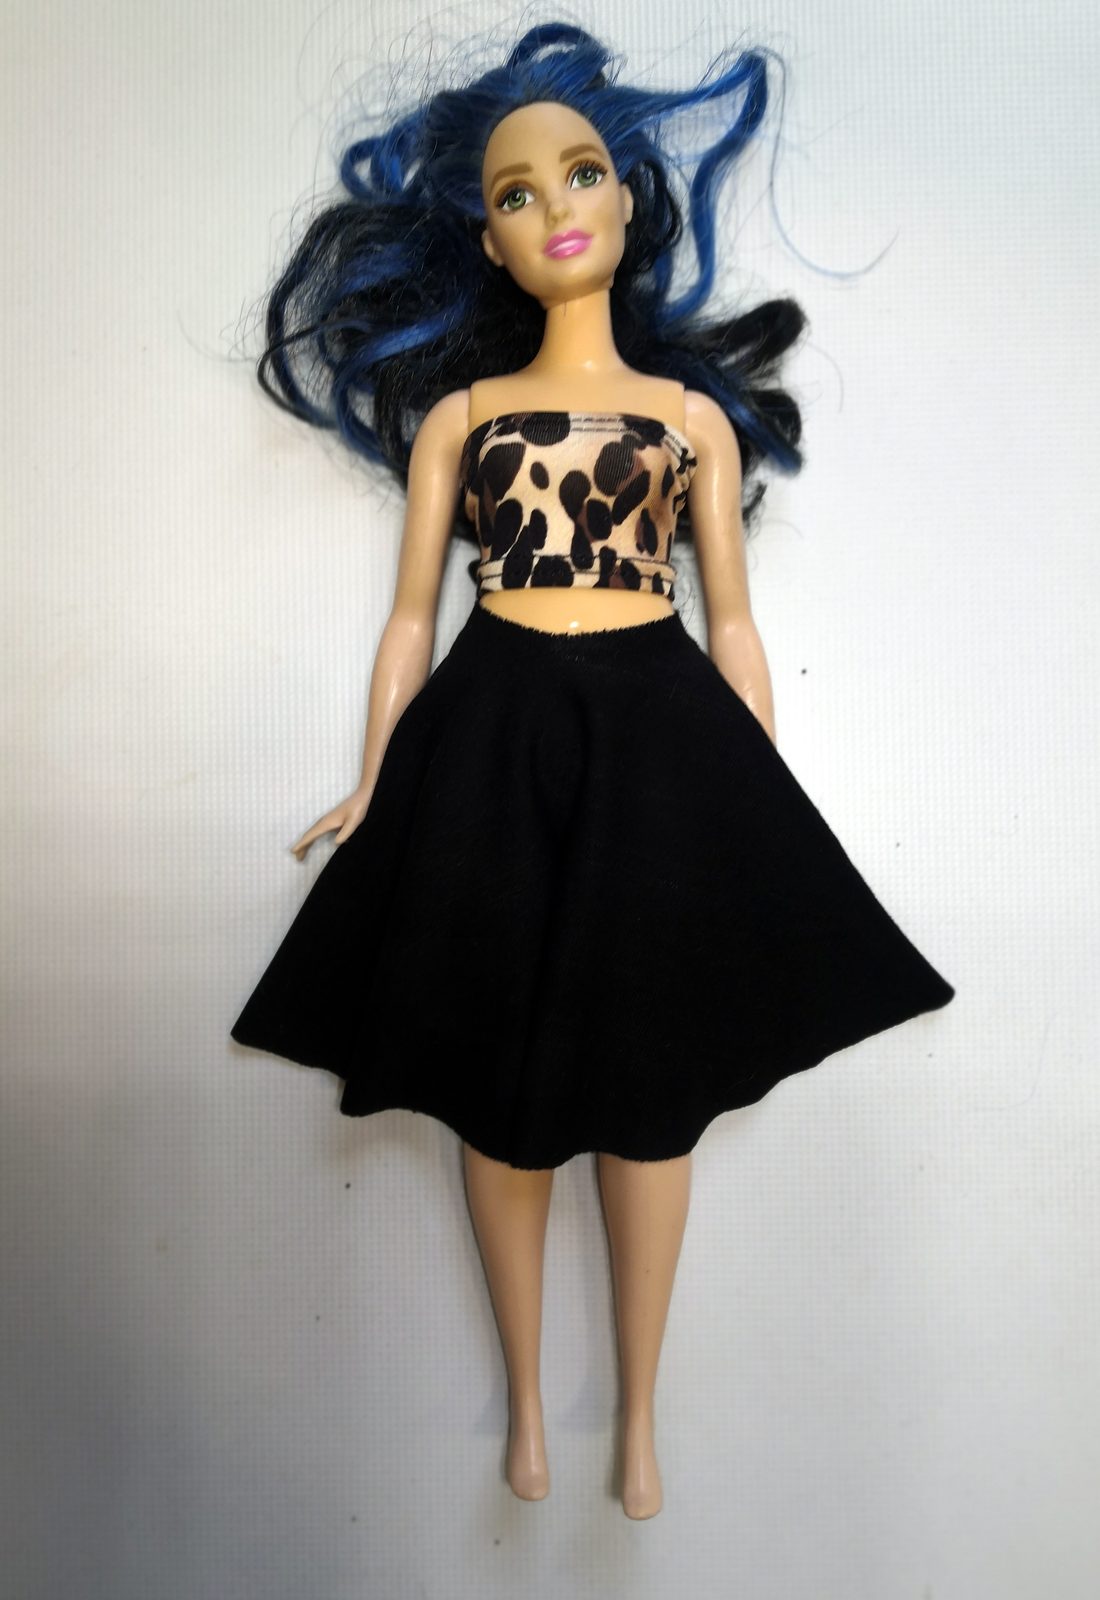
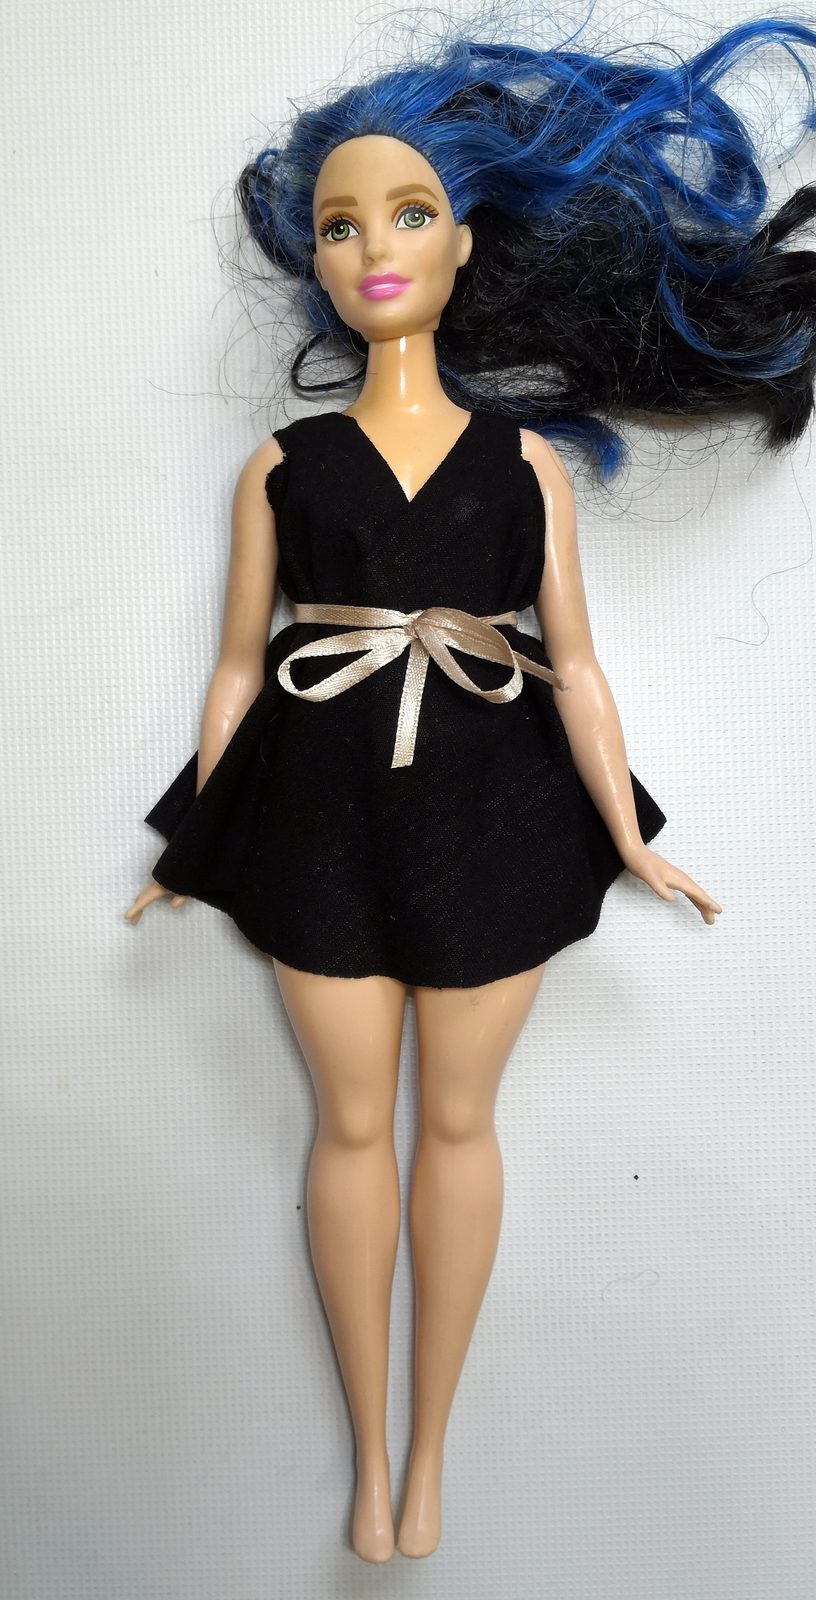
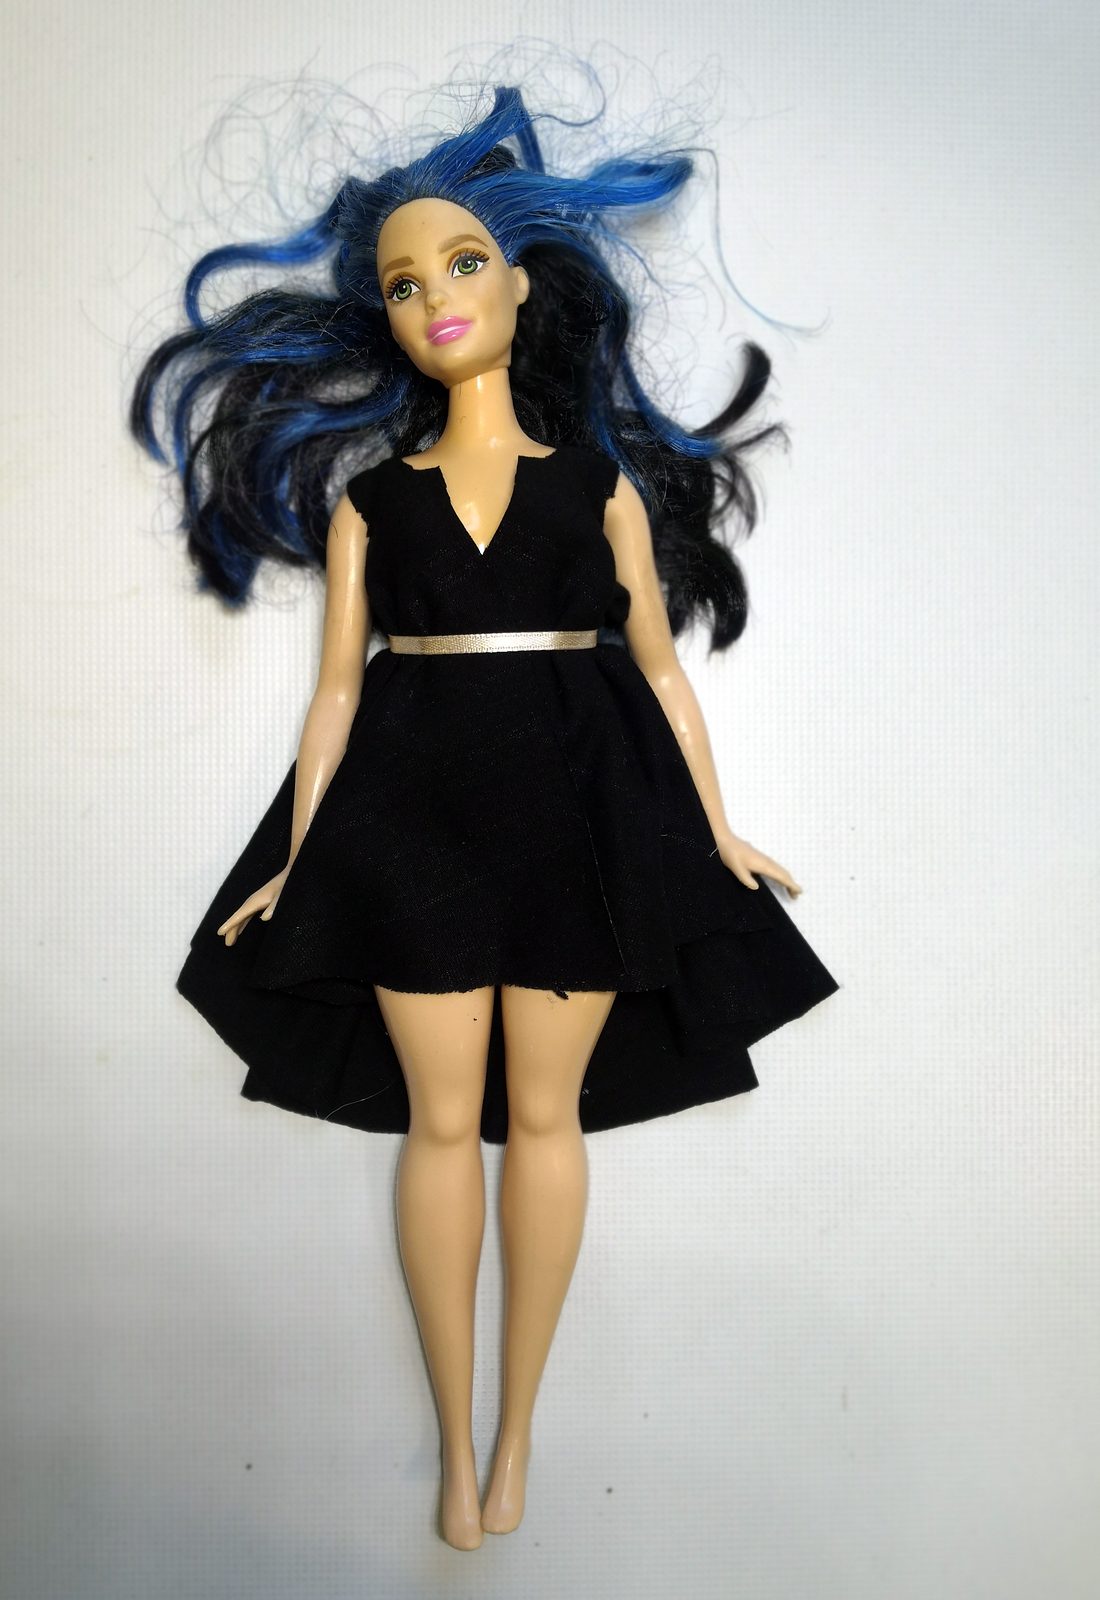
    The patterns fit 11.5 inch fashion dolls such as Barbie® and come in two fits, Regular and Curvy; because every piece is tied on, they fit Petite and Tall dolls as well. Below is how the set works, what to prepare and the small things that make the result look neat. The photos show the dress and skirt on a curvy doll, made from a plain black knit.

    The five no-sew looks in the set: top, skirt and three dresses on 11.5 inch fashion dolls
    The five looks in the set: top, skirt and three dresses.

    What you need

    • The printed pattern. The set comes as a PDF for A4 and US Letter, plus SVG files if you cut with a machine.
    • Fabric. A soft knit works best. Knit fabric does not fray, so the cut edges can stay as they are and the ties stretch a little when you knot them. A woven cotton works too, but its raw edges will fray with handling.
    • Sharp scissors. Small, pointed ones are easier for the neck hole and the slits.
    • A pen or chalk to trace the pattern onto the fabric.
    • A ribbon or cord for a belt. Optional, but it finishes the dresses nicely.

    How much fabric? The pieces are circles and strips, so a remnant from another project is often enough. Lay the paper pattern on the fabric before you cut and you will see what you need.

    Print the pattern at 100%

    This is the step that goes wrong most often, so it comes first. Open the PDF in a PDF reader rather than a browser, and in the print window choose "Actual size" or "100%". Turn off "Fit to page" and "Shrink to fit". Each pattern sheet has a 1 cm and a 1 inch test line; measure them with a ruler after printing. If they match, the pattern is the right size. If the printer scaled the page by even a few percent, the waist hole will be too small or too large for the doll.

    Pick the sheet for your doll: Regular or Curvy. If you are not sure which body your doll has, the Size Guide shows how to tell them apart, and which Barbie® body is which.

    Cut the pieces

    Cut out the paper pattern pieces, pin or hold each one on the fabric, trace around it and cut along the line. Every piece is a single layer of fabric, so there is nothing to match up or sew together.

    The parts that matter most are the small ones: the openings the doll goes through and the short slits marked on the pattern. Cut those a little small first; you can always make an opening bigger, not the other way round. The ties are cut longer than they look on the pattern, so you have enough length for a knot or a bow.

    Finished no-sew black dress on a curvy 11.5 inch fashion doll
    The finished dress: one piece of fabric, one ribbon, no sewing.

    The top

    The top is a halter shape with long ends. It goes around the doll's chest, the ends cross behind her neck and tie at the back. Tie it once to check the fit, then adjust: tighter at the neck lifts the front, tighter at the back pulls it closer to the body. A knit top will sit flat without any fastening.

    The skirt

    The skirt is a circle skirt. Put the doll's legs through the waist opening so the fabric sits on her waist, then take the two ends and tie them. You can tie at the front for a visible knot or at the back for a plain front. A circle skirt falls in soft folds on its own, with no gathering to do.

    The circle skirt tied on an 11.5 inch fashion doll, worn with a tube top
    Tied at the waist, the skirt falls in soft folds on its own.

    The three dresses

    All three dresses are single pieces that go over the doll's head and are held by a tie. They differ in length, in where the tie sits and in how the back is done.

    • Dress 1, tied waist. Slip the piece over the doll's head, let it hang, then tie the ends or a ribbon at the waist. The fabric above the belt makes a soft bodice, the fabric below makes the skirt.
    • Dress 2, midi. Cut from its own pattern piece and tied into shape, it falls longer and straighter than Dress 1. In the instructions you see it first laid flat on the doll, then tied.
    • Dress 3, high-low. This one has armholes marked on the pattern. Open them, put the doll's arms through, and tie the hidden back tie. The front stays short and the back falls long.
    The same piece tied at the waist with a ribbon, now a dress
    Dress 1 tied at the waist with a ribbon.
    No-sew high-low dress on a curvy doll, short in the front and long in the back
    Dress 3 on the doll: short at the front, long at the back.

    Regular or Curvy?

    The set has both fits, and the difference is real. The curvy body has fuller hips and a wider waist, so a Regular waist hole will not go over her hips, and a Curvy skirt will slide down on a Regular doll. Use the sheet that matches your doll. If you have both dolls at home, cut both sizes from the same fabric and they can share a wardrobe. Made to Move™ dolls use the Regular or the Curvy sheet, depending on which body they have. Petite and Tall dolls use the Regular sheet; the ties take up the few millimetres of difference.

    The same no-sew dress in the Regular and the Curvy fit on two 11.5 inch fashion dolls
    The same dress in the Regular and the Curvy fit.

    Small things that make it look better

    • Cut with the fabric flat on a table, not in the air. The edges come out smoother.
    • For the ties, cut a little longer than you think. A tie that is too short cannot be fixed; a long one can be trimmed.
    • A thin ribbon as a belt hides the knot and gives the dress a waist.
    • Knits curl slightly at a cut edge. On a dark fabric this is invisible; on a light one, cut the edge in one long movement so it curls evenly.
    • Children can do the cutting and the tying. The small openings are easier for an adult to start with the tip of the scissors.

    Questions we get

    Do I really need no glue or needle?

    None. Every piece is held by its own ties or a ribbon. If you want a dress to stay on a doll permanently, a few hand stitches at the knot will do it, but the pattern does not need them.

    Which dolls does it fit?

    11.5 inch fashion dolls of all four body types, Regular, Curvy, Petite and Tall, for example Barbie® Fashionistas and Made to Move™ dolls. The set has a Regular and a Curvy sheet; the tied-on pieces take up the small differences of the Petite and Tall bodies. Dolls are not included; the names are used only to show fit.

    What is in the download?

    PDF pattern sheets in A4 and US Letter for both fits, SVG files of the same pieces, and step-by-step photo instructions. You get the files right after purchase.

    Can I use the SVG files with a cutting machine?

    Yes, that is what they are for. The SVG files are drawn at real size, one A4 page per piece set. Depending on your machine's software you may need to remove the text labels before import, and cut the pieces from paper first to check the size.

    The pattern set is here: No-Sew Doll Clothes Pattern, Top, Skirt and 3 Dresses (PDF + SVG). Our other patterns for 11.5 inch dolls are in Sewing Patterns.