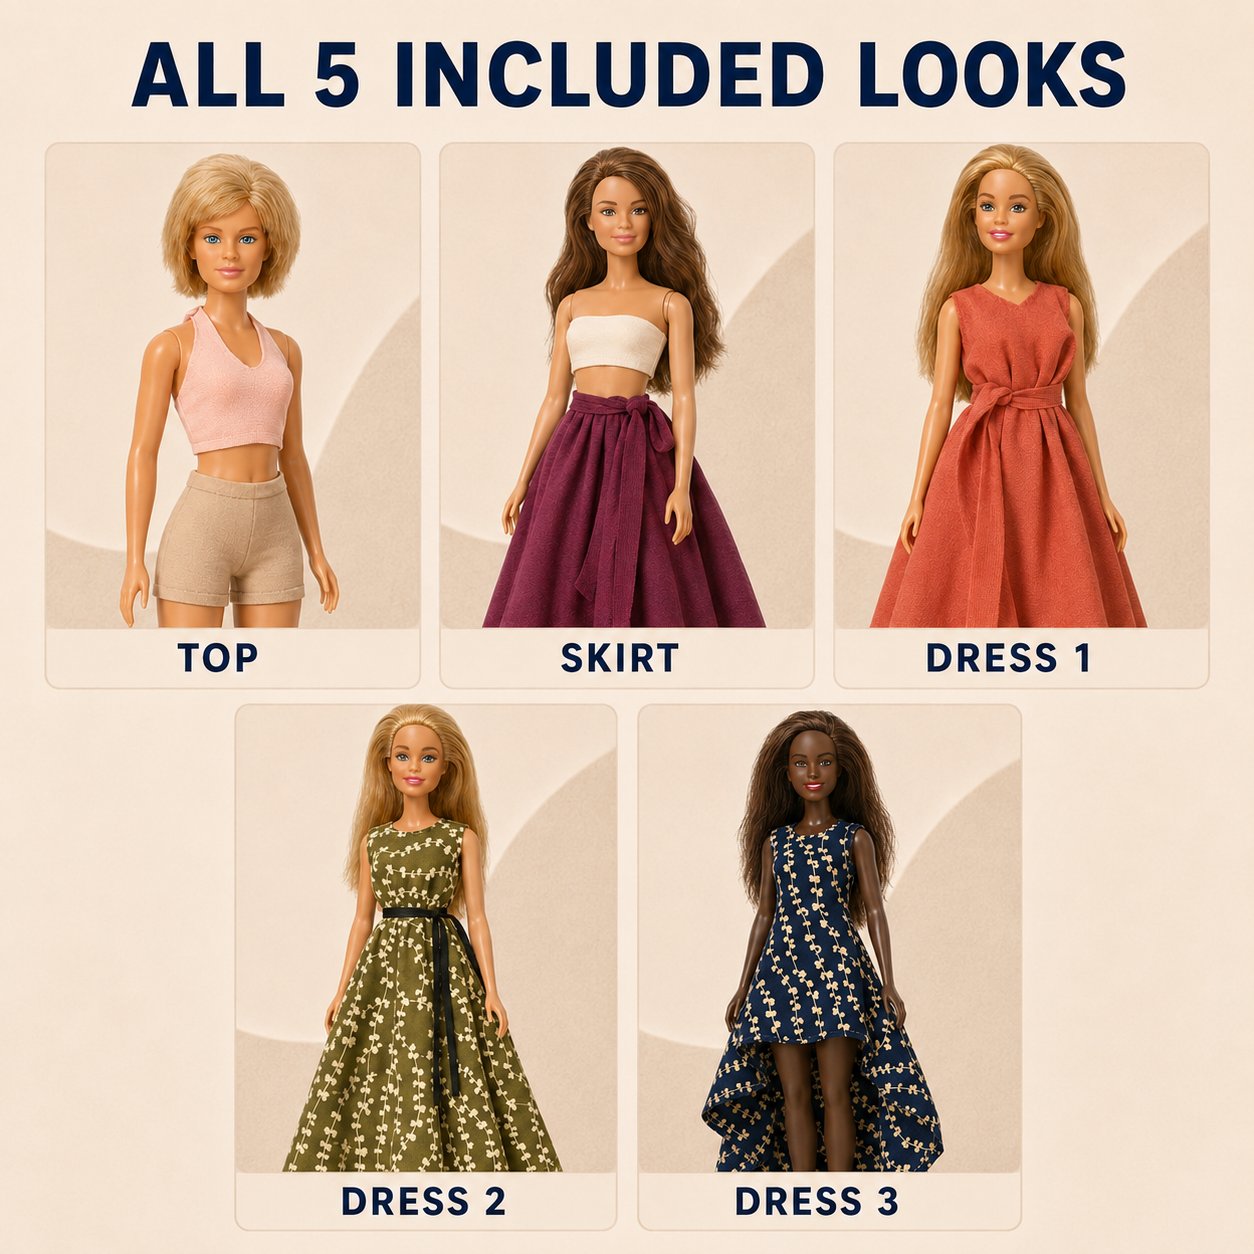
Not everyone who wants a new wardrobe for a doll owns a sewing machine, and not everyone wants to thread a needle for a skirt that is nine centimetres around. This pattern set was made for exactly that. The five pieces in it, a top, a skirt and three dresses, are cut from fabric and tied onto the doll. No stitching, no glue, no fusible tape. If you can cut along a line and tie a knot, you can make all five.
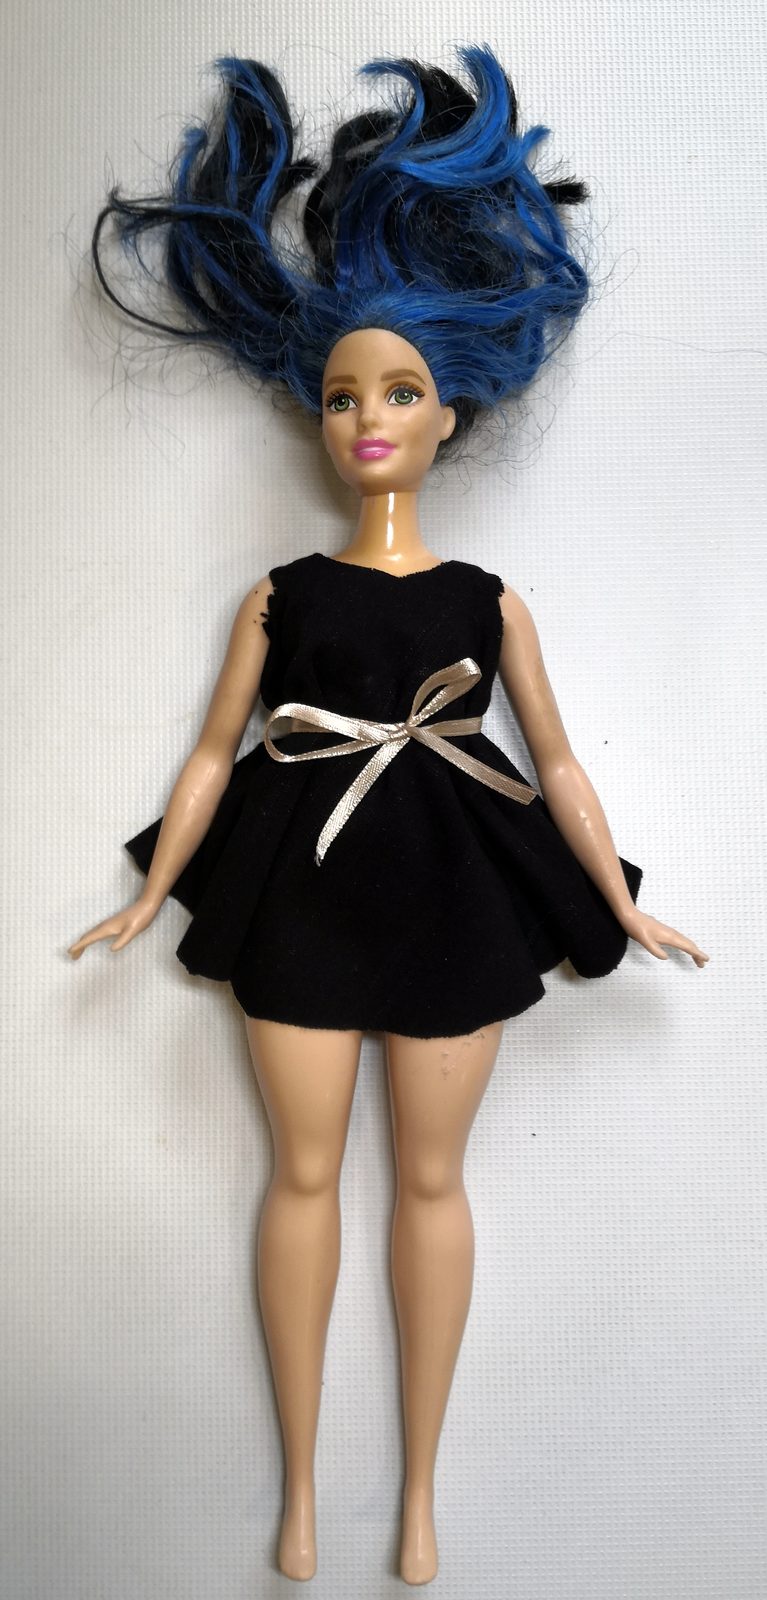
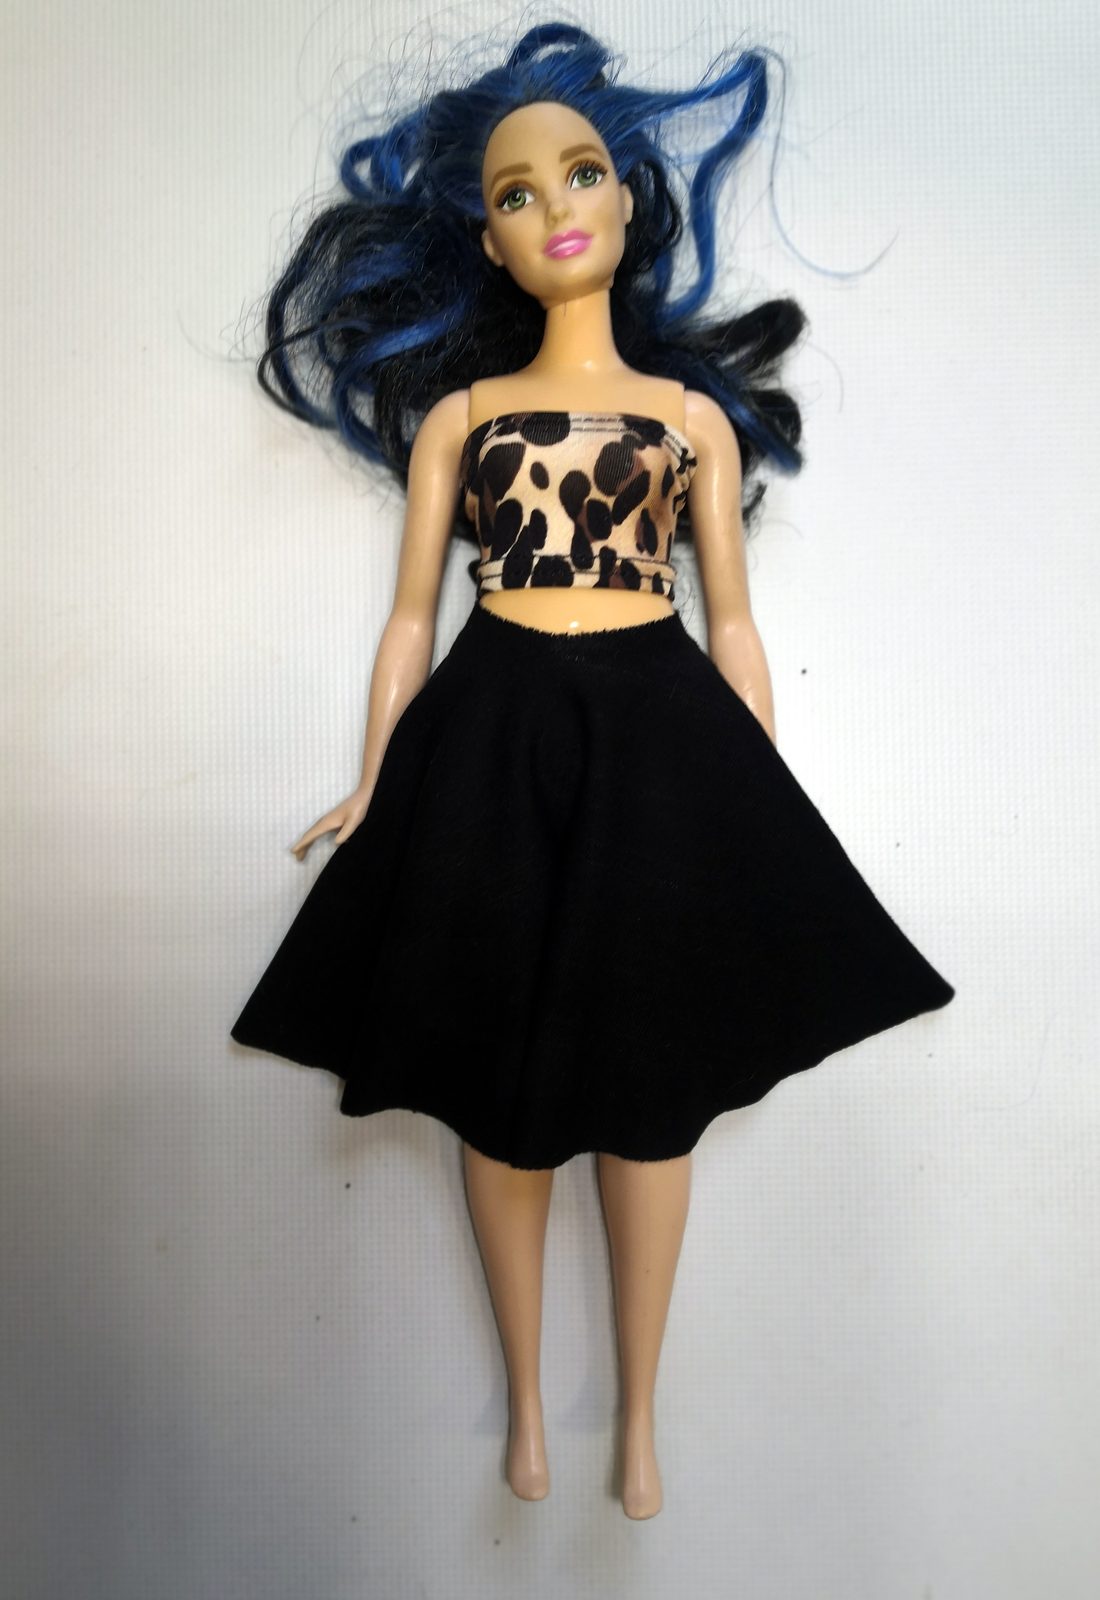
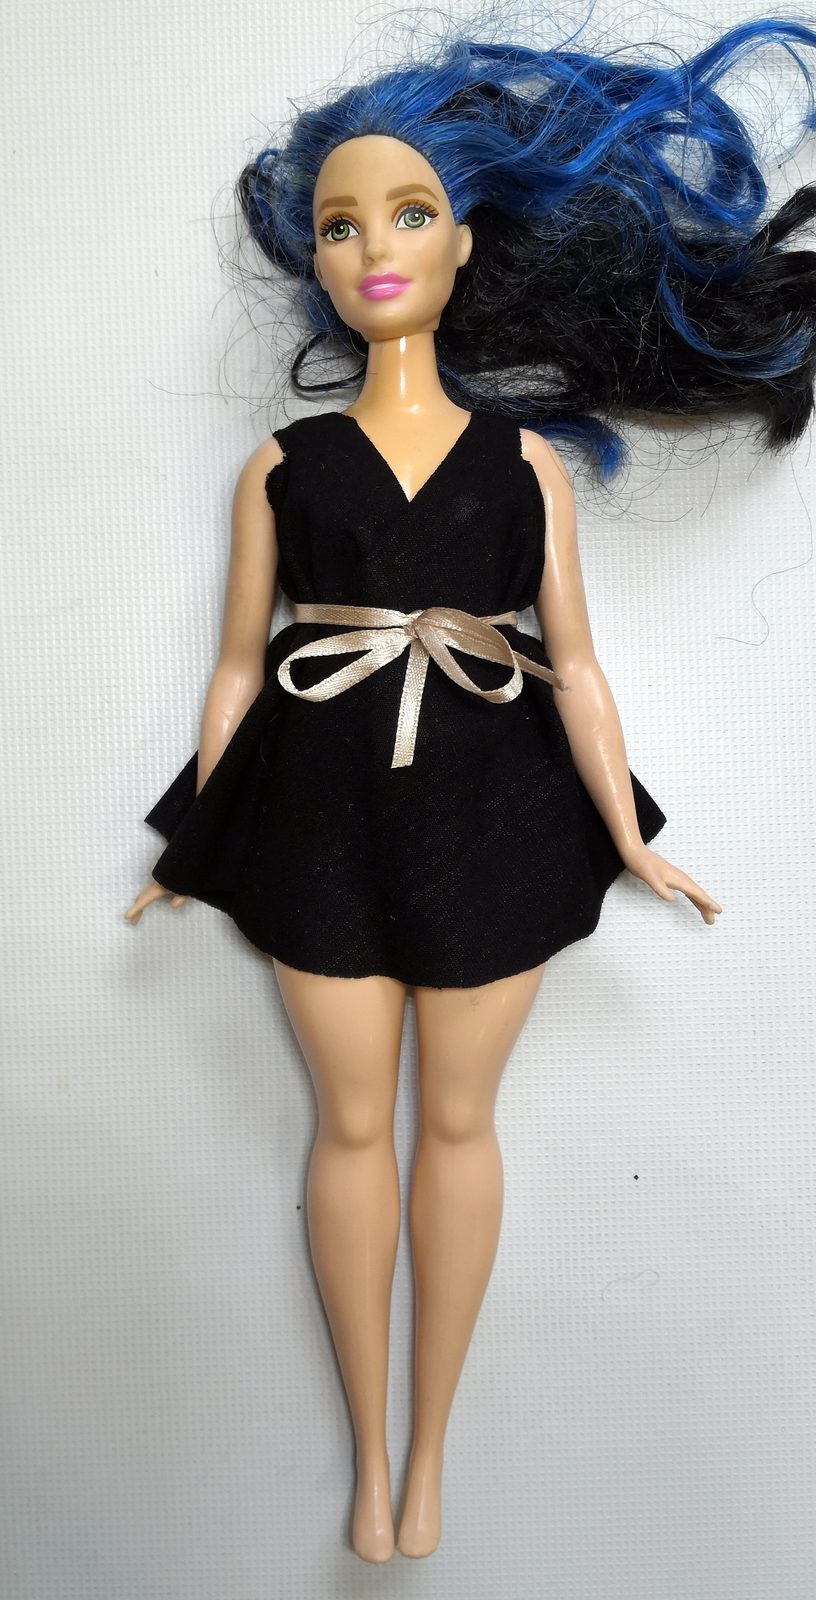
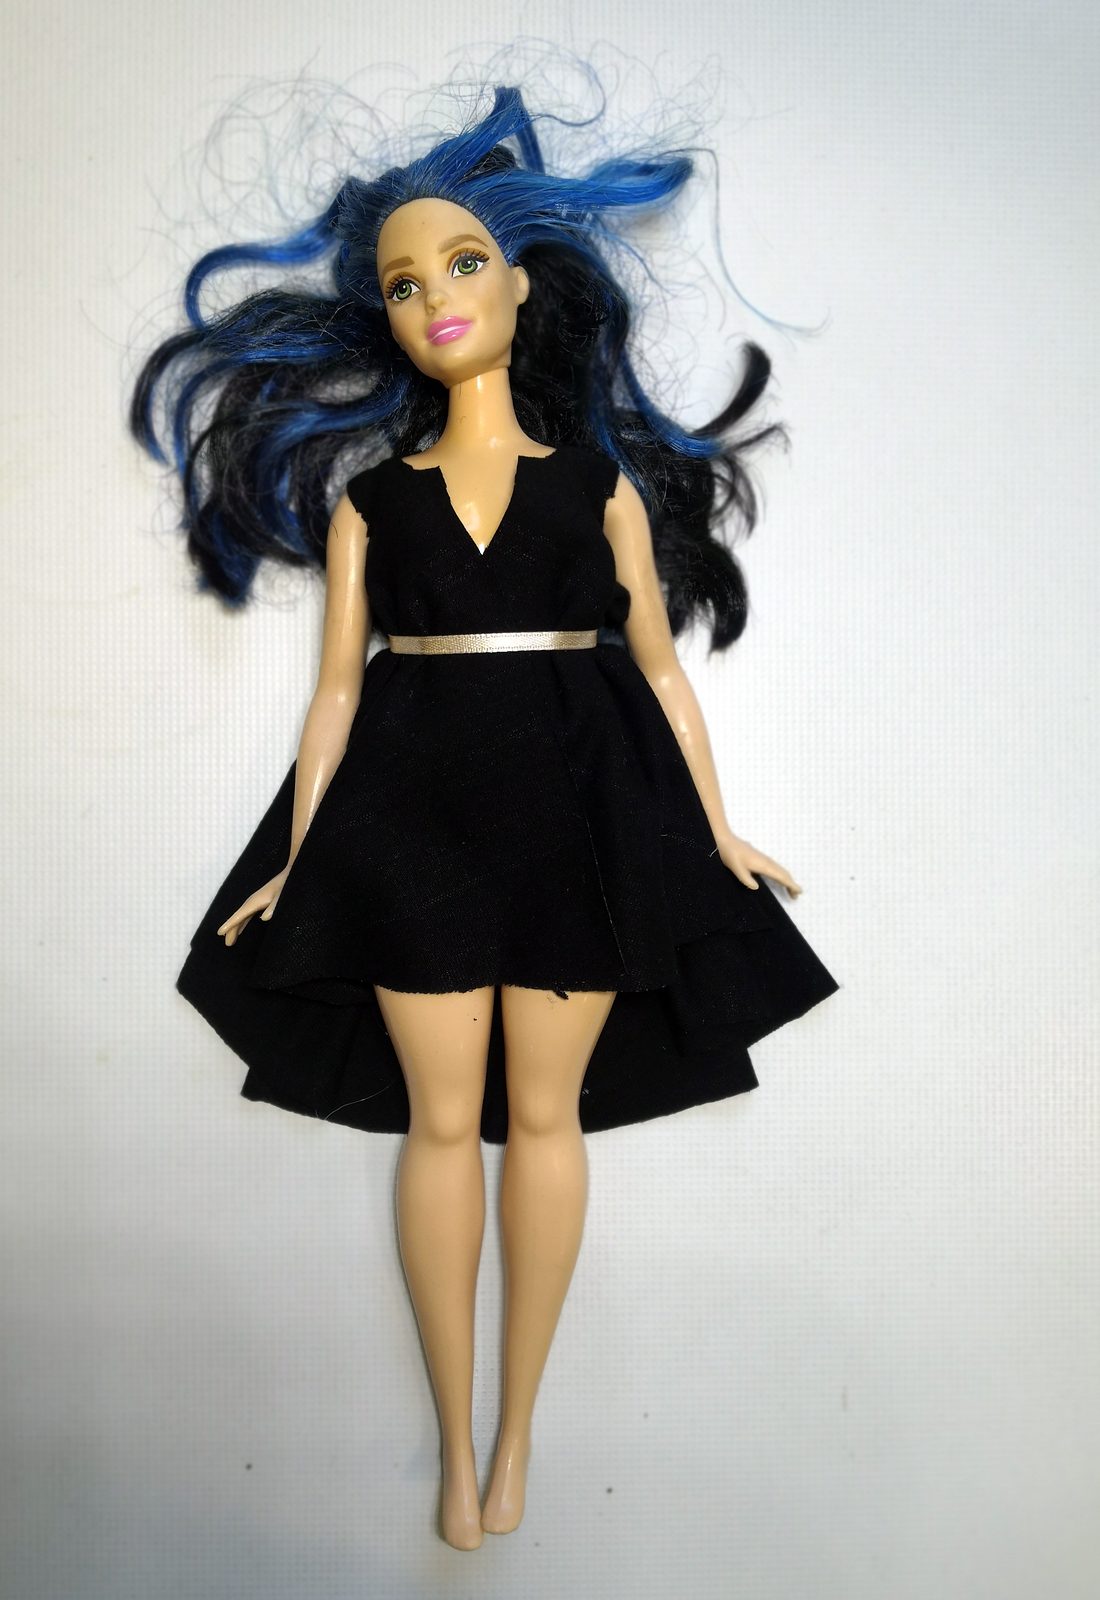
The patterns fit 11.5 inch fashion dolls such as Barbie® and come in two fits, Regular and Curvy; because every piece is tied on, they fit Petite and Tall dolls as well. Below is how the set works, what to prepare and the small things that make the result look neat. The photos show the dress and skirt on a curvy doll, made from a plain black knit.
What you need
- The printed pattern. The set comes as a PDF for A4 and US Letter, plus SVG files if you cut with a machine.
- Fabric. A soft knit works best. Knit fabric does not fray, so the cut edges can stay as they are and the ties stretch a little when you knot them. A woven cotton works too, but its raw edges will fray with handling.
- Sharp scissors. Small, pointed ones are easier for the neck hole and the slits.
- A pen or chalk to trace the pattern onto the fabric.
- A ribbon or cord for a belt. Optional, but it finishes the dresses nicely.
How much fabric? The pieces are circles and strips, so a remnant from another project is often enough. Lay the paper pattern on the fabric before you cut and you will see what you need.
Print the pattern at 100%
This is the step that goes wrong most often, so it comes first. Open the PDF in a PDF reader rather than a browser, and in the print window choose "Actual size" or "100%". Turn off "Fit to page" and "Shrink to fit". Each pattern sheet has a 1 cm and a 1 inch test line; measure them with a ruler after printing. If they match, the pattern is the right size. If the printer scaled the page by even a few percent, the waist hole will be too small or too large for the doll.
Pick the sheet for your doll: Regular or Curvy. If you are not sure which body your doll has, the Size Guide shows how to tell them apart, and which Barbie® body is which.
Cut the pieces
Cut out the paper pattern pieces, pin or hold each one on the fabric, trace around it and cut along the line. Every piece is a single layer of fabric, so there is nothing to match up or sew together.
The parts that matter most are the small ones: the openings the doll goes through and the short slits marked on the pattern. Cut those a little small first; you can always make an opening bigger, not the other way round. The ties are cut longer than they look on the pattern, so you have enough length for a knot or a bow.
The top
The top is a halter shape with long ends. It goes around the doll's chest, the ends cross behind her neck and tie at the back. Tie it once to check the fit, then adjust: tighter at the neck lifts the front, tighter at the back pulls it closer to the body. A knit top will sit flat without any fastening.
The skirt
The skirt is a circle skirt. Put the doll's legs through the waist opening so the fabric sits on her waist, then take the two ends and tie them. You can tie at the front for a visible knot or at the back for a plain front. A circle skirt falls in soft folds on its own, with no gathering to do.
The three dresses
All three dresses are single pieces that go over the doll's head and are held by a tie. They differ in length, in where the tie sits and in how the back is done.
- Dress 1, tied waist. Slip the piece over the doll's head, let it hang, then tie the ends or a ribbon at the waist. The fabric above the belt makes a soft bodice, the fabric below makes the skirt.
- Dress 2, midi. Cut from its own pattern piece and tied into shape, it falls longer and straighter than Dress 1. In the instructions you see it first laid flat on the doll, then tied.
- Dress 3, high-low. This one has armholes marked on the pattern. Open them, put the doll's arms through, and tie the hidden back tie. The front stays short and the back falls long.
Regular or Curvy?
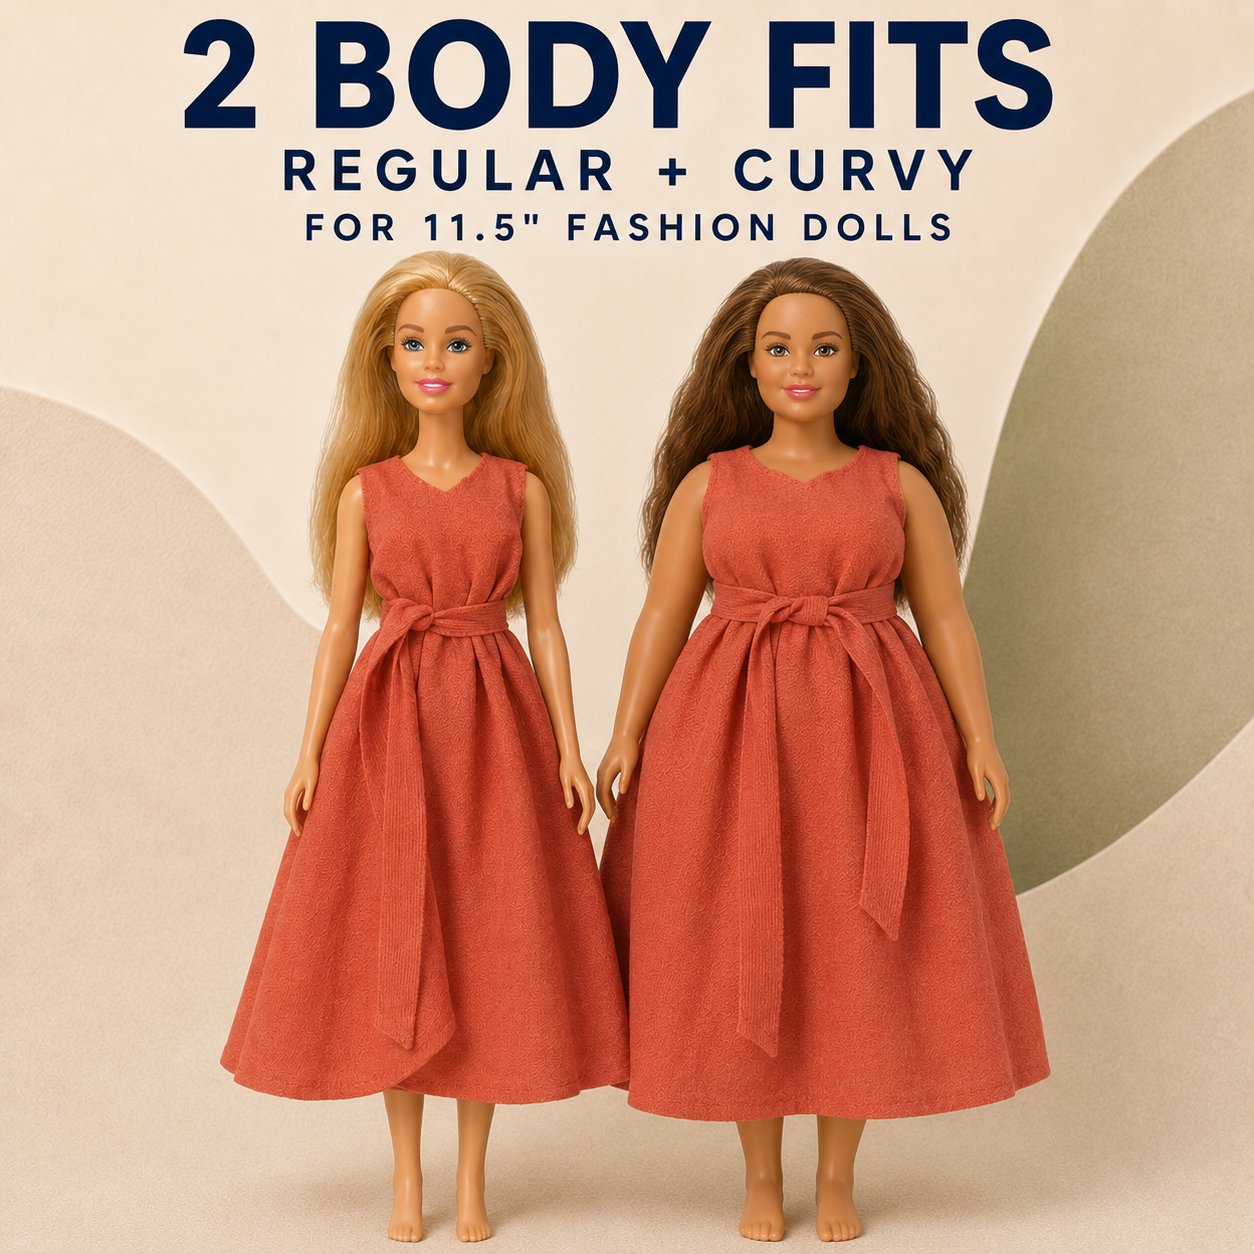
The set has both fits, and the difference is real. The curvy body has fuller hips and a wider waist, so a Regular waist hole will not go over her hips, and a Curvy skirt will slide down on a Regular doll. Use the sheet that matches your doll. If you have both dolls at home, cut both sizes from the same fabric and they can share a wardrobe. Made to Move™ dolls use the Regular or the Curvy sheet, depending on which body they have. Petite and Tall dolls use the Regular sheet; the ties take up the few millimetres of difference.
Small things that make it look better
- Cut with the fabric flat on a table, not in the air. The edges come out smoother.
- For the ties, cut a little longer than you think. A tie that is too short cannot be fixed; a long one can be trimmed.
- A thin ribbon as a belt hides the knot and gives the dress a waist.
- Knits curl slightly at a cut edge. On a dark fabric this is invisible; on a light one, cut the edge in one long movement so it curls evenly.
- Children can do the cutting and the tying. The small openings are easier for an adult to start with the tip of the scissors.
Questions we get
Do I really need no glue or needle?
None. Every piece is held by its own ties or a ribbon. If you want a dress to stay on a doll permanently, a few hand stitches at the knot will do it, but the pattern does not need them.
Which dolls does it fit?
11.5 inch fashion dolls of all four body types, Regular, Curvy, Petite and Tall, for example Barbie® Fashionistas and Made to Move™ dolls. The set has a Regular and a Curvy sheet; the tied-on pieces take up the small differences of the Petite and Tall bodies. Dolls are not included; the names are used only to show fit.
What is in the download?
PDF pattern sheets in A4 and US Letter for both fits, SVG files of the same pieces, and step-by-step photo instructions. You get the files right after purchase.
Can I use the SVG files with a cutting machine?
Yes, that is what they are for. The SVG files are drawn at real size, one A4 page per piece set. Depending on your machine's software you may need to remove the text labels before import, and cut the pieces from paper first to check the size.
The pattern set is here: No-Sew Doll Clothes Pattern, Top, Skirt and 3 Dresses (PDF + SVG). Our other patterns for 11.5 inch dolls are in Sewing Patterns.