Every pattern piece carries a small language of lines, arrows, triangles and dots. Sewing pattern symbols are not regulated by any standards body, yet a sewist who learned on an American envelope pattern can pick up a German magazine pattern or an indie PDF and read it within minutes, because the conventions settled into place over a century and a half of commercial pattern making. This guide is the theory behind that language: what each symbol means, why it is drawn the way it is, where the big pattern companies differ from each other, and which marks exist only on patterns you print at home.
Want to practise on something small? Our sewing patterns for 11.5 inch fashion dolls use the same symbols, and a doll dress is small enough to sew in an evening.
Where the conventions come from
Graded paper patterns for home sewing began with Ebenezer Butterick in 1863, first for men's and boys' clothing and from 1866 for women. Over the next hundred years the American companies that became the so-called Big Four, Butterick, McCall's, Simplicity and Vogue, printed millions of tissue patterns with a shared vocabulary of sewing pattern symbols: a solid cutting line, a long double-headed grainline arrow, triangular notches, dots for matching, a diamond for a dart.
European magazine patterns, with Burda as the best known, grew up on a different format, a single large sheet where dozens of pieces overlap in several colours and have to be traced, and that format produced its own habits, such as tiny matching numbers along the seams and no seam allowance at all. Independent designers selling PDF patterns since the 2000s borrowed sewing pattern symbols from both and added marks that only make sense on a sheet of A4 or Letter paper coming out of a home printer.
So there are three families of sewing pattern symbols: envelope conventions, magazine conventions and PDF conventions. Most of the marks below belong to all three. Where they differ, the article says so.
The anatomy of a pattern piece
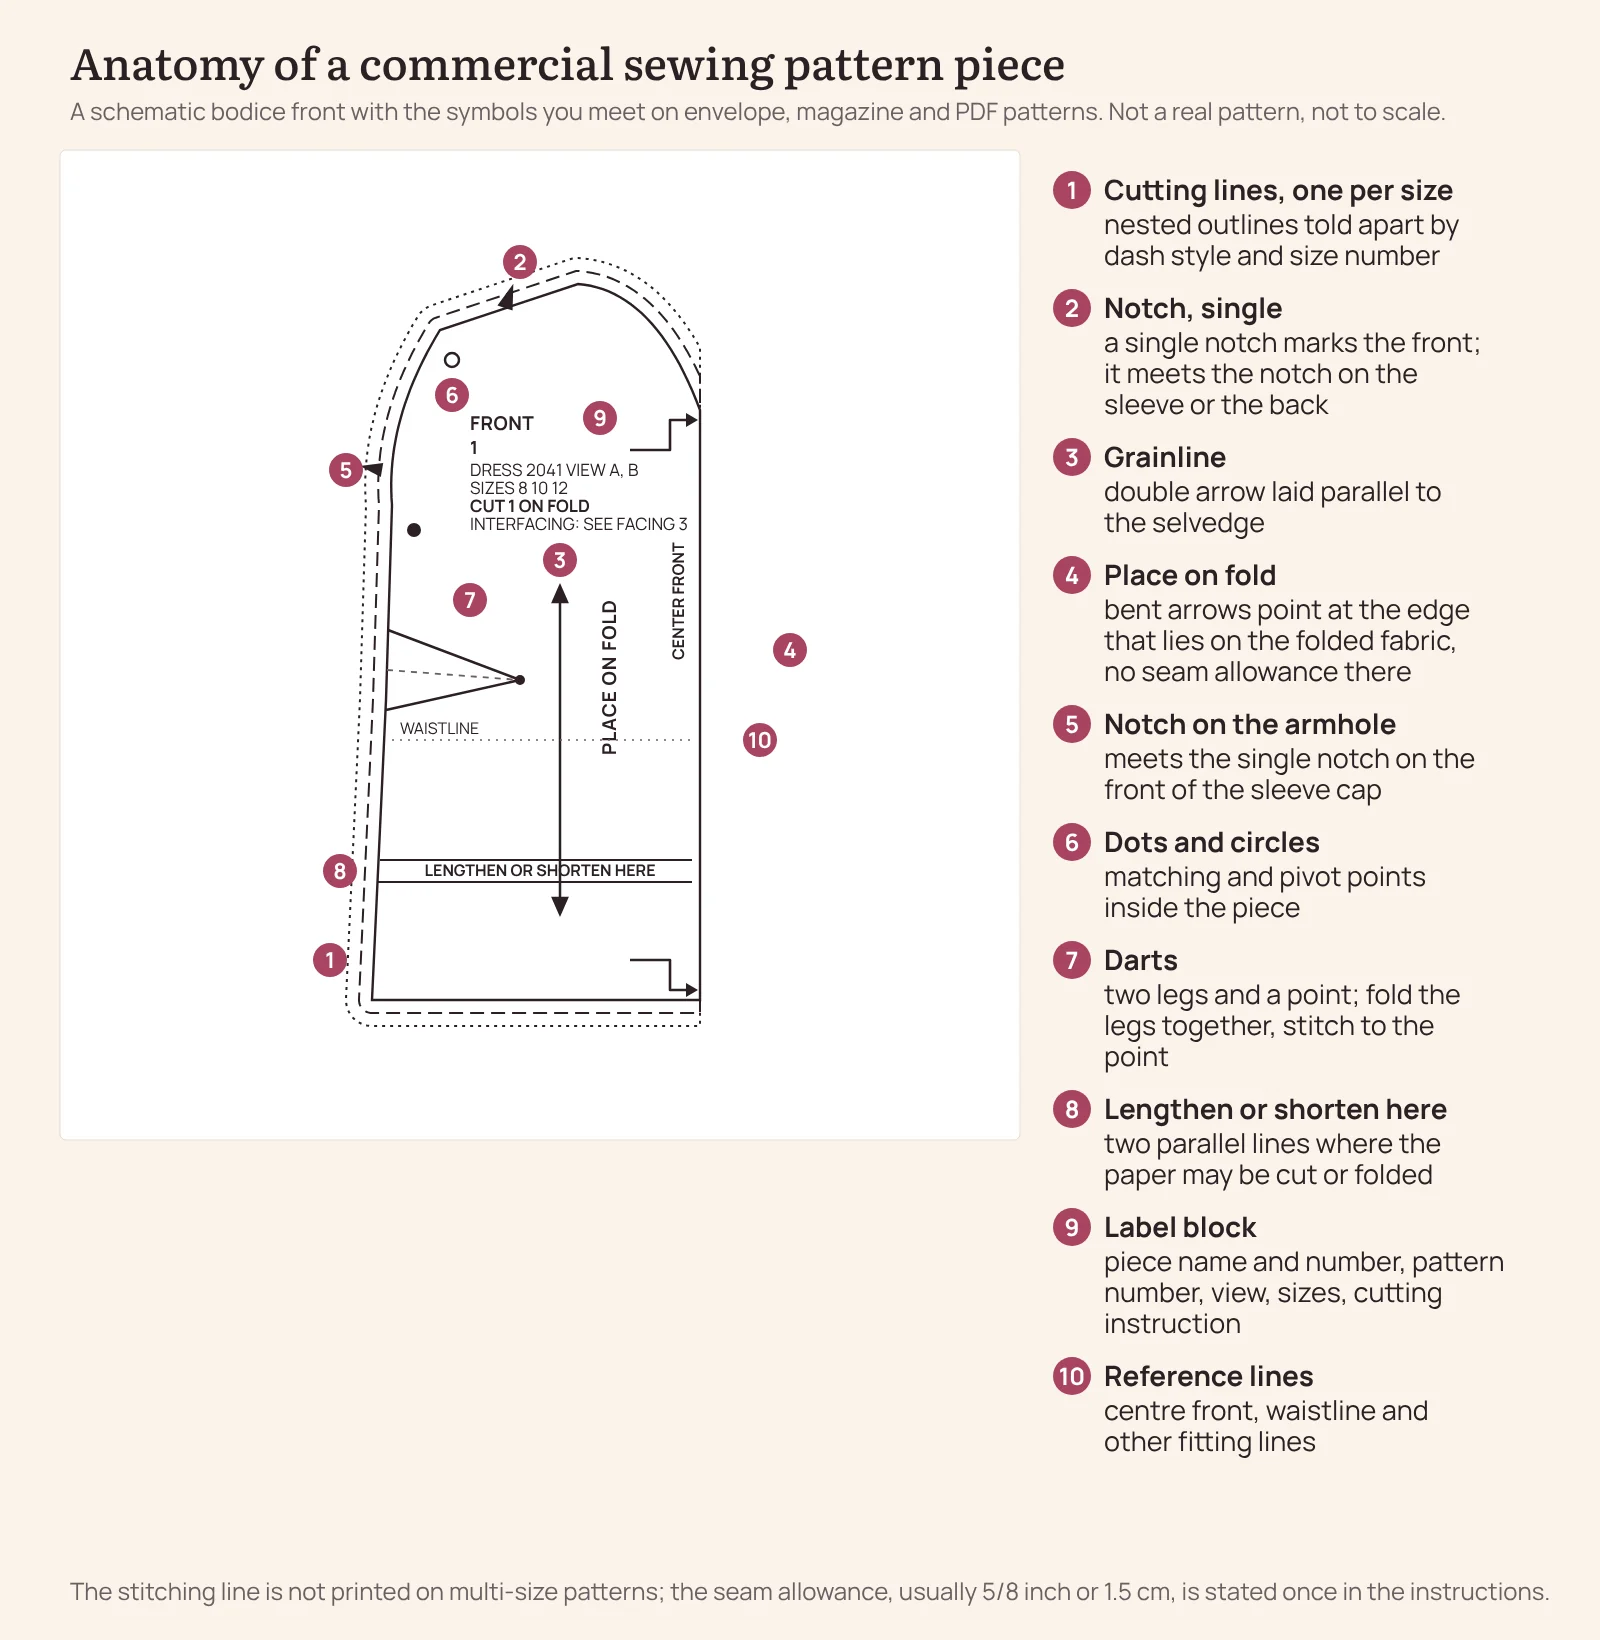
Whatever the company, a pattern piece has the same parts, and the sewing pattern symbols on it sit in the same places. An outline, which is the cutting line, or several nested outlines for several sizes. A label block with the piece name, its number, the pattern number and the view letter it belongs to, the size range, and the cutting instruction: cut 2, cut 1 on fold, cut 2 of fabric and 1 of interfacing.
Next comes a grainline arrow or a fold bracket, which tells you how the piece sits on the fabric. Along the edges sit notches and matching points. Inside the piece, shaping marks such as darts and pleat lines, placement marks for buttonholes, pockets and zips, and two parallel lines where the piece may be lengthened or shortened. Everything that is printed is there either to cut correctly, to lay out correctly, or to join correctly.
Lines: cutting, stitching, folding, hemming
Of all sewing pattern symbols, the lines are the ones you meet first. The cutting line is the outer edge of the piece. On a multi-size pattern there is one cutting line per size, nested inside each other and told apart by line style, solid, dashed, dotted, dash-dot, often with the size number printed on the line at intervals. You follow one style all the way round and switch between styles only on purpose, for example to grade from a size 12 bust to a size 14 hip.
The stitching line, or seam line, is where the needle goes. Older single-size patterns printed it as a dashed line inside the cutting line; most multi-size patterns leave it out, because ten nested stitching lines would be unreadable, and simply state the seam allowance once in the instructions. The gap between the two lines is the seam allowance.
Here the families disagree. The Big Four include 5/8 inch, which is 1.5 cm, on nearly every seam. Independent designers mostly include an allowance too, often 1 cm, 3/8 inch or 1/2 inch, and say so on the piece. Burda magazine patterns include none, so you trace the piece and add the allowance yourself, usually 1.5 cm, before cutting; the individually packaged Burda envelope patterns do include it. Vintage patterns from before the 1950s and many other European magazines also leave it out. The first thing to read on any pattern is therefore not a symbol at all but the sentence that says whether the allowance is included.
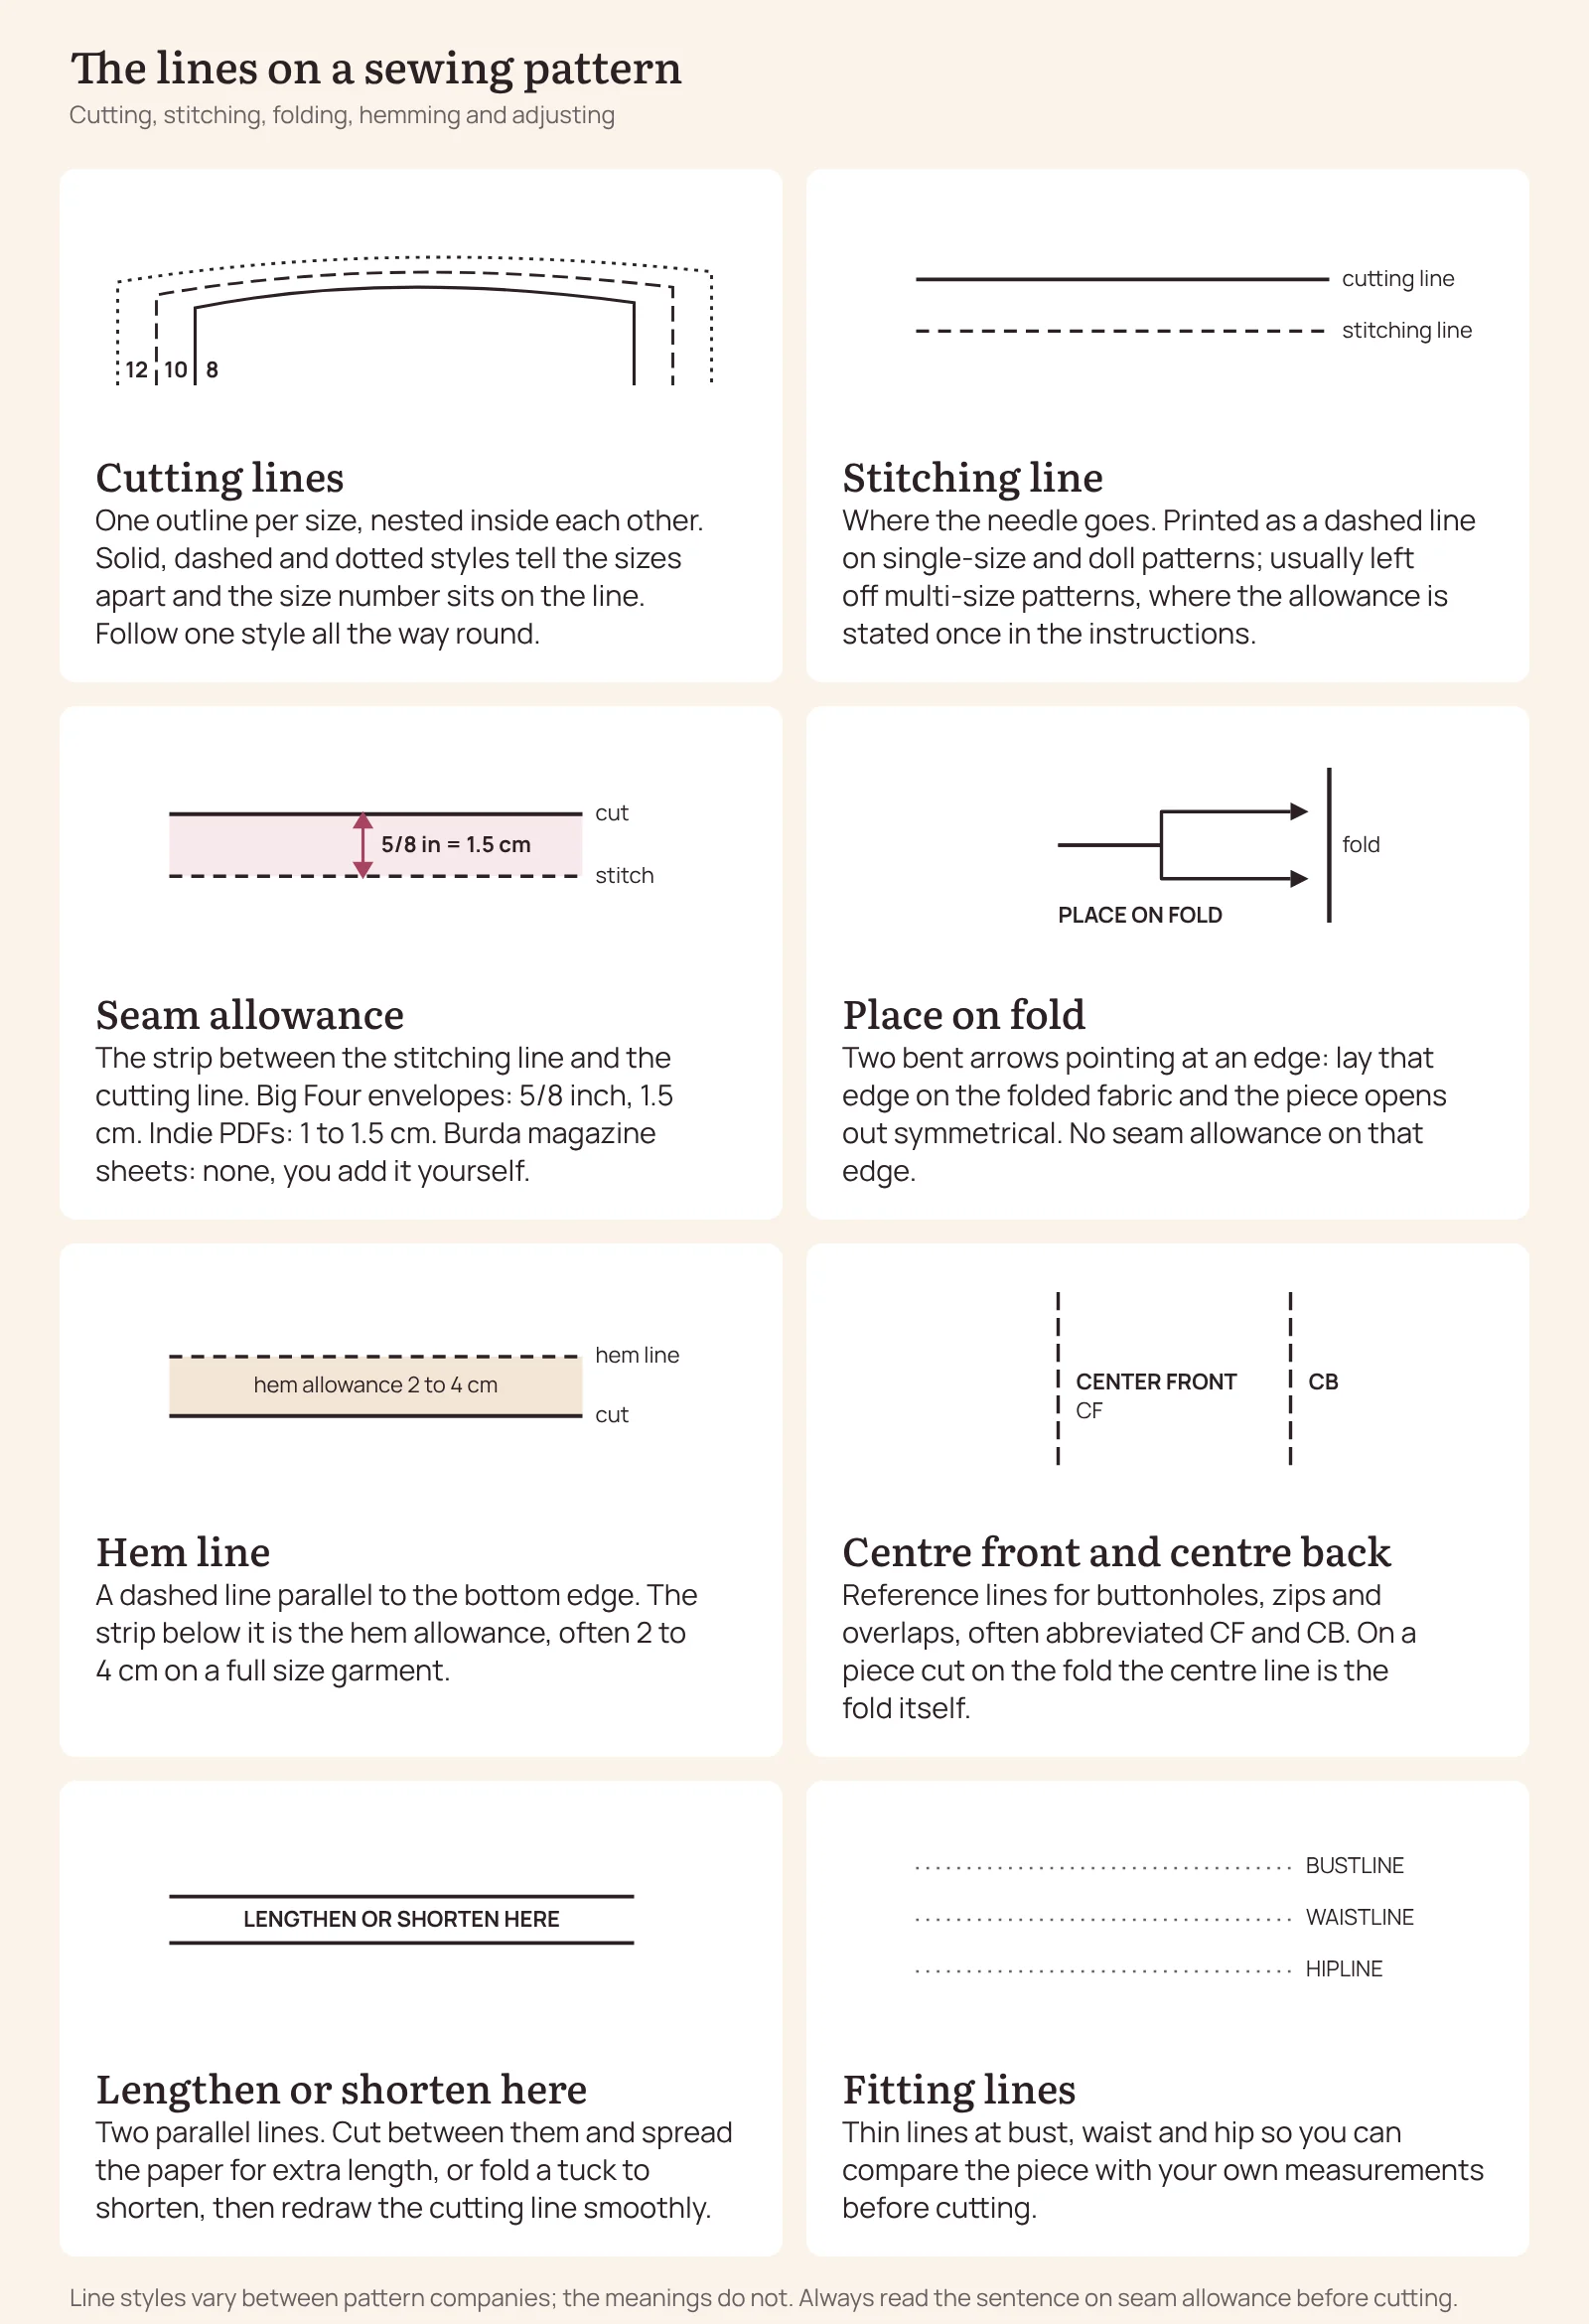
A fold line marks an edge that is placed on the folded fabric so the piece opens out symmetrical: a front bodice, a back skirt, a collar. The symbol is a bracket of two bent arrows pointing at the edge, often with the words place on fold, and that edge has no seam allowance.
A hem line, when printed, is a dashed or dotted line parallel to the bottom edge, and the strip below it is the hem allowance, commonly 2 to 4 cm on a full size garment. Centre front and centre back are labelled with their names and sometimes with the abbreviations CF and CB; they are the reference lines for buttonholes, zips and overlaps. Fitting lines, bustline, waistline and hipline, appear on some patterns as thin horizontal lines so you can compare the piece with your own measurements before cutting.
Two parallel lines across a piece, labelled lengthen or shorten here, show where the designer wants you to change the length. You cut between them and spread the halves for extra length, or fold a tuck between them to shorten, and then redraw the cutting line smoothly. They sit where the change does the least damage to the shape: above the hem, below the armhole, between waist and hip, never through a dart or a curve.
Sewing pattern symbols at a glance: the lines
| Line | How it is drawn | What it means |
|---|---|---|
| Cutting line |  Solid outline; one nested outline per size, each in its own dash style | Cut here. Follow one size's line all the way round |
| Stitching line | 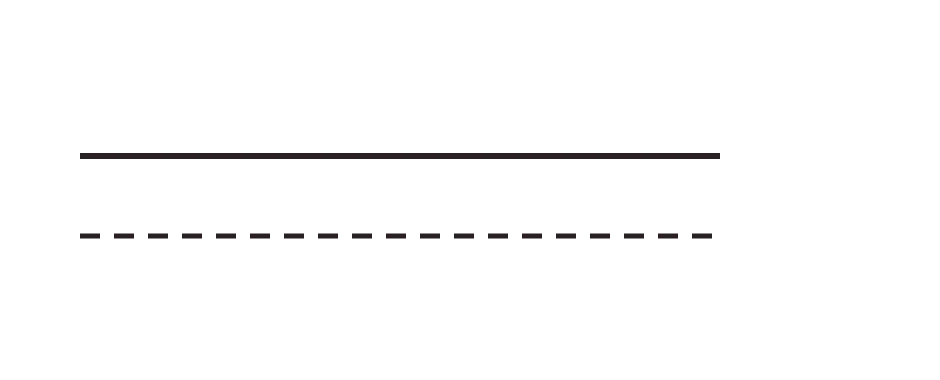 Dashed line inside the cutting line; usually left off multi-size patterns | Sew here. The gap to the cutting line is the seam allowance |
| Seam allowance |  The strip between the two lines; stated on the piece or in the instructions | Big Four 5/8 in (1.5 cm); indie PDFs 1 to 1.5 cm; Burda magazine none, add it yourself |
| Place on fold | 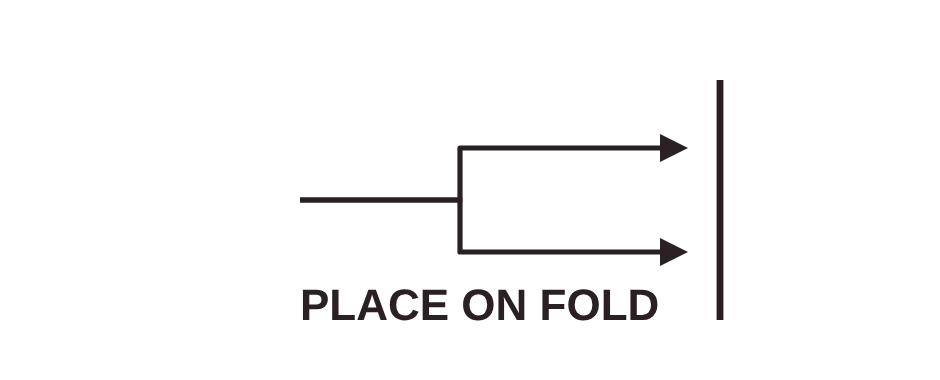 Two bent arrows pointing at an edge | Lay that edge on the folded fabric; no allowance there |
| Hem line |  Dashed or dotted line parallel to the bottom edge | Fold the hem here; the strip below is the hem allowance |
| Centre front, centre back | 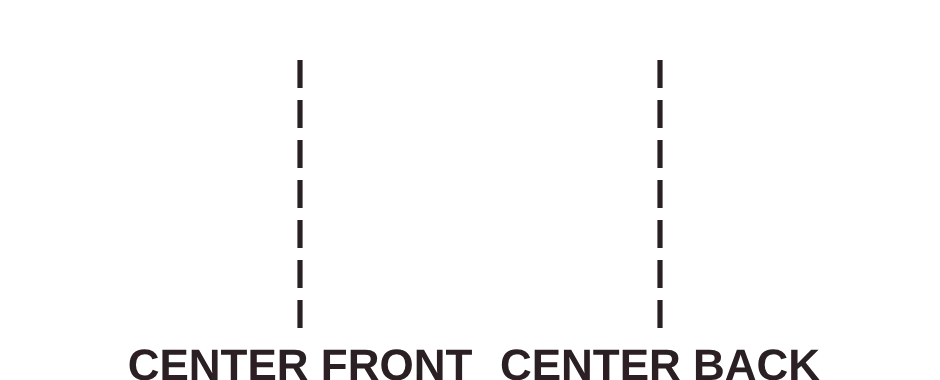 Labelled line, often CF and CB | Reference line for buttons, zips and overlaps |
| Lengthen or shorten here | 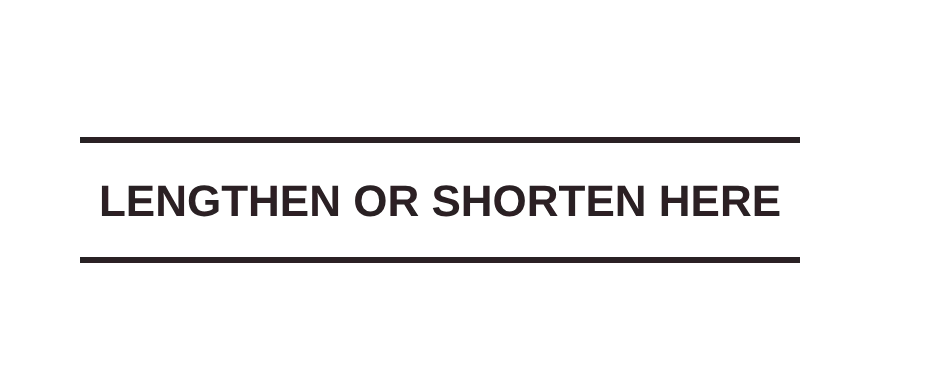 Two parallel lines across the piece | Cut between them and spread, or fold a tuck, then redraw the edge |
| Fitting lines | 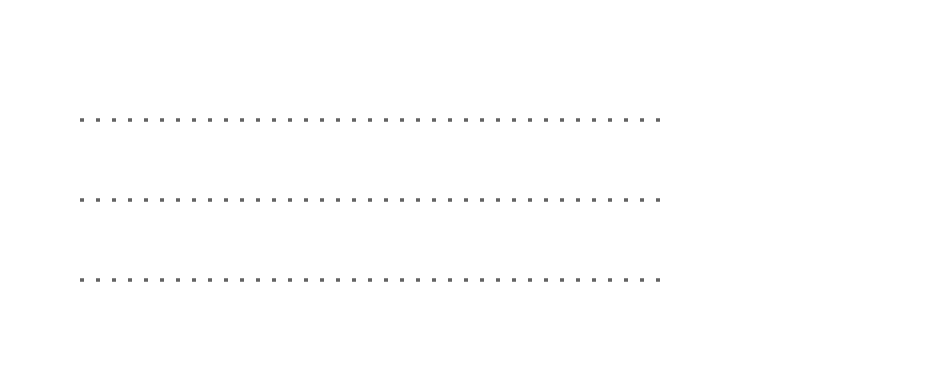 Thin lines labelled bust, waist, hip | Compare the piece with your measurements before cutting |
The grainline arrow and why it matters
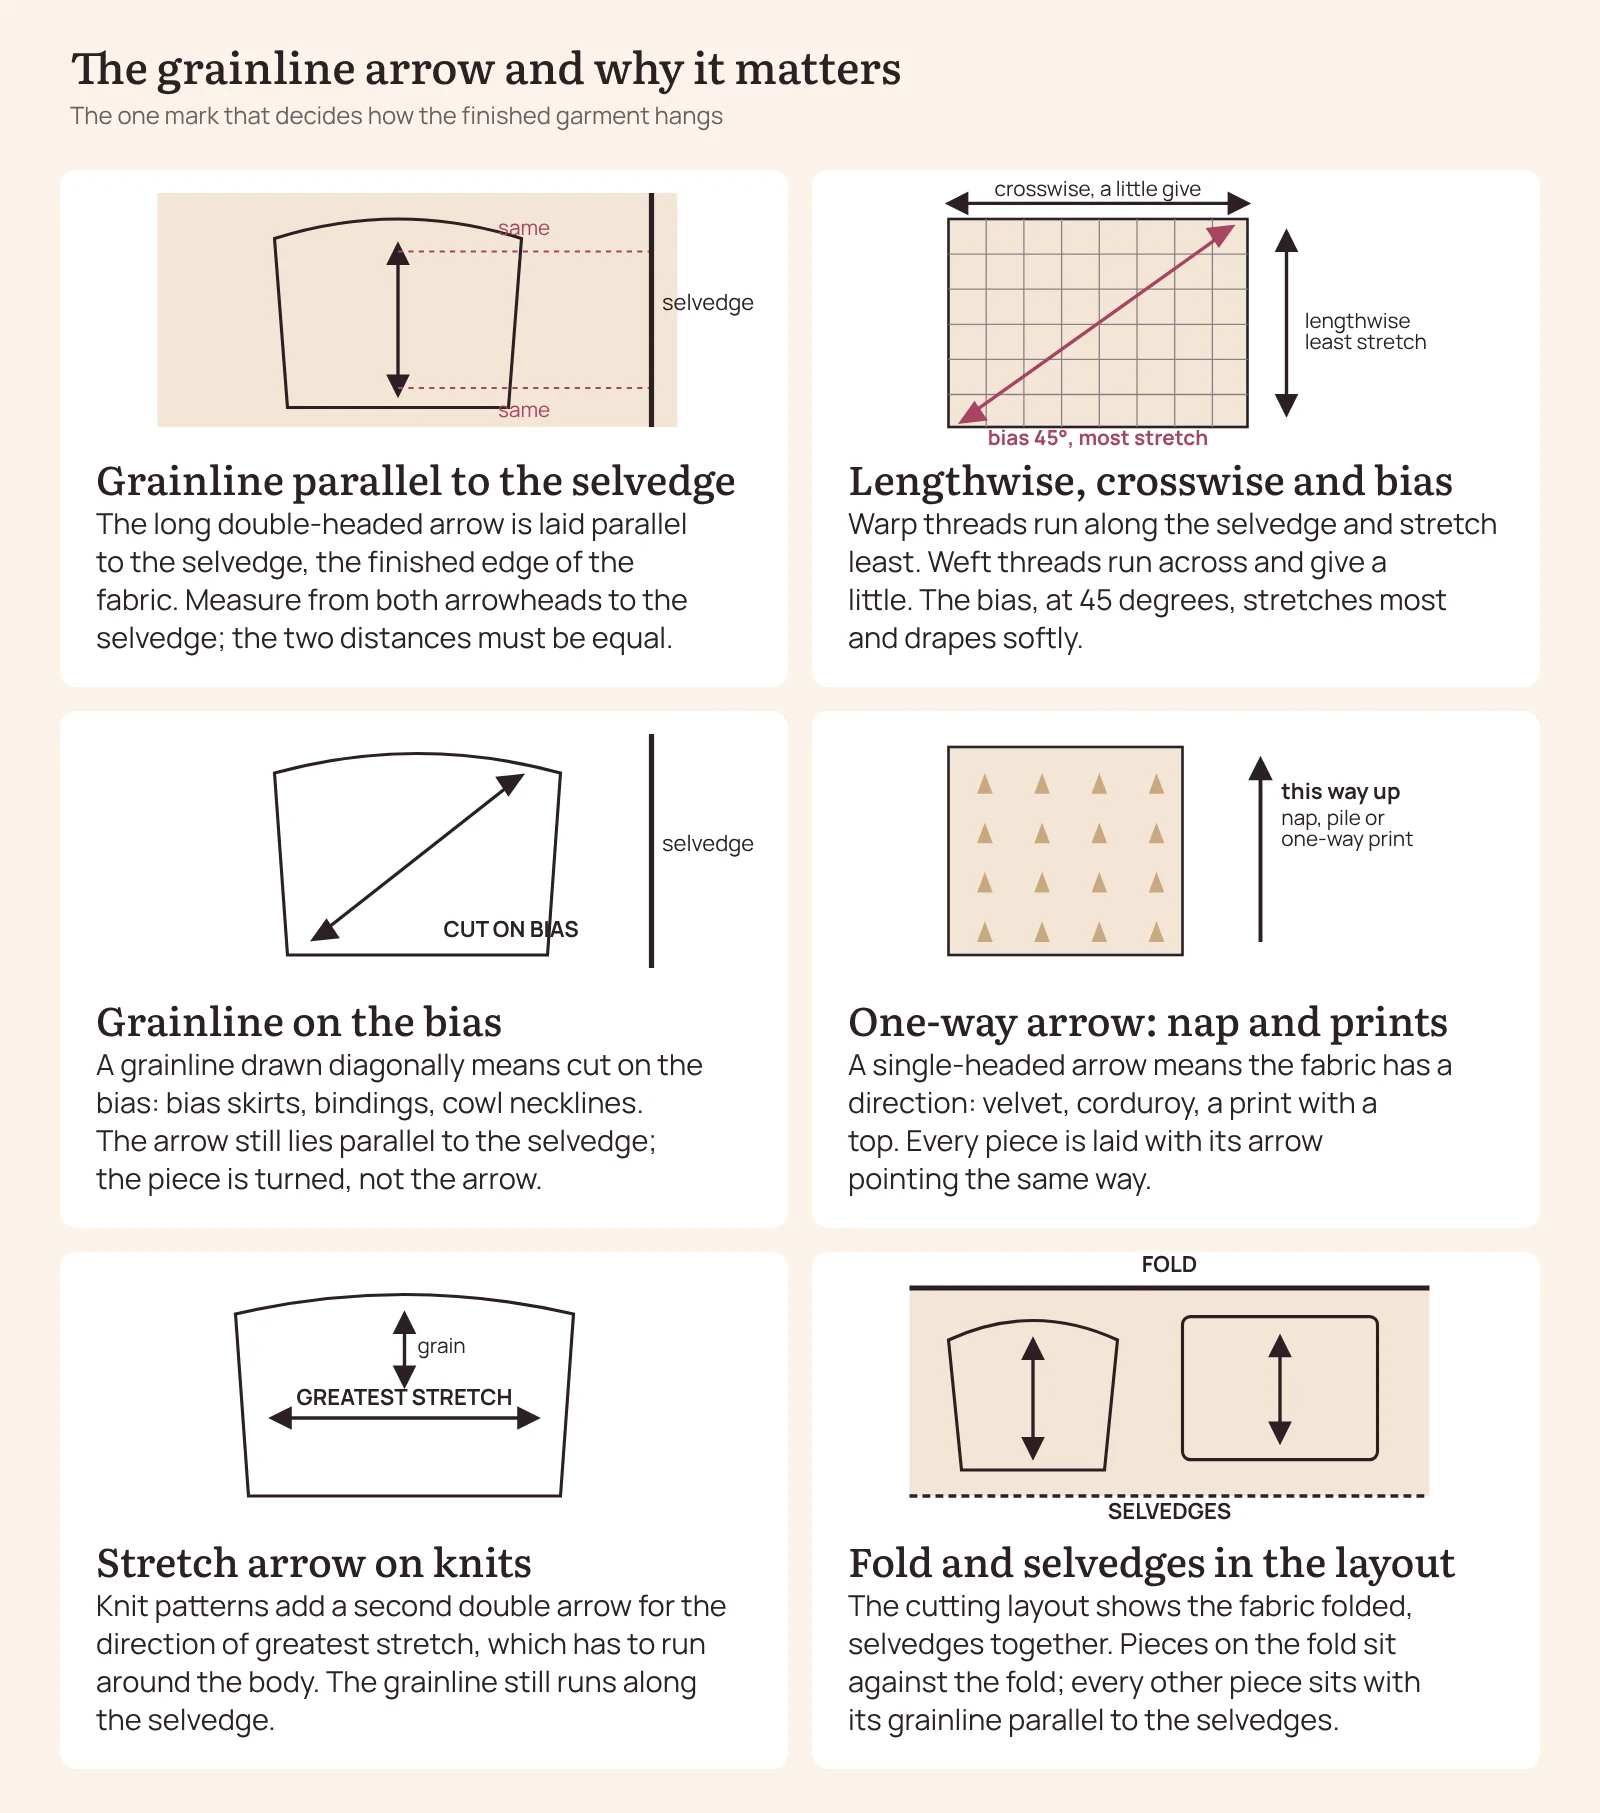
The grainline is the long line with an arrowhead at each end. You lay the piece on the fabric so that this line runs parallel to the selvedge, the finished edge, and you measure from both arrowheads to the selvedge to make sure it is truly parallel, not just roughly.
Woven fabric is made of warp threads running along the selvedge and weft threads running across it. The warp is pulled tight on the loom, so the lengthwise grain stretches least and hangs straightest; the crosswise grain gives a little; and the bias, at 45 degrees, stretches most and drapes softly. A skirt cut on the lengthwise grain hangs straight and holds its shape. The same skirt cut on the bias clings and flares. The grainline is how the designer fixes that behaviour, which is why, of all sewing pattern symbols, it is the one you never ignore. The background is on the Wikipedia page on fabric grain.
A grainline drawn diagonally across a piece means cut on the bias: bias-cut skirts, bindings, cowl necklines. A single-headed arrow, used mainly in industrial patterns and by some indie designers, means the fabric has a direction, a nap, a pile or a one-way print, and the arrow shows which way is up. On knits the grainline also fixes the direction of greatest stretch, which has to run around the body, so some knit patterns print a second double arrow labelled stretch.
Grain marks at a glance:
| Mark | How it is drawn | What it means |
|---|---|---|
| Grainline | 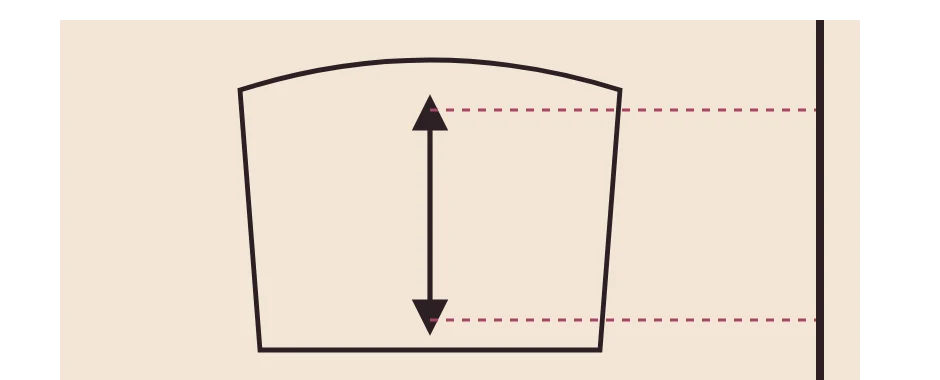 Long line with an arrowhead at each end | Lay it parallel to the selvedge; measure from both ends |
| Diagonal grainline | 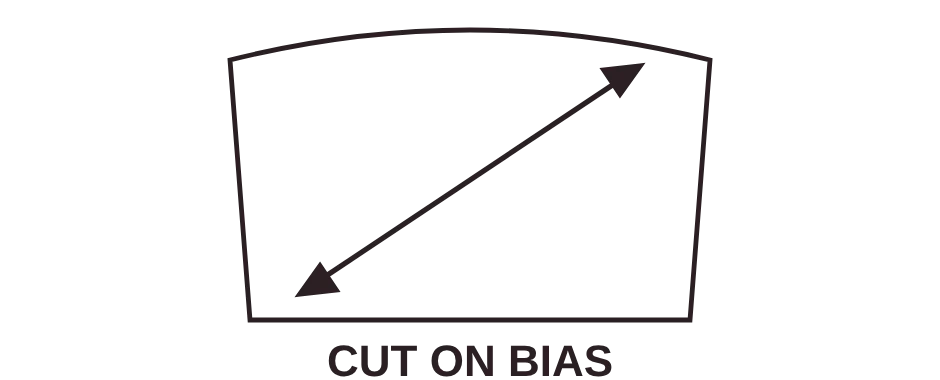 The same arrow at 45 degrees to the edges | Cut on the bias |
| One-way arrow |  A single arrowhead | The fabric has a direction: nap, pile or a one-way print; all pieces point the same way |
| Stretch arrow | 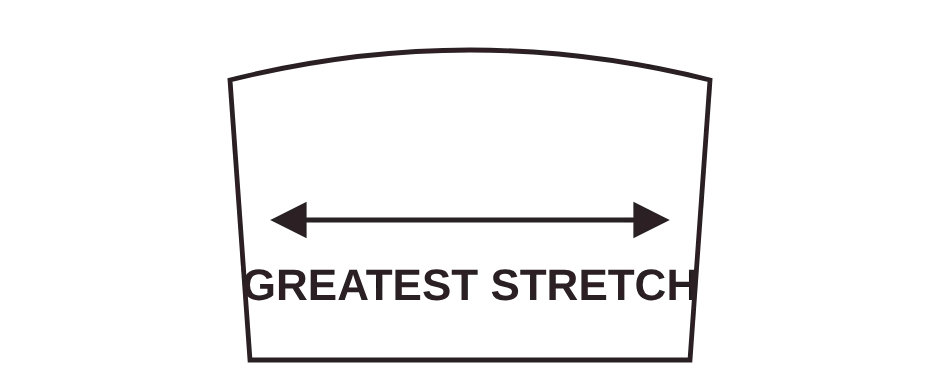 A second double arrow, labelled stretch | On knits: the greatest stretch runs around the body |
Balance marks: notches, dots and matching numbers
Balance marks are the sewing pattern symbols that tell you which edge meets which, and where. The oldest of them is the notch, a short mark across the cutting line. Notches come in pairs: one on each of the two edges that will be sewn together. When you pin the pieces, the notches meet, and if they do not, something is upside down, mirrored or stretched. On a sleeve they do more than align: the notches on the sleeve cap and on the armhole mark the section where the sleeve is eased in, and the single notch at the top of the cap meets the shoulder seam.

The convention that most patterns share is one notch for the front and two notches for the back. A single notch on the front armhole meets the single notch on the front of the sleeve; the double notch on the back armhole meets the double notch on the back of the sleeve, and a double notch also marks centre back. Triple notches are rare and appear on complex pieces or at a zip end.
The drawing of the notch is where the families differ. The Big Four print triangles sitting on the cutting line, and many sewists cut them as little triangles pointing outward so the allowance stays intact. Indie designers usually print a short line or a T across the edge and expect a shallow snip, 2 to 3 mm, into the allowance. Burda magazine sheets have very few notches, mostly on sleeves, so you trace every one you find. On a piece with a tiny allowance, a snip can reach the seam line, so a pencil tick on the wrong side is the safer transfer.
Dots, circles, squares and small triangles printed inside a piece are matching points for places a notch cannot reach: where a collar ends on the neckline, where a pocket corner sits, where a sleeve placket starts, where you stop stitching to leave a slit or a vent, and where you pivot at a corner. The shapes have no fixed meaning of their own; a pattern that uses both dots and squares does so to pair one dot with another dot and one square with another square on the matching piece.
A large dot usually marks something structural, a dart point or a pivot, and a small dot a placement. The instruction sheet refers to them by name, for example stitch to the large dot, so it pays to transfer every one.
Magazine patterns replace most dots with numbers, one of the few sewing pattern symbols that differ between the families. Burda prints tiny numerals along the seam lines of the smallest size, and the same number appears on the edge of the piece it joins: seam 3 on the front meets seam 3 on the side panel. Industrial patterns do the same with letters or numbers. It is the same idea our own doll patterns use with join letters, A to A and B to B, described in our post on sewing pattern markings on a doll pattern sheet.
Sewing pattern symbols at a glance: balance marks
| Mark | How it is drawn | What it means |
|---|---|---|
| Single notch | 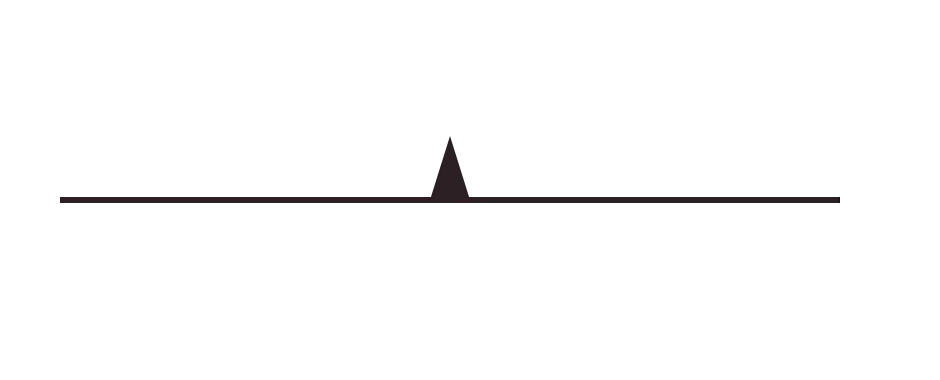 One triangle, line or T on the cutting line | Front. Meets the single notch on the partner piece |
| Double notch | 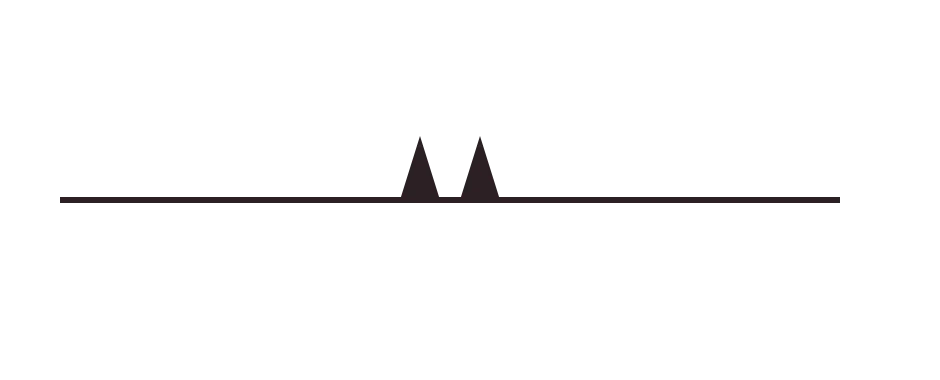 Two notches side by side | Back, or centre back |
| Triple notch |  Three notches | Rare: complex pieces, zip ends |
| Dots, circles, squares |  Small shapes inside the piece | Matching points; a shape pairs only with the same shape |
| Large dot | 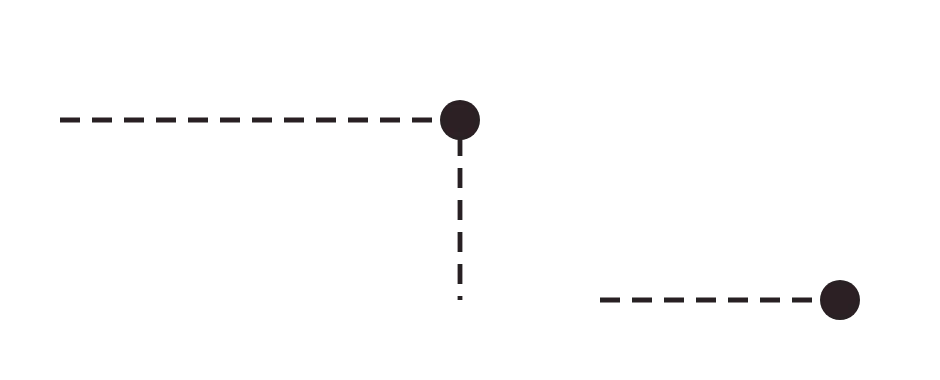 A bigger filled circle | Stop stitching here, or pivot here |
| Matching numbers |  Tiny numbers along the seams (Burda magazine) | Seam 3 on one piece meets seam 3 on the other |
Shaping marks: darts, pleats, tucks, gathers and ease
Shaping marks are the sewing pattern symbols that turn a flat piece into a curved one. A dart is drawn as a long narrow triangle with its wide end on the cutting line and its point inside the piece, often with a dot at the point and a short line marking where the fold goes. You fold the piece right sides together so the two legs lie on each other and stitch from the wide end to the point.
A double-ended dart, drawn as a diamond in the middle of a piece, shapes the waist of a dress or jacket and is stitched from the middle outward to each point. On thick fabric a dart is sometimes cut open along its fold and pressed flat, and a few patterns draw it that way, as a slit rather than a triangle.
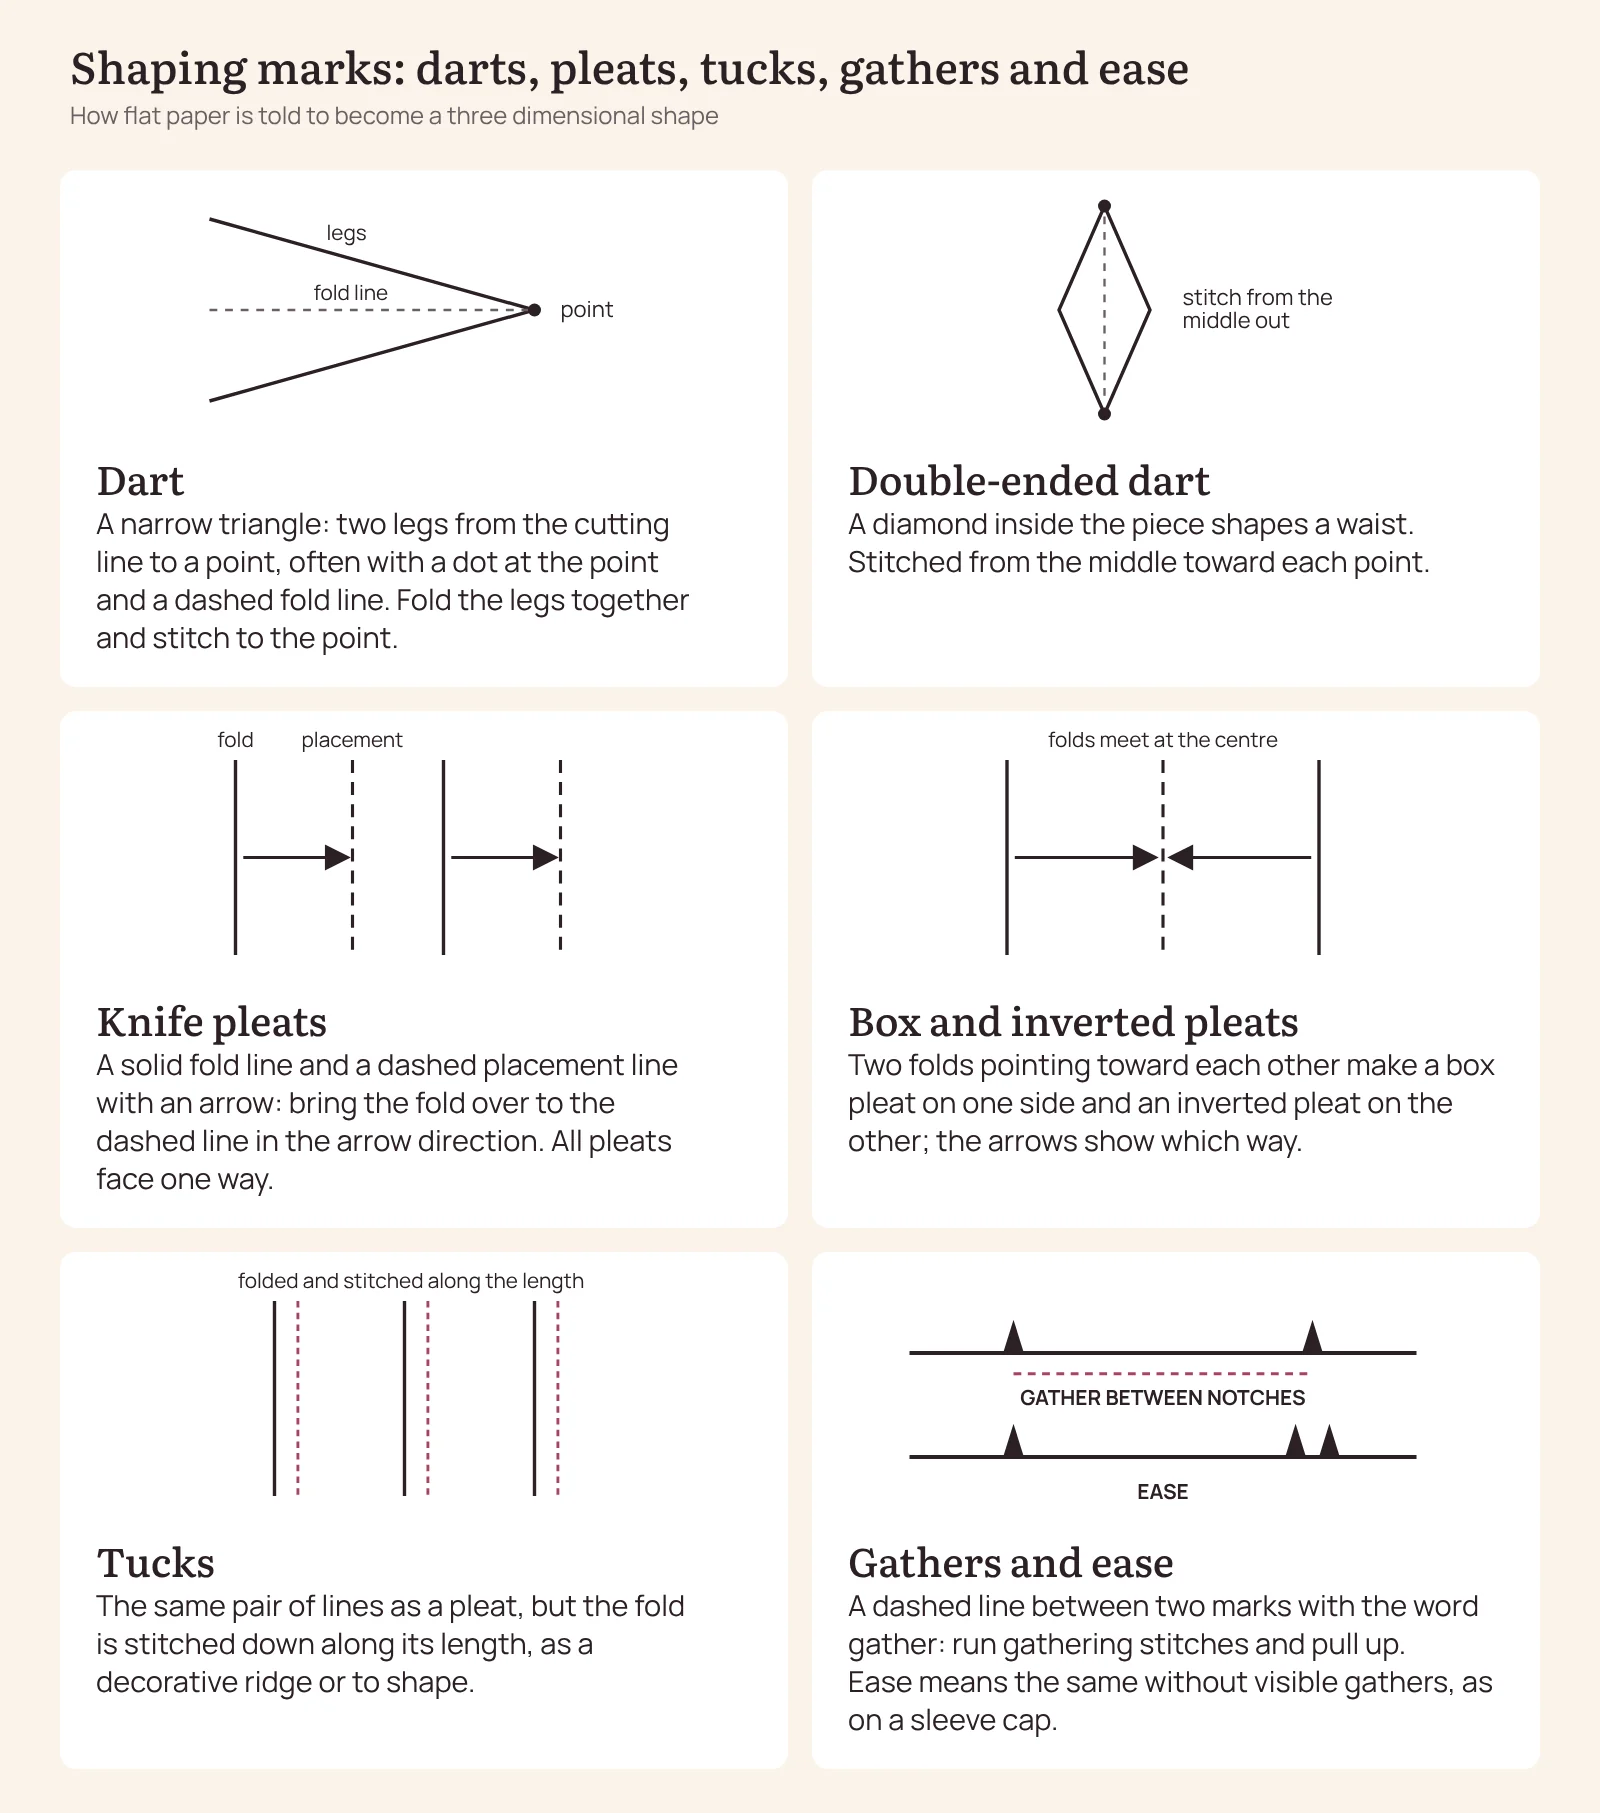
Pleats are drawn as pairs of lines, usually one solid and one dashed, with an arrow between them. The solid line is the fold; you bring it over to the dashed line in the direction of the arrow and pin. Knife pleats all point one way; a box pleat has two folds pointing away from each other, an inverted pleat two folds pointing toward each other. Tucks use the same pair of lines but are stitched down along their length.
Gathering is shown as a dashed line between two dots or notches, often with the word gather; you run two rows of long stitches between the marks and pull them up until the edge matches the piece it joins. Ease is the gentler version of the same thing, written as ease between the notches on a sleeve cap or a princess seam: the edge is a little longer than its partner and is pinned so the extra is spread evenly, without visible gathers. Small arrows on a seam line sometimes show the direction in which the designer wants you to sew it, which matters on curves and on long bias seams.
Sewing pattern symbols at a glance: shaping marks
| Mark | How it is drawn | What to do |
|---|---|---|
| Dart | 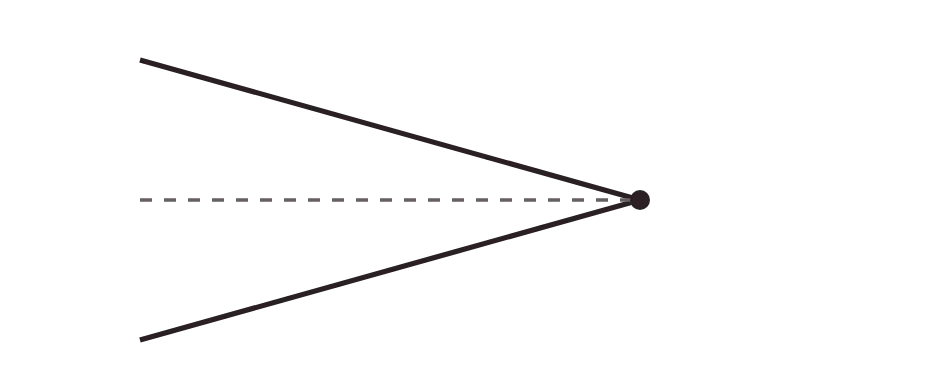 Narrow triangle from the edge to a point | Fold the legs together, stitch to the point |
| Double-ended dart | 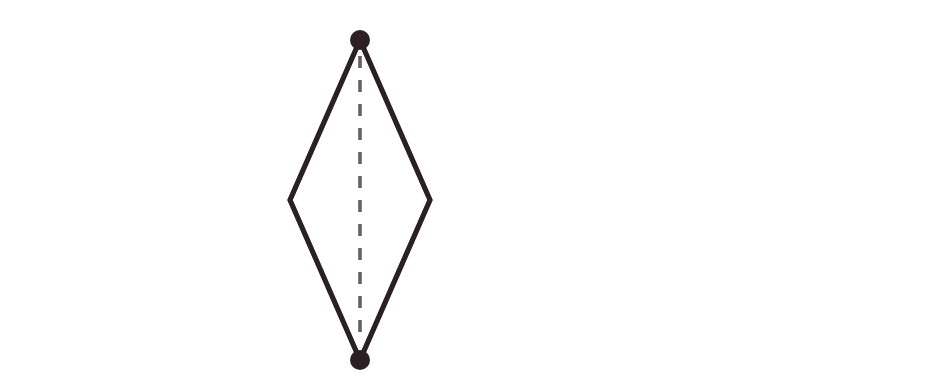 Diamond inside the piece | Stitch from the middle to each point |
| Knife pleat |  Solid fold line, dashed placement line, arrow | Fold on the solid line, bring it to the dashed line in the arrow direction |
| Box or inverted pleat |  Two folds with arrows pointing toward each other | Box pleat on one side, inverted pleat on the other |
| Tuck | 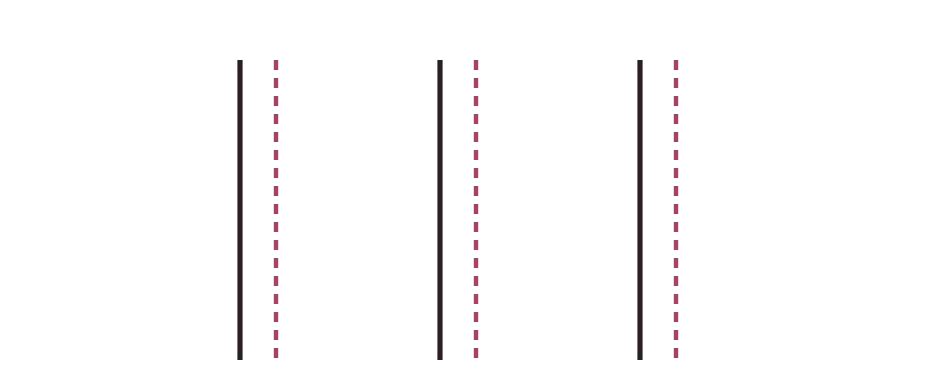 A pair of lines, like a pleat | Fold and stitch down along the length |
| Gather | 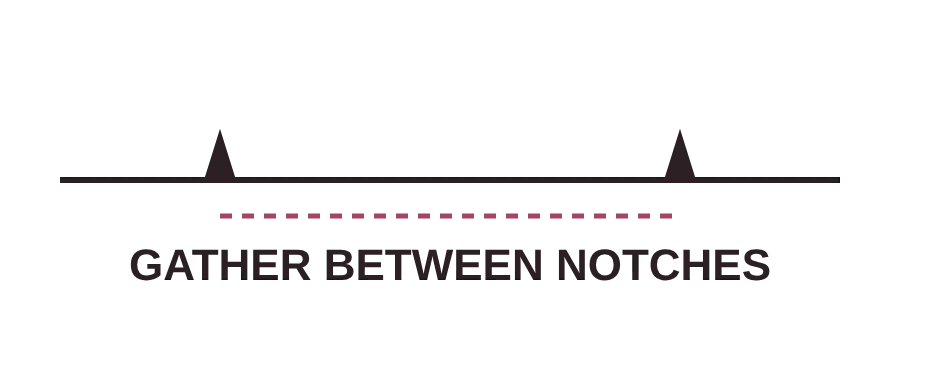 Dashed line between two marks, the word gather | Run gathering stitches between the marks and pull up |
| Ease | 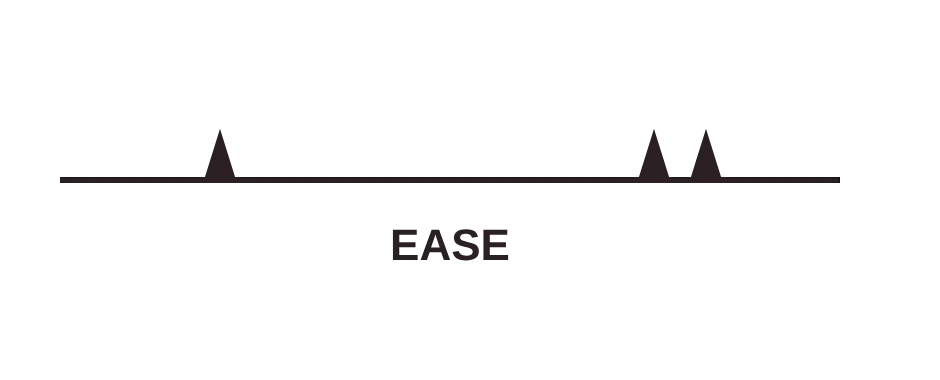 The word ease between notches | Pin the longer edge evenly, no visible gathers |
Placement marks: buttons, zips, pockets, interfacing
Placement marks are the sewing pattern symbols that say where something is attached. A buttonhole is a bar with a short line at each end, shaped like a capital I, and its length is the buttonhole length: the button's diameter plus its thickness. Horizontal buttonholes start a few millimetres beyond the centre front line, toward the edge, and run toward the side seam; vertical ones sit on the line itself. The button position is an X or a circle on the opposite piece, exactly on centre front, so that when the button is through the hole the two centre lines lie on each other.
A zip is shown as a long bracket or a line along the seam with the word zipper and a dot where the opening ends. Pocket placement is a pair of dots or a dotted outline of the pocket. Belt loops, tabs and labels get a short line or a pair of dots with the item written beside it.
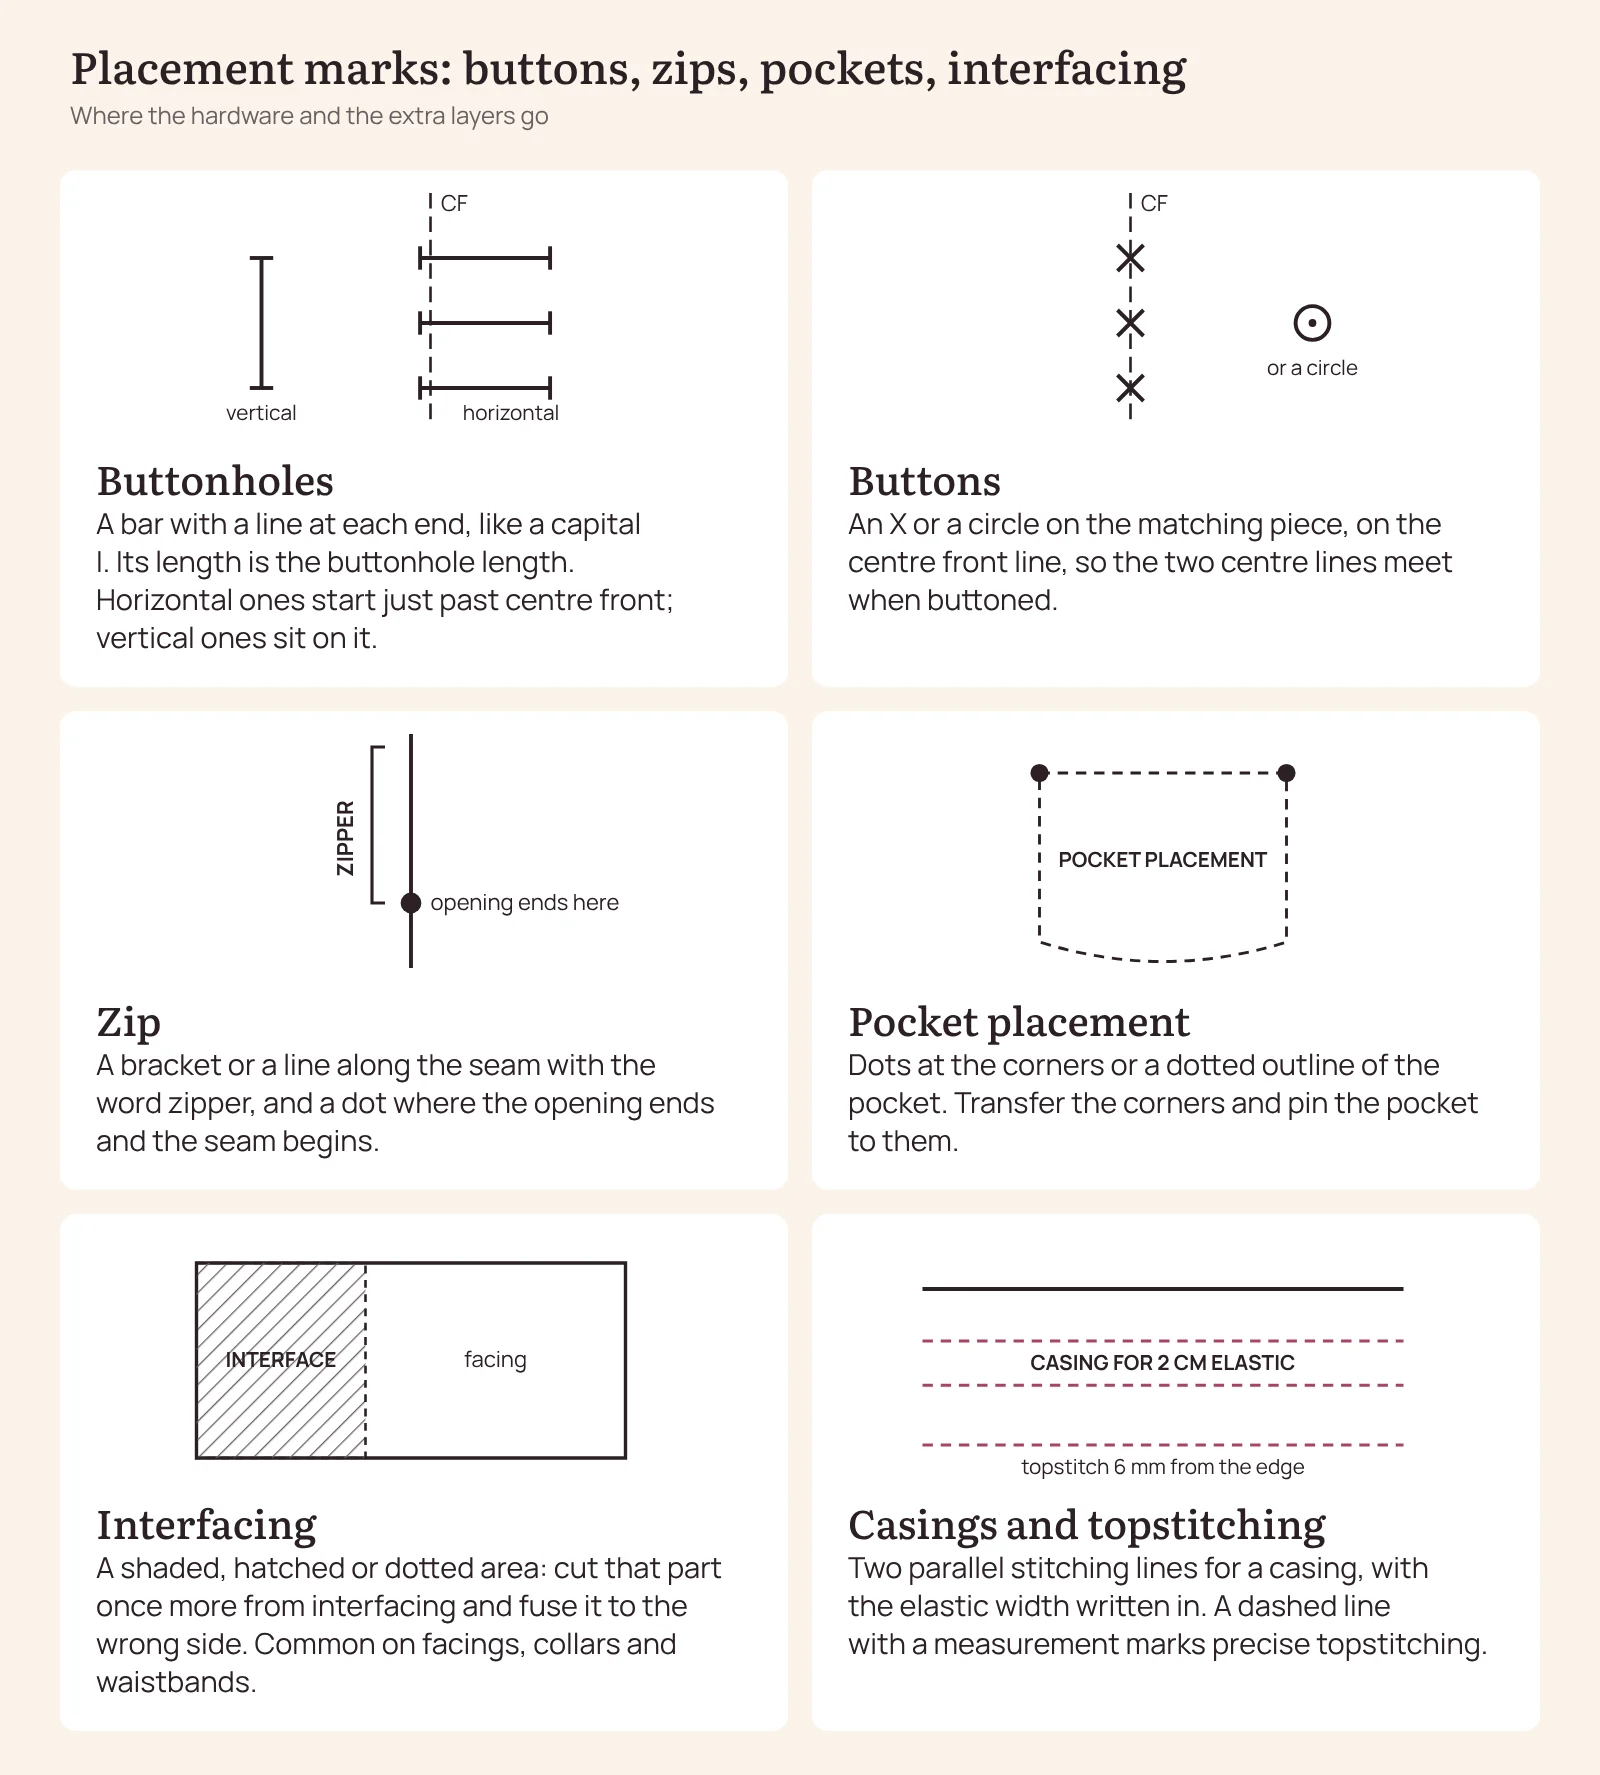
Interfacing is shown as a shaded or hatched area on the piece, or as a dotted outline, which means that part of the piece, a facing, a collar, a waistband, is cut once more from interfacing and fused or sewn to the wrong side. Casings and elastic lines are drawn as two parallel stitching lines with the word casing. Topstitching, when the designer wants it in a precise place, is a dashed line a set distance from the edge with the measurement written on it.
Sewing pattern symbols at a glance: placement marks
| Mark | How it is drawn | What it means |
|---|---|---|
| Buttonhole | 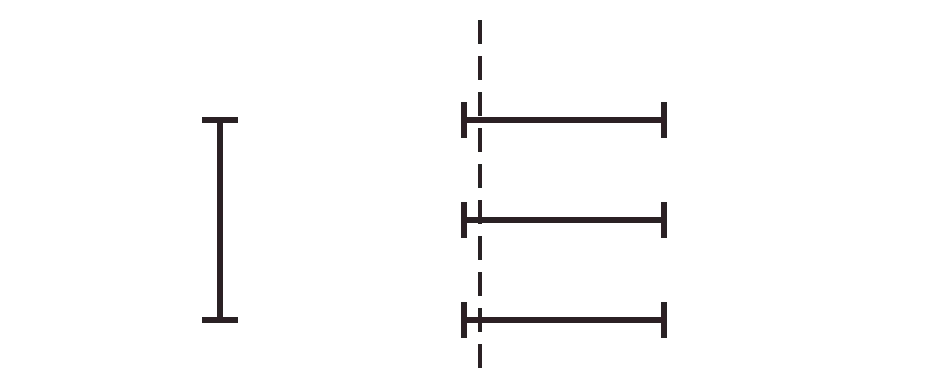 A bar with a short line at each end, like a capital I | Buttonhole of that length; horizontal ones start just past centre front |
| Button | 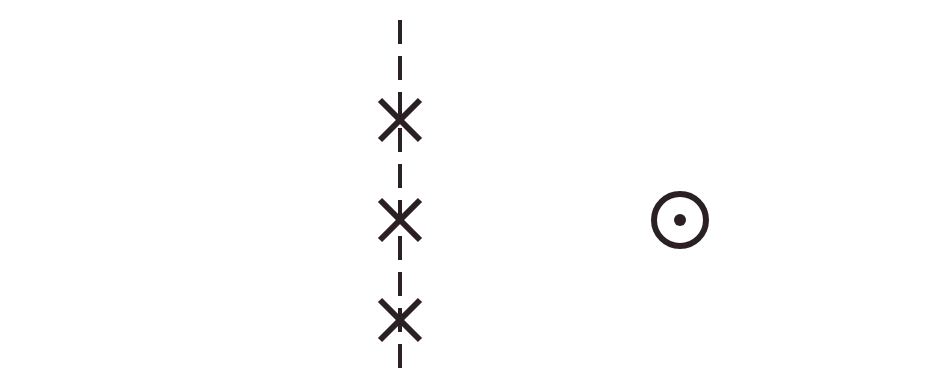 An X or a circle | Sew the button here, on the centre front line |
| Zip | 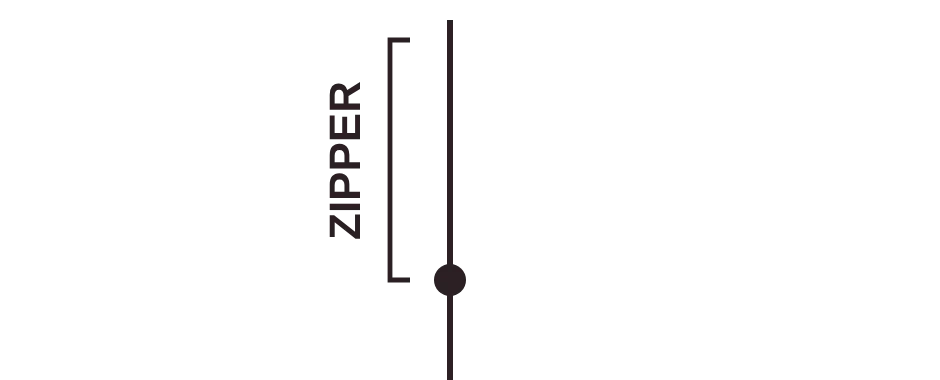 A bracket or line along the seam, the word zipper, a dot | The zip goes here; the opening ends at the dot |
 Dots at the corners or a dotted outline | Pin the pocket to the marks | |
| Interfacing | 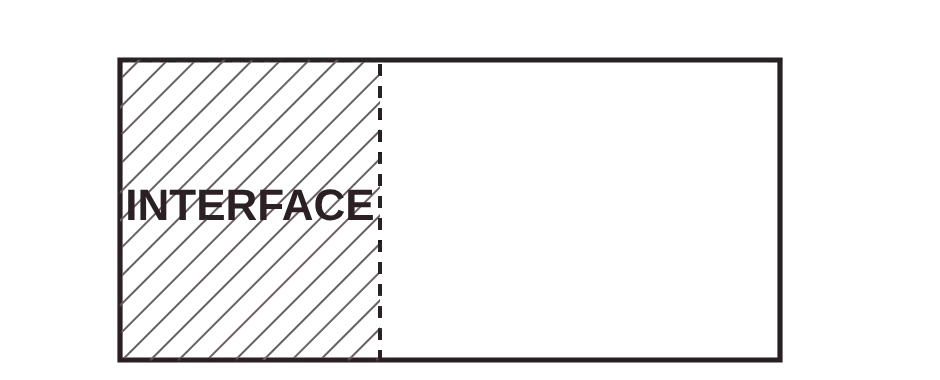 Shaded, hatched or dotted area | Cut this part again from interfacing and fuse it to the wrong side |
| Casing | 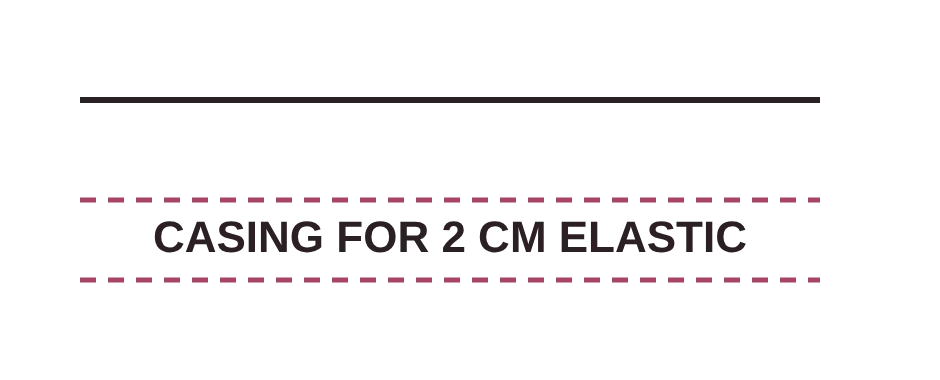 Two parallel stitching lines with the elastic width | Stitch the channel, thread the elastic |
| Topstitching | 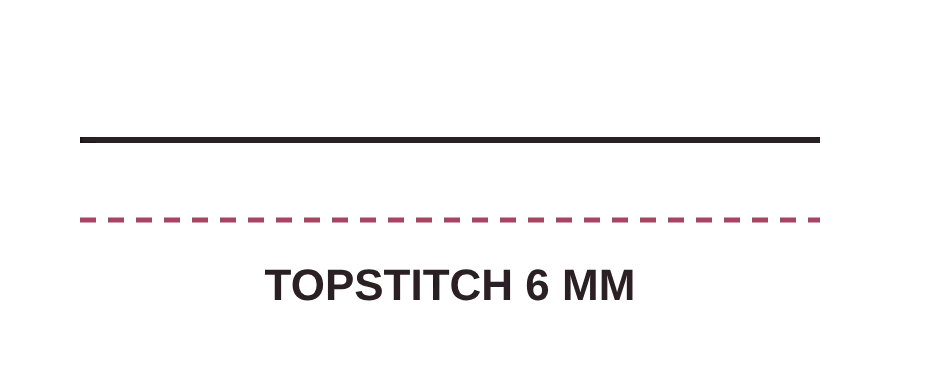 Dashed line with a measurement | Topstitch at that distance from the edge |
Labels and cutting instructions
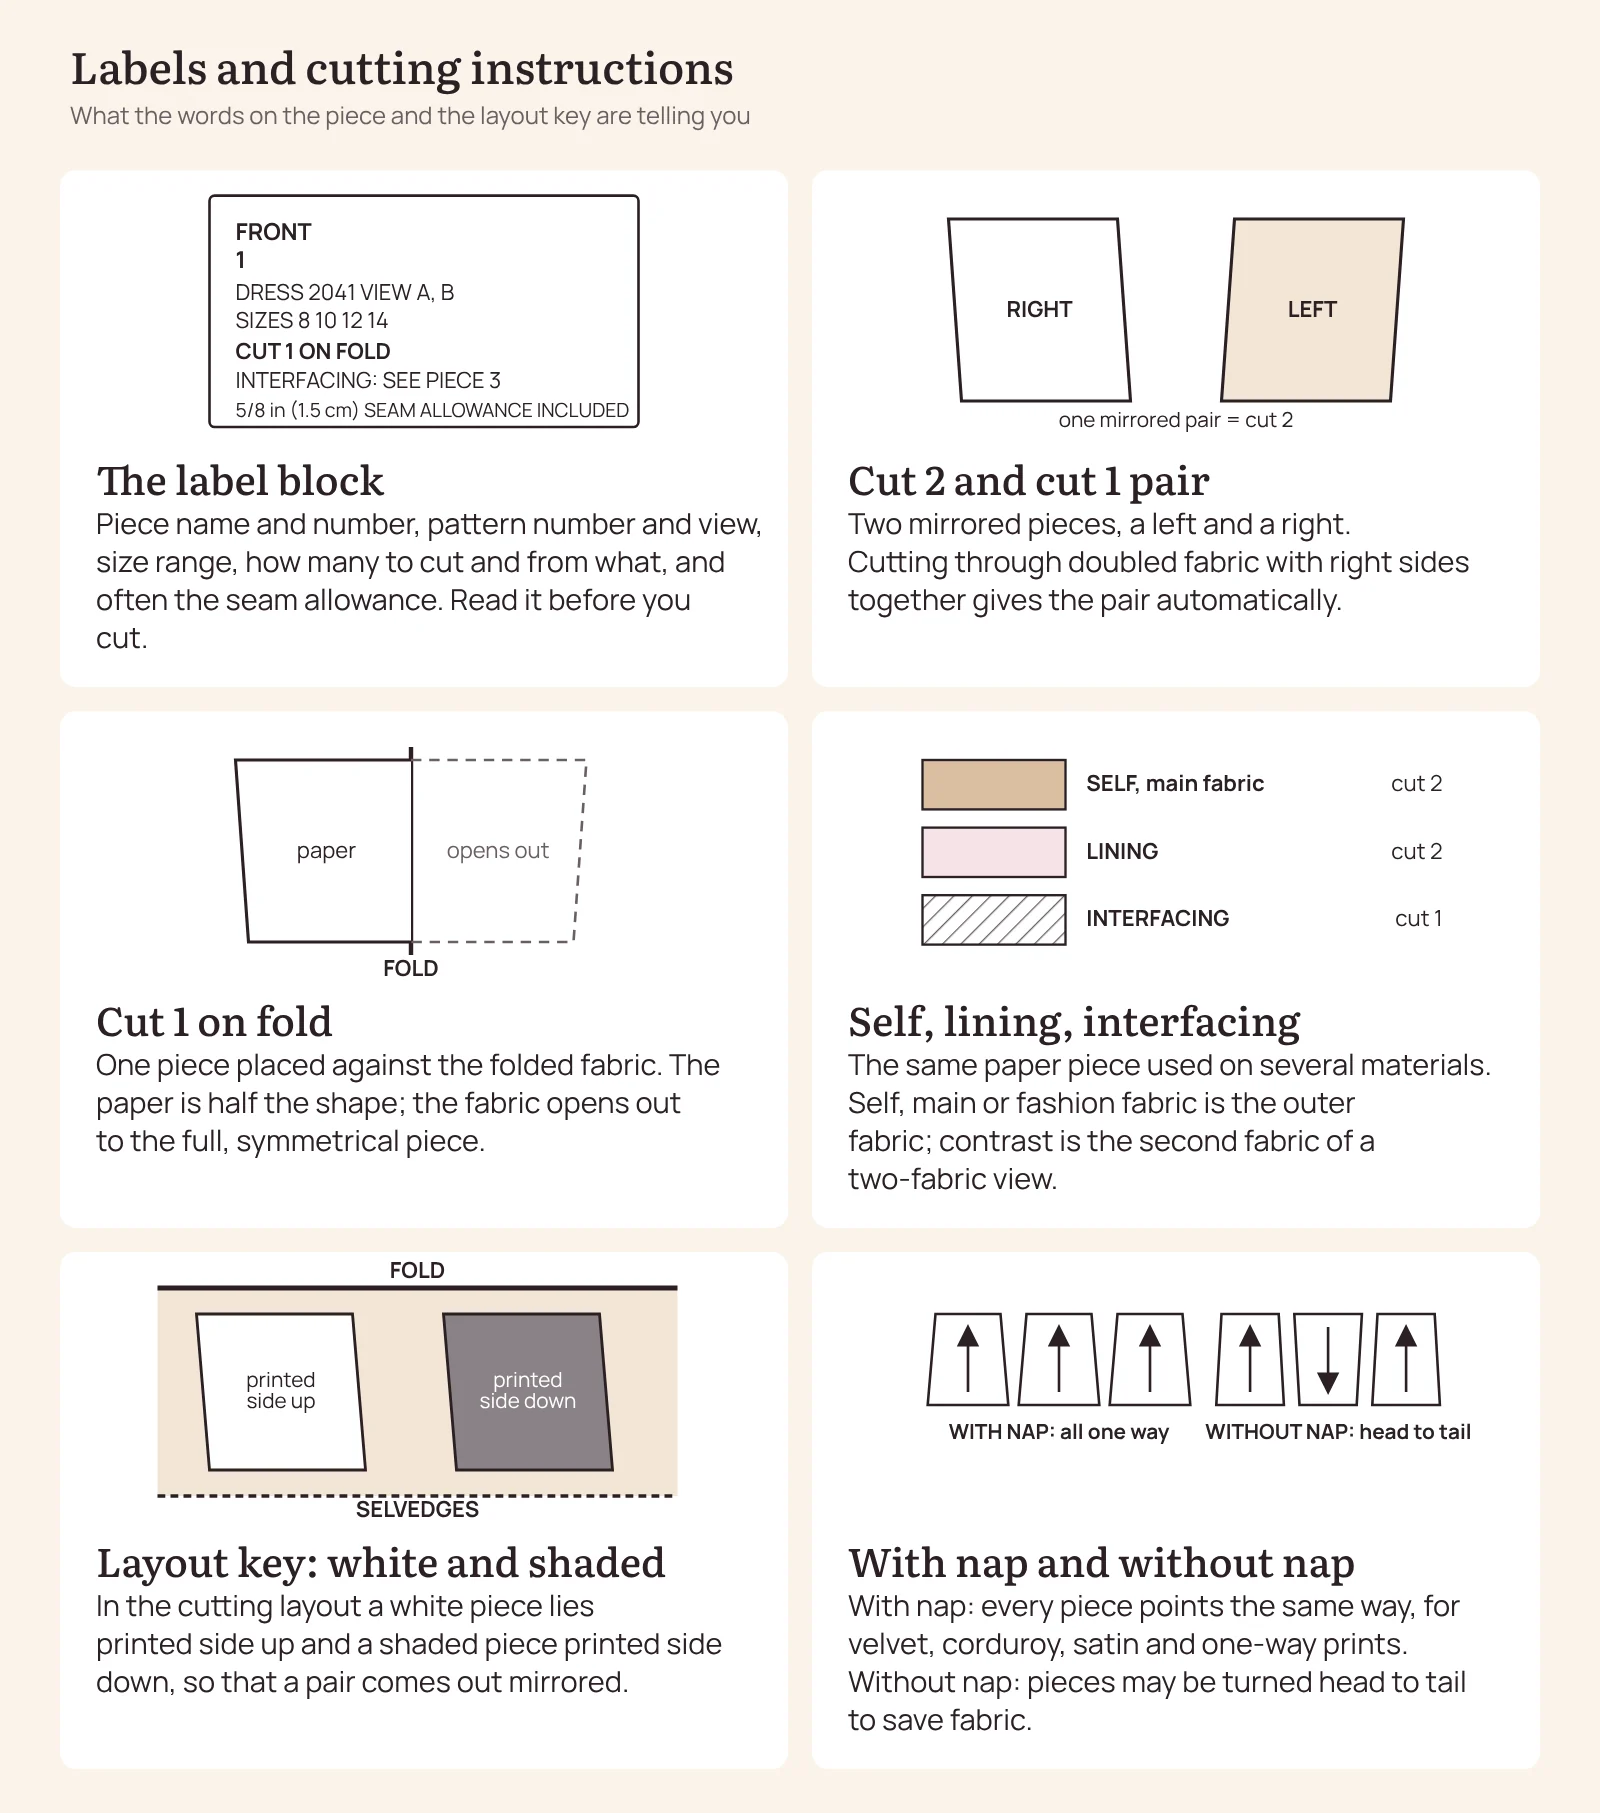
Not all sewing pattern symbols are drawings. The label block answers four questions: which piece is this, which garment and view does it belong to, which sizes does it cover, and how many times is it cut from what. Cut 2 means two pieces as a mirrored pair, which happens automatically when you cut through doubled fabric with the right sides together; cut 1 pair says the same thing explicitly. Cut 1 on fold means one piece on the folded fabric, opened out to its full width.
Cut 2 self, 2 lining, 1 interfacing means the same paper piece is used three times on three materials; self, main or fashion fabric all mean the outer fabric, and contrast means the second fabric of a two-fabric view. A piece that is cut from a single layer with the printed side up, because it is not symmetrical, says cut 1 single layer or has a note about the right side.
The cutting layout on the instruction sheet uses its own small key. Fabric is drawn folded, with the fold and the selvedges labelled. Pieces drawn white are placed printed side up, pieces drawn shaded are placed printed side down, so that a pair comes out mirrored. A layout headed with nap keeps every piece pointing the same way, for velvet, corduroy, satin and one-way prints; without nap lets pieces be turned head to tail to save fabric. In the sewing diagrams, shading again separates the right side of the fabric from the wrong side, and a dotted texture marks interfacing.
Cutting instructions at a glance:
| Instruction | How it is drawn | What it means |
|---|---|---|
| Cut 2 | 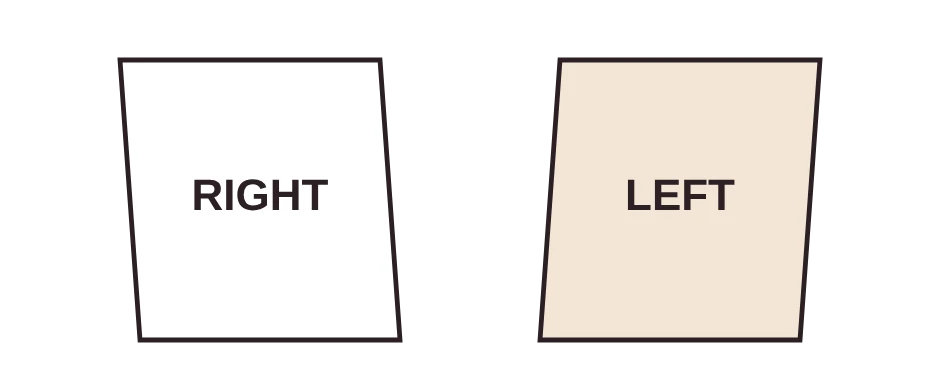 | Two pieces as a mirrored pair, cut through doubled fabric |
| Cut 1 pair | | The same as cut 2, said explicitly |
| Cut 1 on fold | 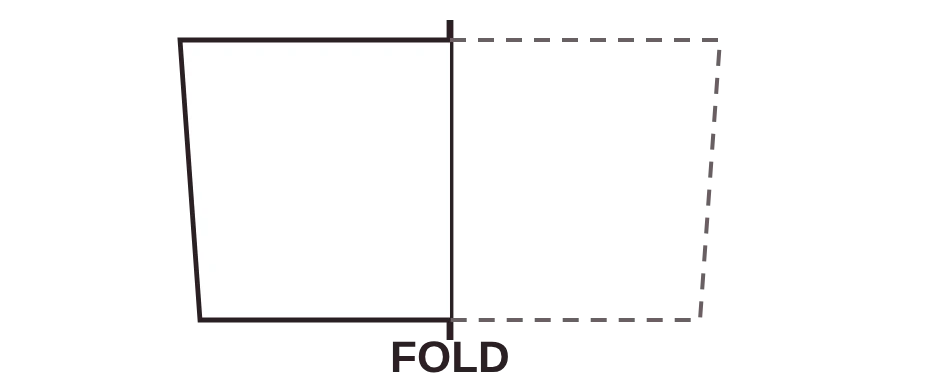 | One piece against the fold; it opens out to the full width |
| Cut 2 self, 2 lining, 1 interfacing | 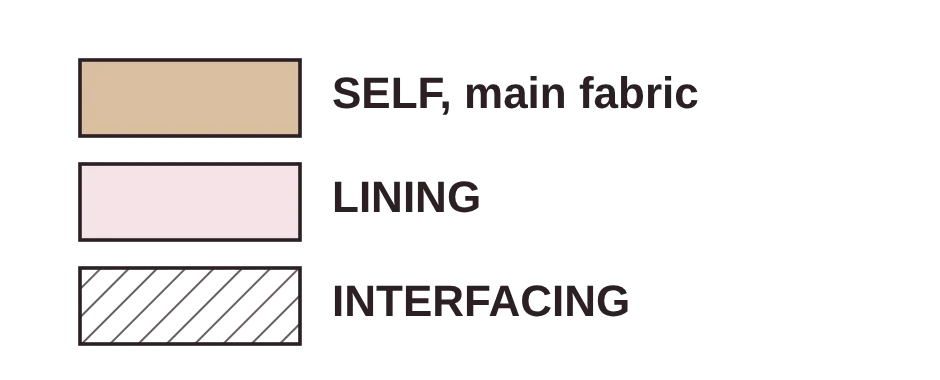 | The same paper piece used on three materials |
| Self, main, fashion fabric |  | The outer fabric |
| Contrast | 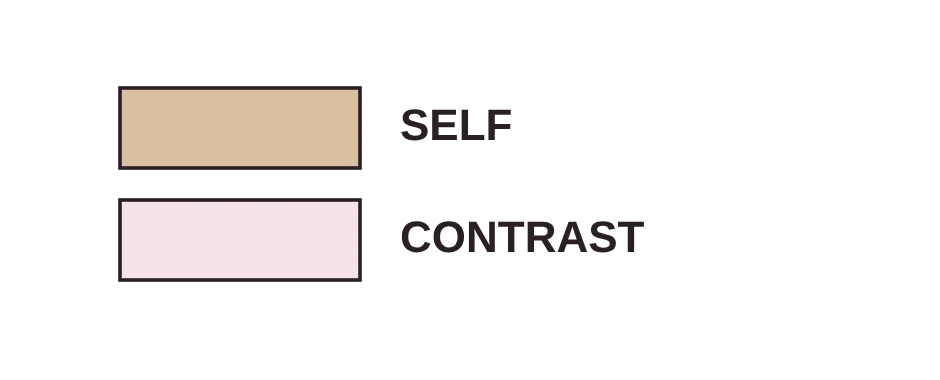 | The second fabric of a two-fabric view |
| Cut 1 single layer | 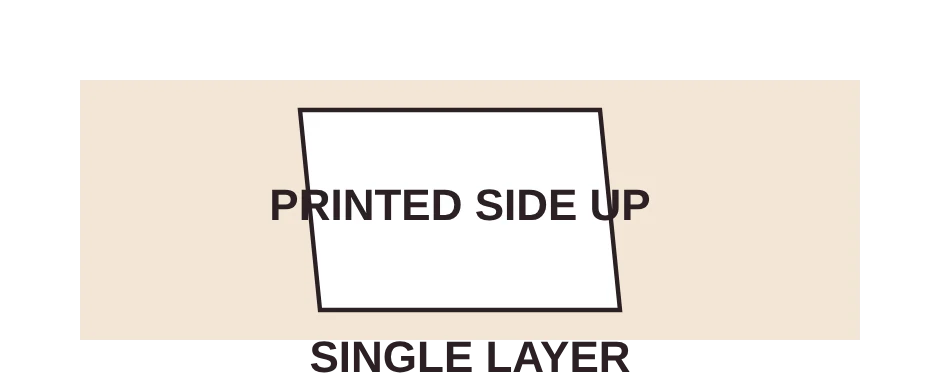 | The piece is not symmetrical: cut it from one layer, printed side up |
| White piece in the layout |  | Lay it printed side up |
| Shaded piece in the layout | 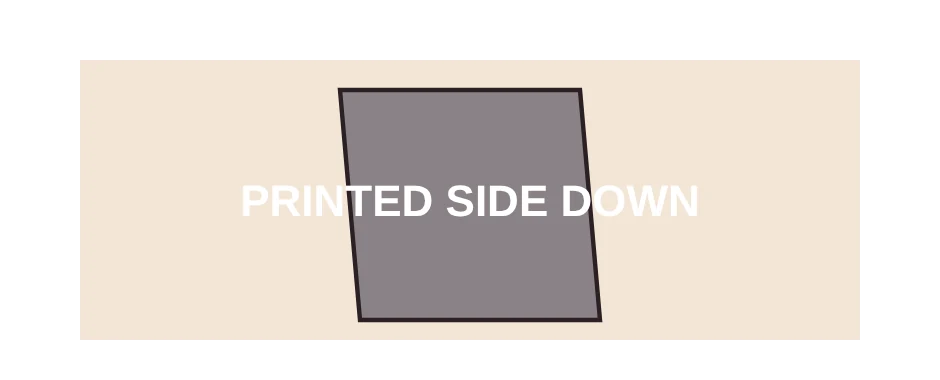 | Lay it printed side down |
| With nap |  | Every piece points the same way |
| Without nap | 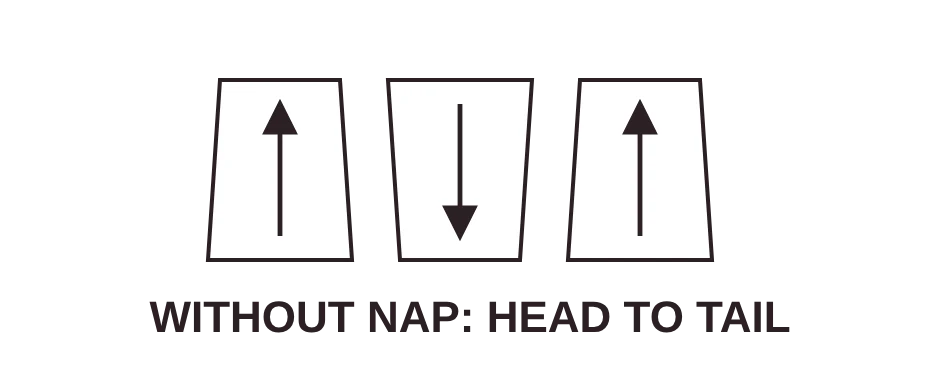 | Pieces may be turned head to tail to save fabric |
Marks that exist only on PDF patterns
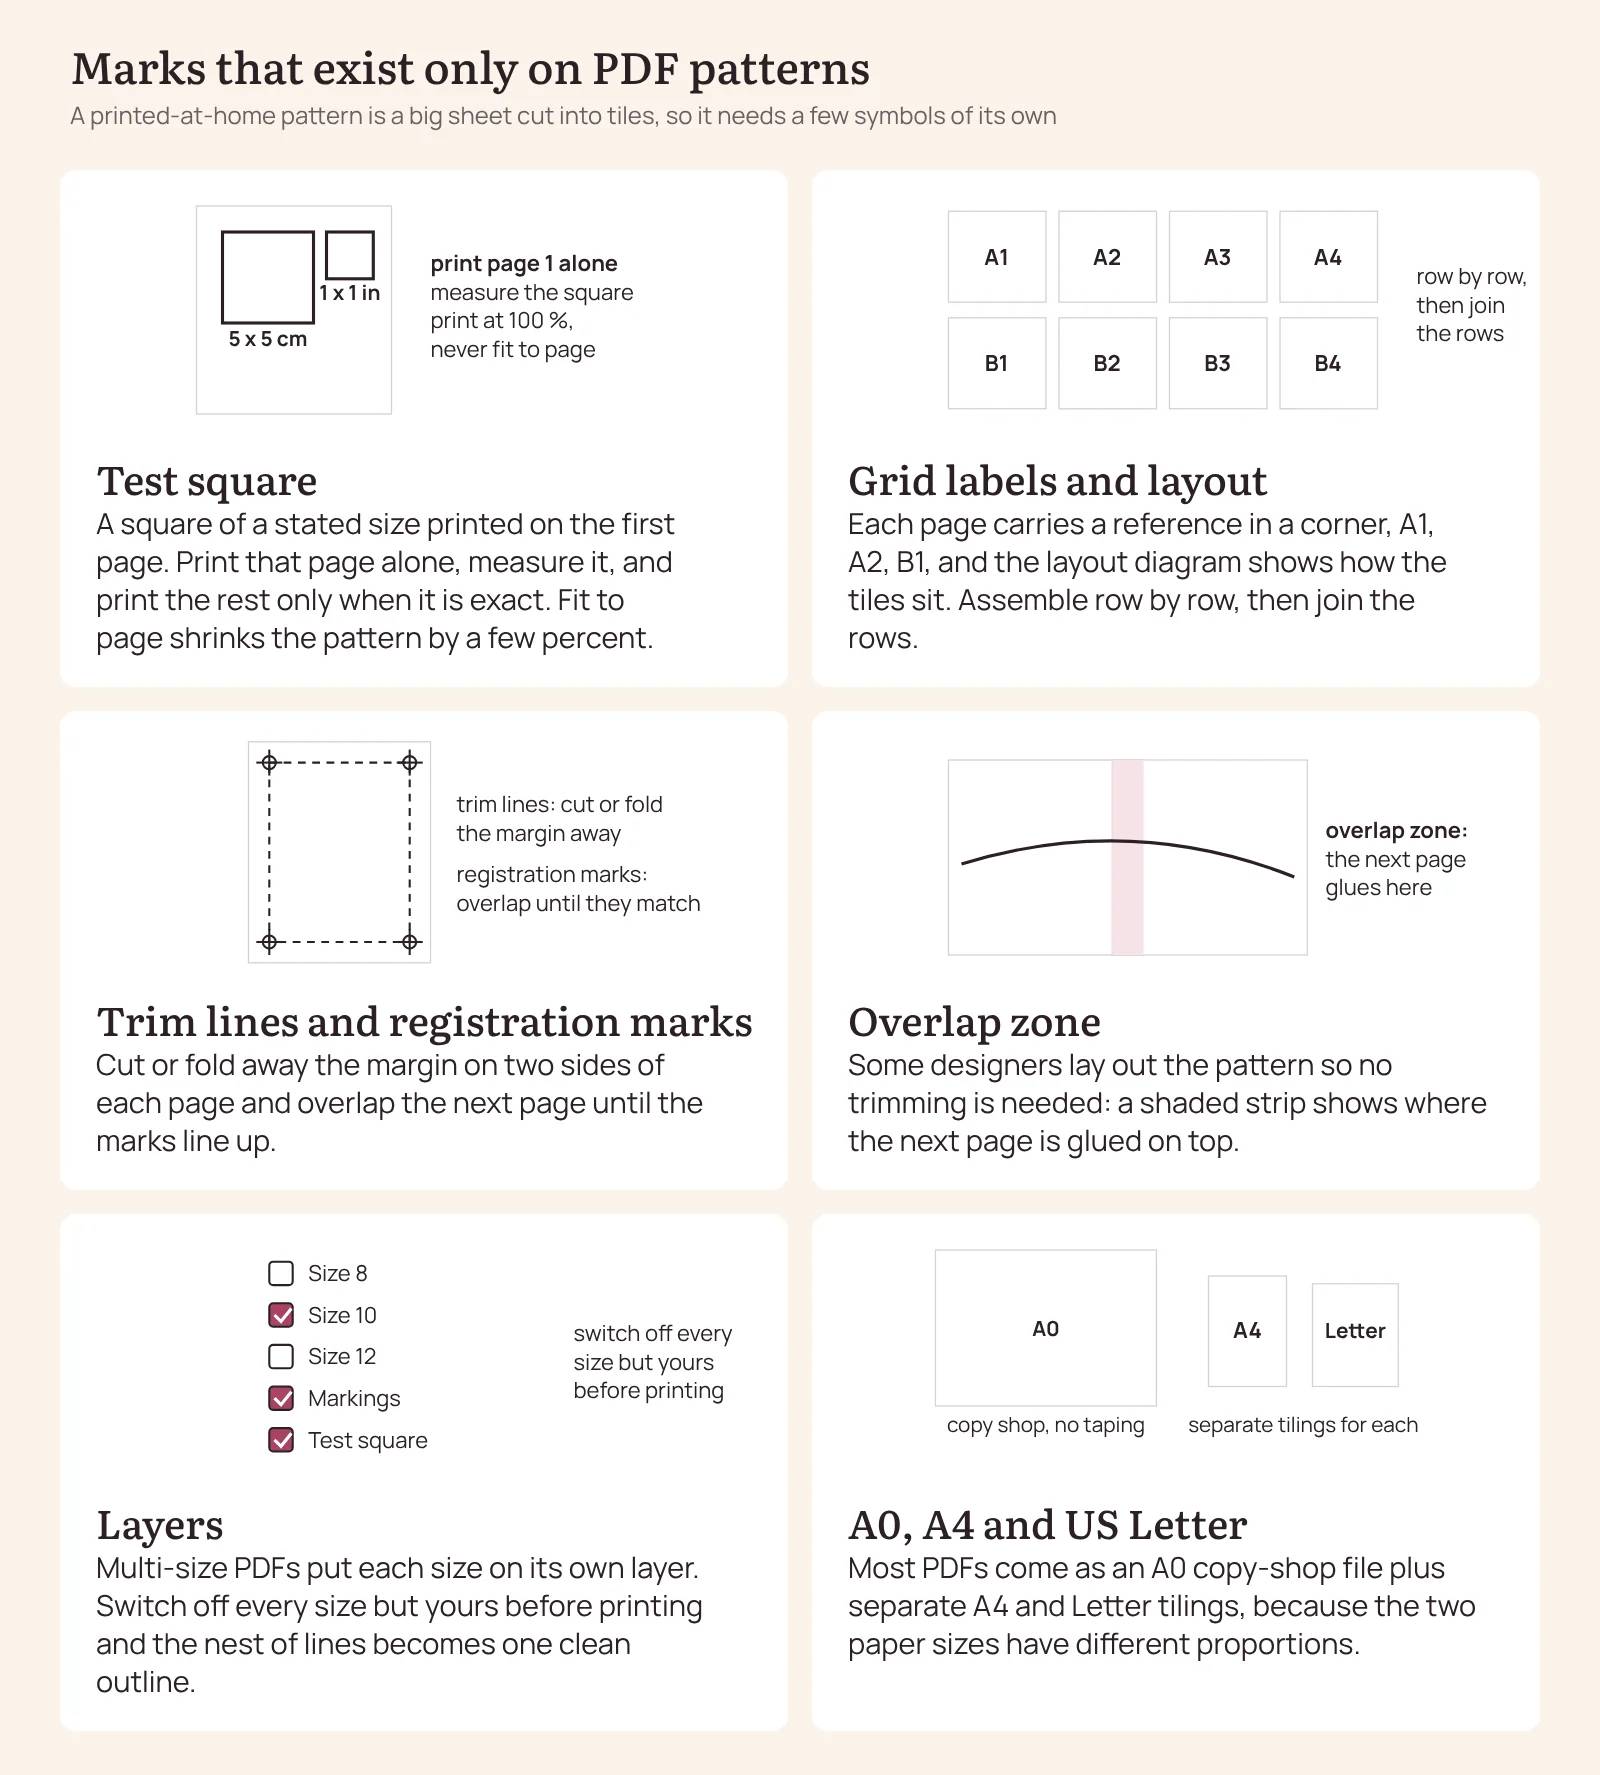
A pattern printed at home is a large sheet cut into tiles, so it needs sewing pattern symbols that a tissue pattern never did. The first is the test square, a square of a stated size, 1 inch, 5 cm or 10 cm, printed on the first page. You print that page alone, measure the square, and only when it is exact do you print the rest; a print set to fit to page shrinks everything by a few percent and the square is how you catch it.
The pages carry a grid reference in a corner, A1, A2, B1, and the layout diagram shows how they tile. Each page has trim lines or registration marks: you cut away the margin on two sides of every page, or fold it, and overlap the next page so the marks line up. Some designers lay out the pattern so no trimming is needed, with a dashed overlap zone instead.
Layers are the newest of the sewing pattern symbols. Multi-size PDFs are usually layered: each size sits on its own layer in the PDF file, and you switch off every size but your own before printing, which turns the nest of ten cutting lines into one clean outline. Most PDF patterns also come as an A0 copy-shop file, the whole pattern on one or two large sheets for a wide-format printer, and as separate A4 and US Letter versions, because the two paper sizes have different proportions and a tiling made for one will not line up on the other. How to print one correctly is in our post on printing a PDF doll sewing pattern at the right size.
Sewing pattern symbols at a glance: PDF marks
| Mark | How it is drawn | What to do |
|---|---|---|
| Test square | 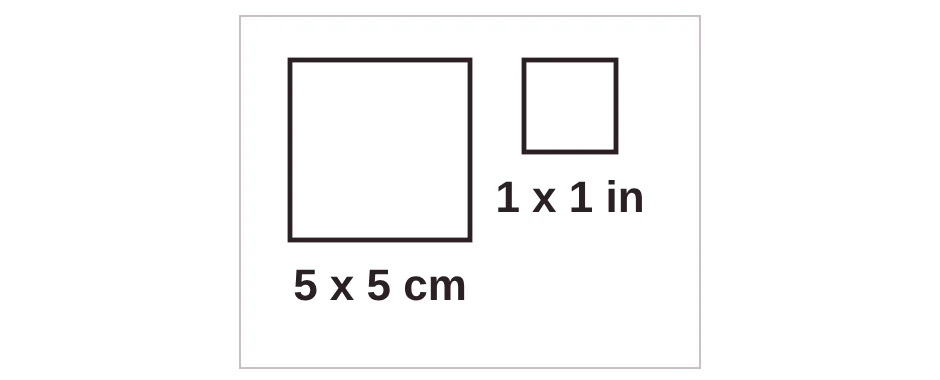 A square of a stated size on the first page | Print that page alone, measure it, print at 100 % |
| Grid reference | 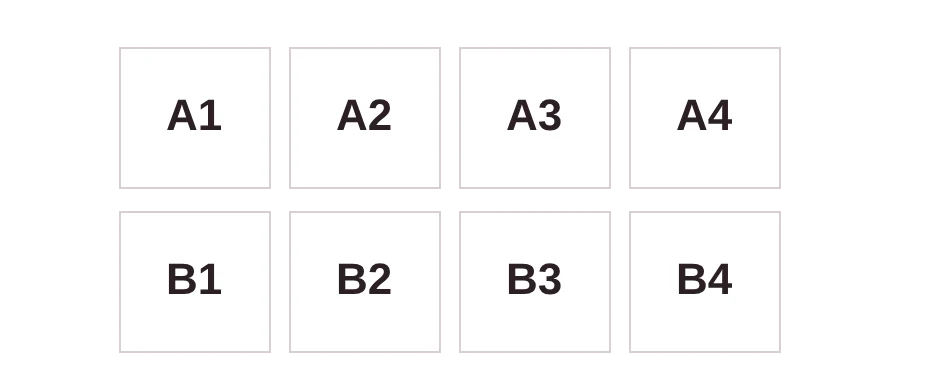 A1, A2, B1 in a corner of each page | Shows where the tile sits in the layout |
| Trim lines | 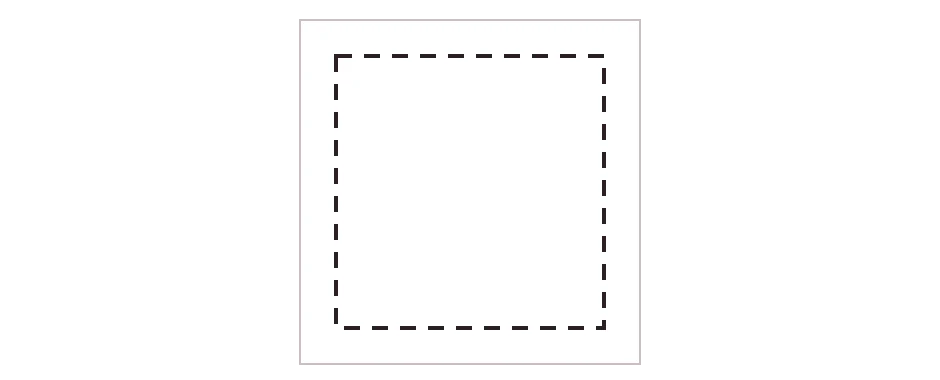 Dashed lines along the margins | Cut or fold the margin away on two sides |
| Registration marks | 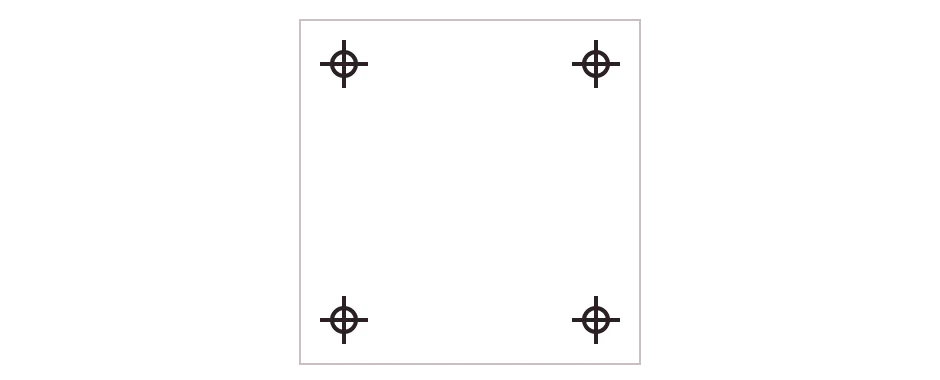 Crosses or circles in the corners | Overlap the pages until the marks line up |
| Overlap zone | 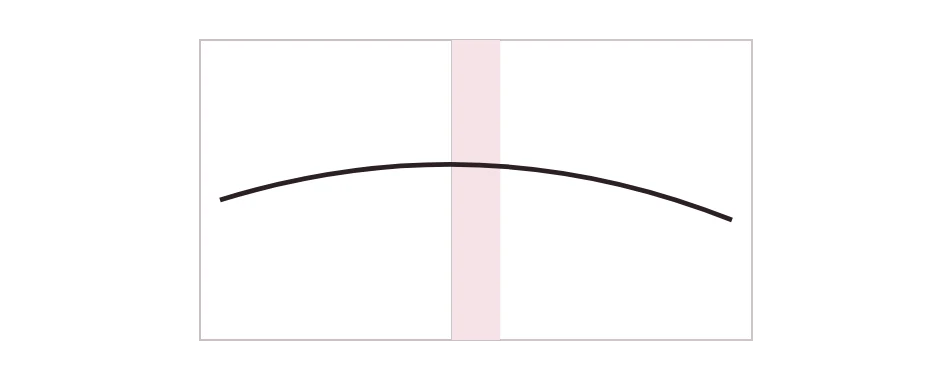 A shaded strip along one edge | Glue the next page on top; no trimming |
| Layers | 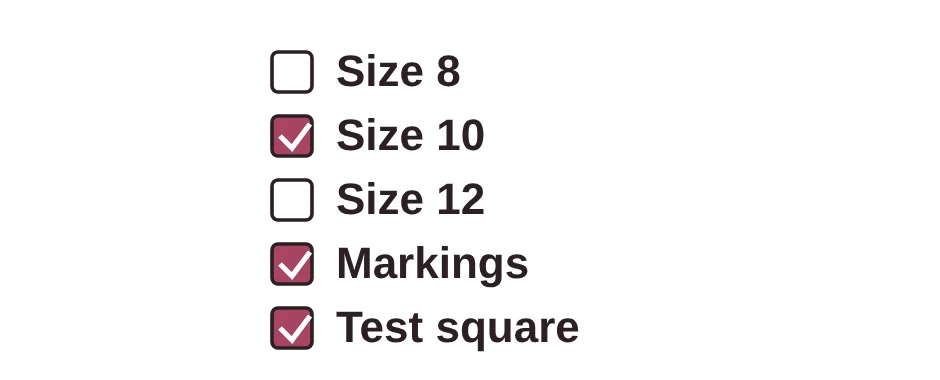 A layer list in the PDF viewer | Switch off every size but yours before printing |
| A0, A4, Letter | 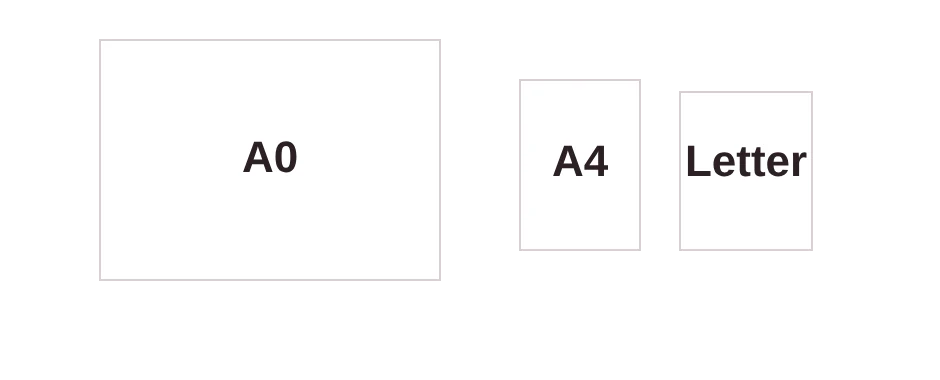 Separate files | A0 for the copy shop; A4 or Letter tiling for the home printer |
Transferring the marks to the fabric
Sewing pattern symbols only help once they are on the cloth, because the paper comes off before you sew. Notches are transferred at the cutting stage, as outward triangles or shallow snips. Everything inside the piece is transferred before the pattern is unpinned, onto the wrong side of the fabric, and always through both layers when the piece is cut double.

The classic tools are tailor's tacks, loose loops of thread sewn through paper and fabric and then cut apart, which survive handling and work on any fabric; a tracing wheel run over dressmaker's carbon paper, fast for long dart legs and pleat lines; tailor's chalk and chalk pencils; water-soluble or air-erasable markers; and a pin pushed through a dot with a chalk mark at the pin on each layer. Which to use depends on the fabric: carbon paper can mark through to the right side of thin fabric, chalk brushes off velvet, and markers are never tested on silk without a scrap first.
Ways to transfer the marks at a glance:
| Tool | How it works | Best for |
|---|---|---|
| Tailor's tacks |  Loose thread loops through the paper and both layers, then cut apart | Any fabric; slow but they survive handling |
| Tracing wheel and carbon paper | 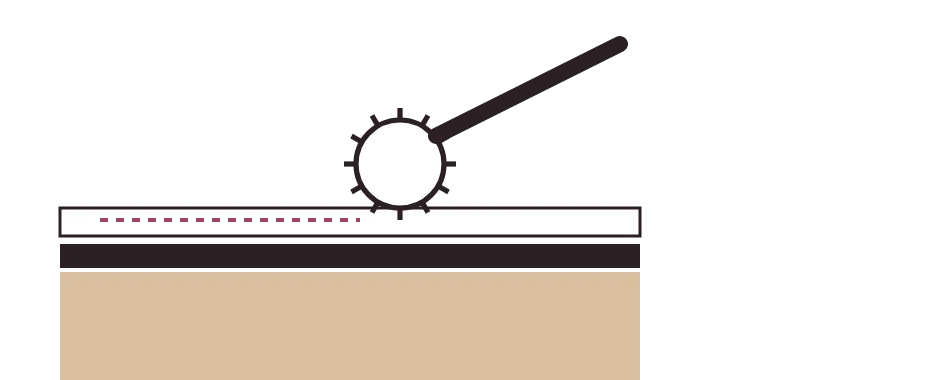 Carbon colour side to the wrong side; roll the wheel along the line | Long lines; can show through thin fabric |
| Tailor's chalk, chalk pencil |  A tick at each notch, a line along dart legs | Most fabrics; brushes off, so transfer just before sewing |
| Fabric markers |  Water-soluble or air-erasable pens | Precise dots and lines; always test on a scrap |
| Pin through the dot | 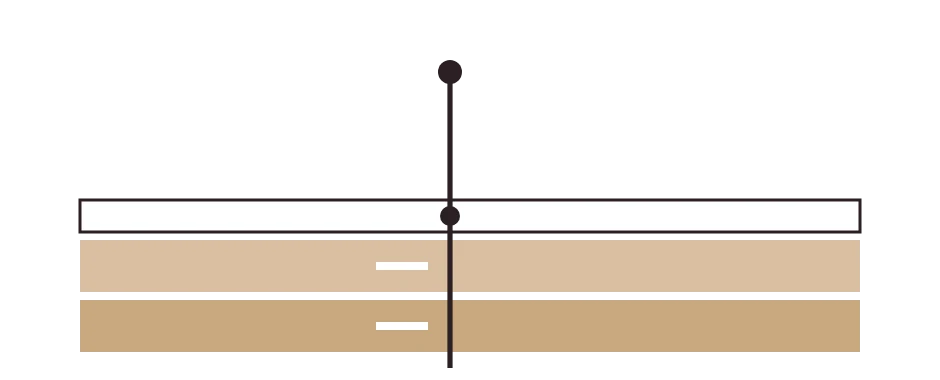 Pin through paper and both layers, chalk at the pin on each layer | Single points, quickly |
| Notches |  Outward triangle or a 2 to 3 mm snip | Transferred while cutting, before the piece is unpinned |
How doll patterns use the same language
Our own patterns for 11.5 inch fashion dolls such as Barbie® keep the sewing pattern symbols that matter at 1:6 scale and drop the rest. There is one size per piece, so the cutting line is a single red line and the seam line is always drawn as a black dashed line, with the 3 mm allowance already included. Notches are short lines, join letters replace numbered seams, the fold edge has a fine dashed line and an arrow, and every sheet carries a line key and two calibration squares. The full list is in our guide to the markings on a doll pattern sheet, and the SVG versions keep the same lines on separate layers for cutting machines.
-
Cocktail and Evening Doll Dress Sewing Pattern - Regular and Curvy (PDF + SVG)
2,49 € incl. VAT Buy now -
Long Sleeve Doll Dress Sewing Pattern - Regular, Curvy, Petite and Tall (PDF + SVG)
2,49 € incl. VAT Buy now -
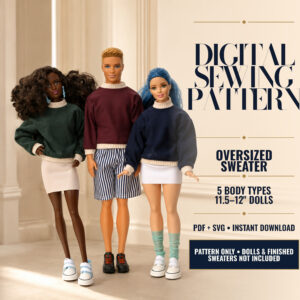
Oversized Doll Sweater Sewing Pattern - Regular, Curvy, Petite, Tall and 12 in Male Dolls (PDF + SVG)
2,49 € incl. VAT Buy now -
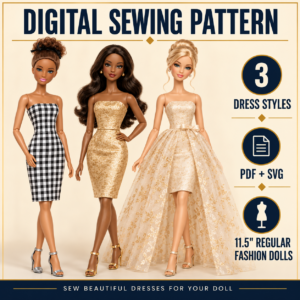
Doll Wedding Dress Sewing Pattern with Fitted Dress and Long Overskirt - 3 Looks for Regular Dolls (PDF + SVG)
2,49 € incl. VAT Buy now
Questions we get
What does a double notch mean on a sewing pattern?
Two notches together mark the back: the back armhole and the back of the sleeve cap, or centre back. A single notch marks the front. When a sleeve looks right but hangs badly, the double notch is usually at the front.
Do I cut notches outward or snip inward?
Either works when the allowance is 1 cm or more: outward triangles keep the allowance whole, inward snips of 2 to 3 mm are faster. On a narrow allowance, mark the notch with chalk or a pencil instead of cutting.
What are the dots and squares for?
They are the sewing pattern symbols for matching points inside the piece: where two pieces meet away from an edge, where to start or stop a seam, where to pivot, where a pocket or a dart point sits. Different shapes only pair with the same shape on the other piece.
What do the two parallel lines mean?
Lengthen or shorten here. Cut between the lines and spread the paper to add length, or fold a tuck to remove it, then redraw the cutting line.
Is the seam allowance included?
On Big Four envelope patterns yes, 5/8 inch or 1.5 cm. On most indie PDFs yes, and the amount is printed on the piece. On Burda magazine sheets and many vintage patterns no, you add it when tracing. On our doll patterns yes, 3 mm. Read the instructions before you cut.
Where to go next
If you want to see the symbols on something small enough to sew in an evening, every pattern in our Sewing Patterns category uses the same sewing pattern symbols, and the beginner's guide to doll sewing patterns walks through fit, fabric and the first seam.